Fountain Vase - Blue Thumb Ponds
←
→
Page content transcription
If your browser does not render page correctly, please read the page content below
ENJOY YOUR FOUNTAIN AT NIGHT
BY ADDING LIGHTS!
3 Pack Fountain Light Kit
Blue Thumb Item# PB2897
Email a Picture of your completed installation to
sales@bluethumbponds.com
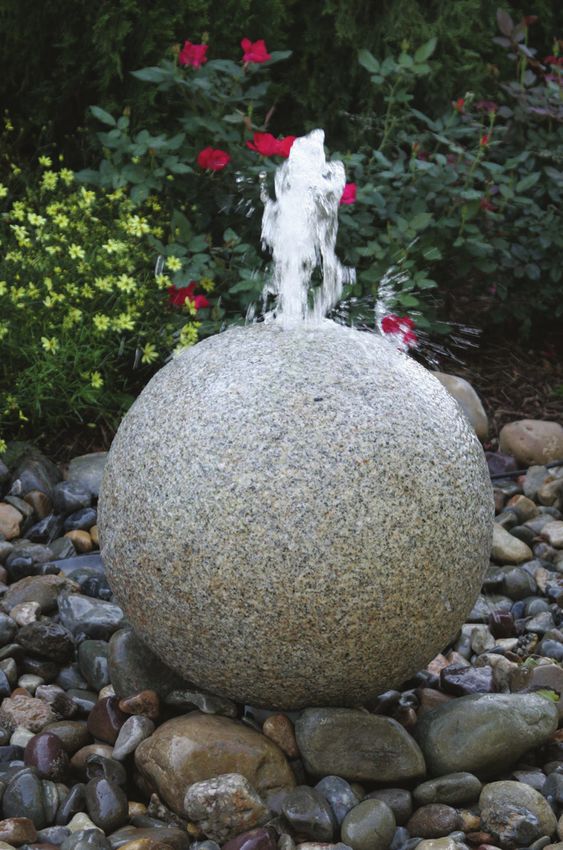
Fountain Vase
Installation Manual
*Blue Thumb proudly manufactures their products in Saginaw, Michigan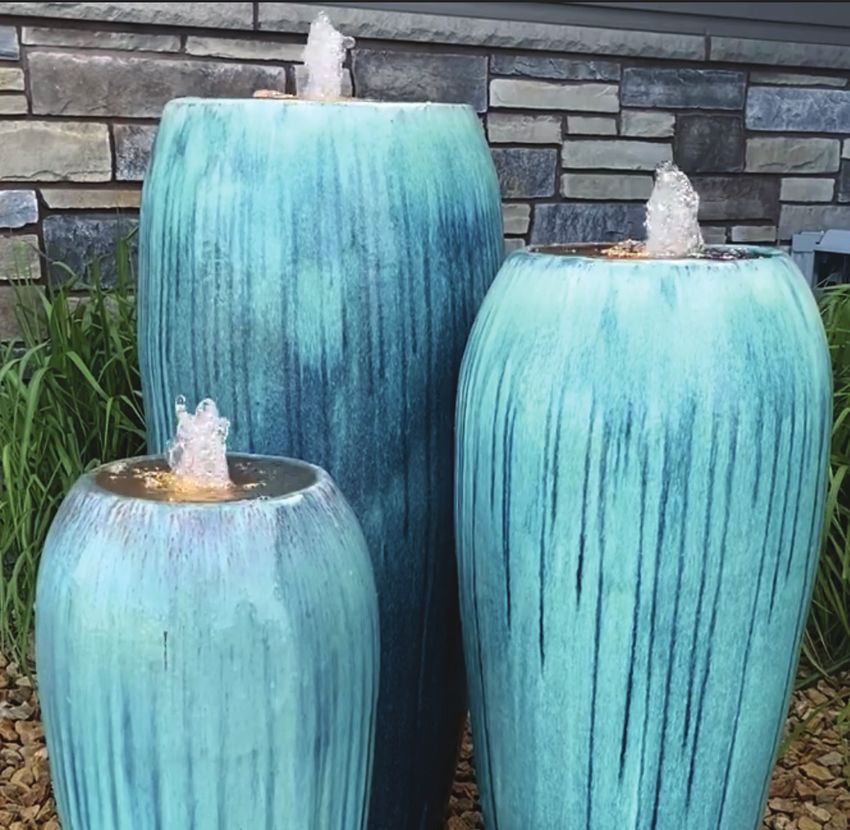
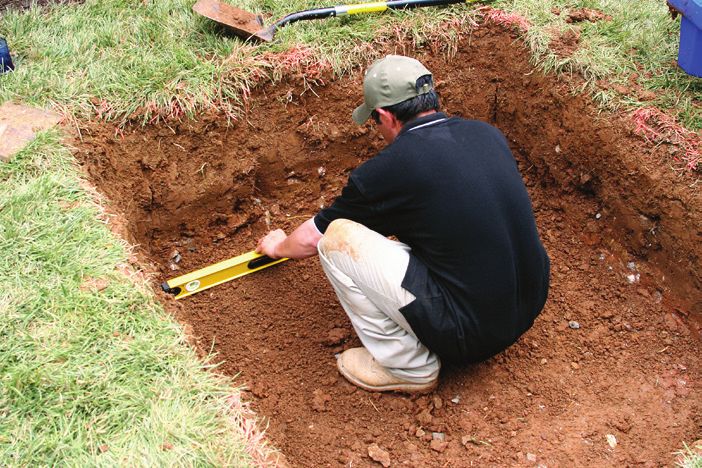
STEP 3
Level the bottom of
the hole with sand
or small gravel and
tamp to ensure no
settling occurs after
installation.
The pictures used to
illustrate the installation
are of the Altum AquaBox,
but the procedures are the
same for all Blue Thumb
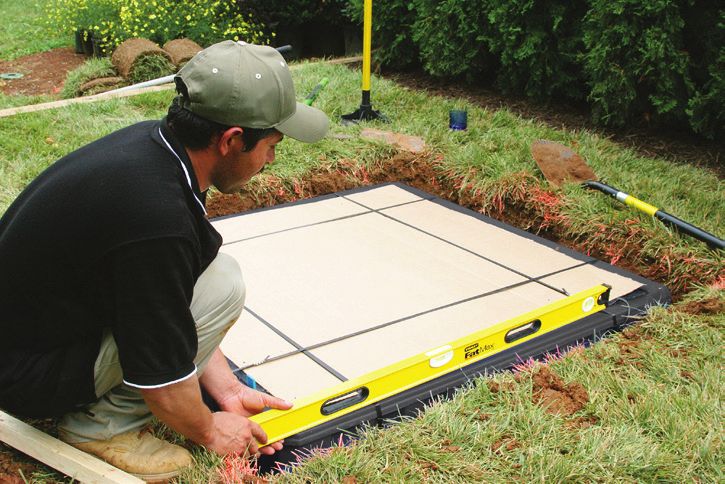
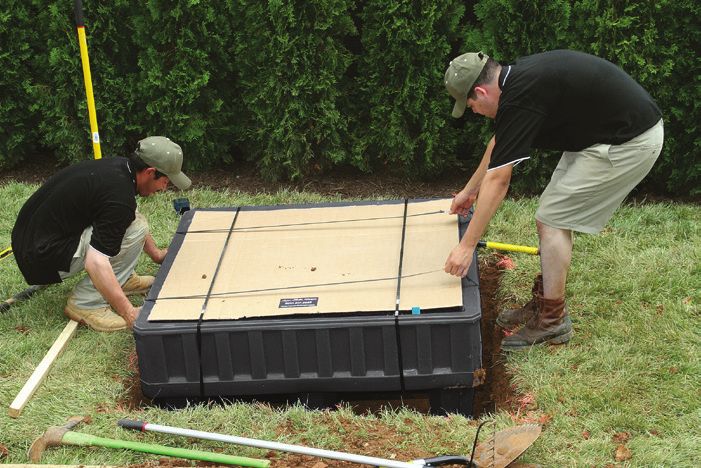
STEP 4
basins. Set basin in the hole
and verify that the
box top is level and
approximately 1”
below grade.
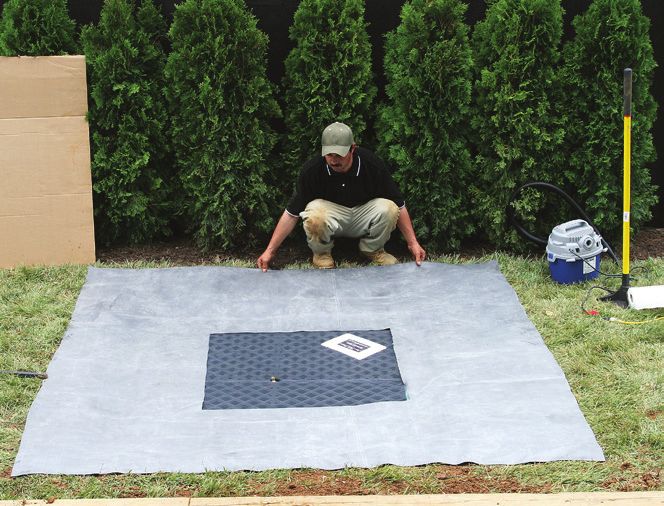
STEP 1 If you will be using
a liner bib, ensure
Clear/level area surrounding area
based on the size gently slopes toward
of the basin type the basin to ensure
plus 1-2” width water makes its way
and length. back to the basin.
STEP 5
Backfill void between box and soil with a self-compacting material such
as sand or pea gravel. When using excavated soil be sure to regularly
compact with a tamper. If your basin included a cardboard cover leave
it in place while you backfill to prevent soil from falling into the basin.
STEP 2
Dig hole to size
and depth of
the basin. Keep
in mind the
basin should sit
approximately
1” below grade
once installation is
complete.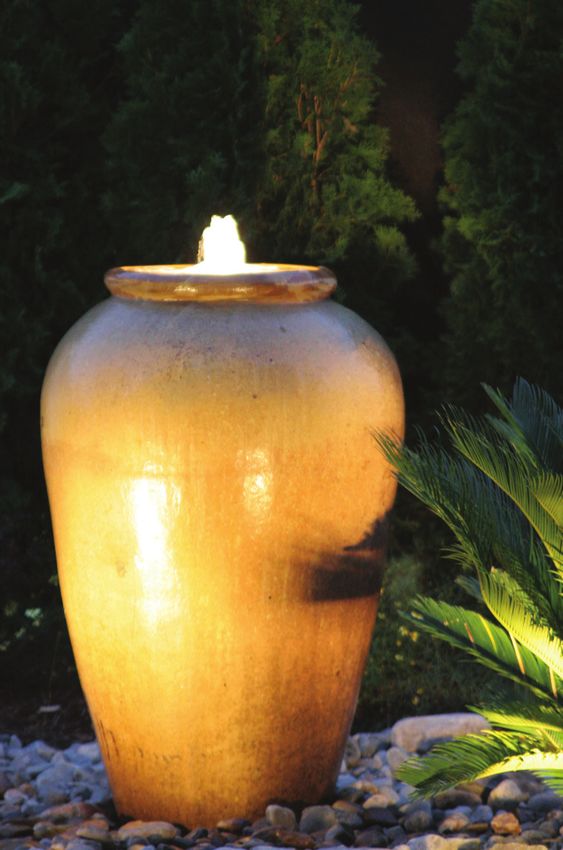
STEP 6 STEP 9
Before installing the vase you Fill the basin with clean water and
should check that the inside of test the fountain by plugging the
the basin is clean. pump power cord into a nearby
electrical GFCI outlet. Water will
Remove any dirt that has start flowing from the fountain.
entered the basin using a wet/dry Depending on the desired effect
vacuum. you may need to adjust the flow
of water.
Next, add the pump to the basin
and attach the kink-free hose
to the pump using the quick- If you have an “open-top”
disconnect. style vase you can adjust
the flow by turning the red
Then, run the other end of the kink-free hose up through the basin to attach to handle on the ball valve
the vase in the next step. located on the standpipe
inside the vase.
If you have a “closed-top”
vase you can adjust the
flow by turning the red
handle on the ball valve
located inside the basin on
the discharge of the pump.
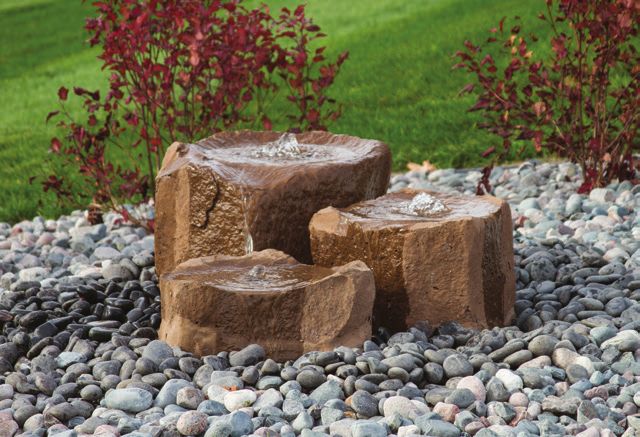
STEP 7 STEP 8 STEP 10
Lay the vase on its side and simply attach the Using the provided plastic After the basin is properly filled and your vase is running at the
hose to the vase using the quick-disconnect shims to ensure the vase is desired effect, cover the top of the basin using the Blue Thumb
connector. The vase should be centered on level. The vase should never Polished Pebbles to finish of the beautiful look.
the basin as best as possible to prevent water stand uneven or unstable.
from blowing out on windy days. Verify that
the vase is level and is properly standing on
the grate.
If you have additional questions please visit us online at
bluethumbponds.com or call us at 888-619-3474.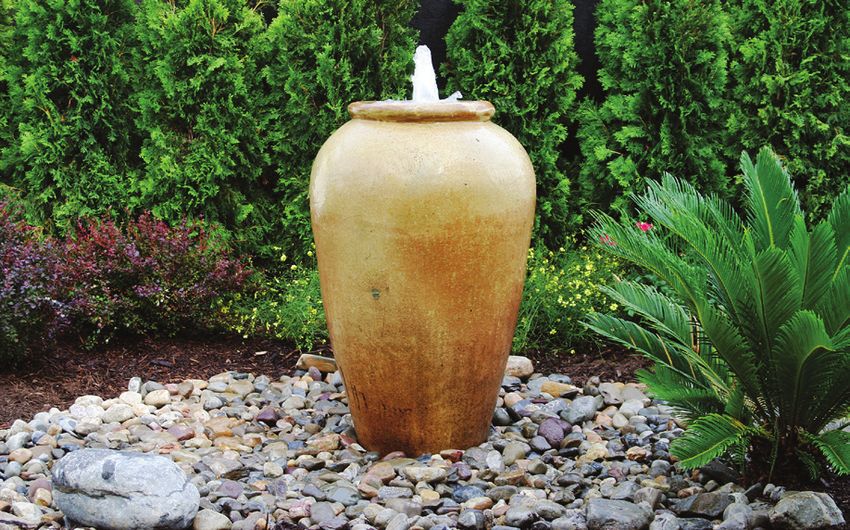
REGULAR MAINTENANCE                                                                         CONTROLLING WATER LOSS & LOW WATER ISSUES
Weekly- Add water to the basin as necessary. The pump needs to be
submerged at all times and not be allowed to run dry. Simply add water using                                     Automatic Water Fill Kit - #ABDAUTO
your garden hose. If you find the water is running low frequently then reduce
the flow of the pump by adjusting the ball valve or add a splash apron around                                    For use with all Blue Thumb Fountain Basins
the perimeter of the basin so that you catch & retain more of the water in
motion.

                                                                                                                  Low Water Shut-Off
ROUTINE WATER TREATMENT
Use Blue Thumb water treatments weekly at first and eventually bi-monthly or                                      This will turn the pump off once water drops below
monthly depending on product selection, time of season, and conditions of the                                     the sensor attached to the pump preventing the
fountain.                                                                                                         pump from overheating and causing permanent
                                                                                                                  damage.

                                                                                            *Keep in mind that every fountain is unique and experiences different
                                                                                            site conditions and water quality changes. Please contact us directly to
                                                                                            discuss your specific requirements or visit our website for more information
                                                                                            regarding the proper care of your fountain at bluethumbponds.com.

                                                                                            LIMITED WARRANTY INFORMATION
Fountain           Fountain             AquaFix         Muck               AquaFix          All Blue Thumb basins are covered under warranty against material and
Clear              Lime Buster          Liquid          Buster             Dry              workmanship defects for a period of 5 years from the date of purchase.
                                                                                            The warranty is a limited warranty and will be void if the damage is the
Helps prevent      Safely removes       Use weekly      Use to remove      Use to spot      result of improper installation or use such as, but not limited, to the
stains, mineral    limescale and        to prevent      the build-up of    treat rocks      following:
deposits,          calcium deposits     the build-up    sludge in the      showing
& organic          on the fountain.     of algae on     basin that leads   signs of hairy     • Use of the basin for anything other than its intended use as a fountain.
contaminants       Prolongs the life    the fountain.   to clogging and    algae.
from forming in    of the pump by                       decreased flow                        • Improper installation of the components
the basins and     removing limescale                   of the pump.
on the fountain.   build-up in and                                                            • Alteration of any kit component
                   around the pump.                                                           • Exposure to extreme heat/freezing conditions that exceed the range of
                                                                                                0°F to 120°F (-15° C to 45°C)

SEASONAL CLEANING                                                                             • Exceeding the specified maximum load capacity or point load capacity
Every spring and fall drain the basin and replace with fresh water. Vacuum                      of the particular basin.
basin if you notice excess debris that may clog your pump. If your fountain                   • Damage resulting from extreme weather conditions such as hurricanes,
contains an anti-splash mat cover remove any leaves and debris from it and
                                                                                                tornadoes, earthquakes, etc.
rinse thoroughly.
                                                                                              • Damage resulting from any purposeful destruction such as vandalism.

WINTERIZING FOUNTAIN                                                                        The Blue Thumb mag-drive pumps are covered under a limited warranty
Removing your pump and storing during the winter months is the most                         for a period of 5 years. DO NOT cut the cord of the pump- this will
important step. We recommend you dissassemble and clean the pump, placing                   void the warranty. Please see the instruction manual for details on the
it in a bucket of water and storing it in an area that will not freeze. This will helps     warranty.
keep the seals wet and prevent the impeller from sticking.
Do not drain the basin for the winter. It is best to keep the basin filled with water       The ceramic vase is covered under a warranty against material and
to avoid heaving during the freezing of the soil. In the spring, drain the basin            workmanship defects for a period of 1 year from the date of purchase.
and replace with fresh water.                                                               Damage caused by excess weather or winter conditions Is not covered
Move vases indoors to prevent cold weather damage. DO NOT allow water to                    under the warranty.
sit inside of a ceramic vase fountain and freeze. This will cause the fountain to
crack. NOTE: Winter damage is not covered under warranty.                                   The vases featured in our collection are naturally rustic, as they are
If your fountain is too heavy to move we recommend covering it with a Fountain              intentionally glazed unevenly, and contain variations in both color and
Cover or tarp. Any cover should suffice so long as it repels the water and                  texture. No two pieces are alike, but all share an inherent beauty.
doesn’t allow build up in or on the fountain.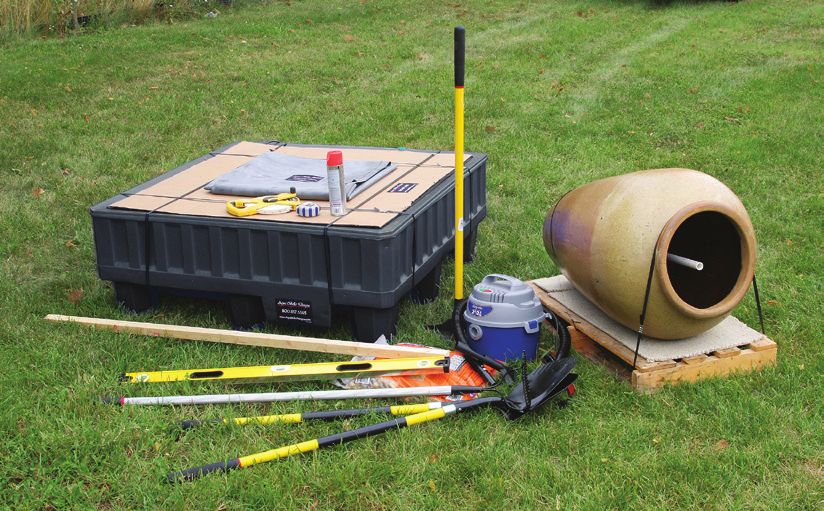
You can also read