Simple Solutions for Virtual Concerts - Phi Beta Mu
←
→
Page content transcription
If your browser does not render page correctly, please read the page content below
Simple Solutions for Virtual Concerts
by Jason Schayot
Director of Bands, Berkner High School in Richardson, Texas

Millions of people tune in to TV mega-events like the Super Bowl,
the Oscars, or the live performance shows of The Voice - often
without knowing much about the organizations or people
involved. Why is that? Video games like Fortnite and Among Us
allow people to play together in real time with people all over the
world. Why do these games skyrocket to popularity? It’s because
human beings long for shared real time experiences with others.

Although Covid-19 has had a devastating impact on many
aspects of music education, a fun and engaging live concert
experience for students and their families is still within our
grasp, and the technology is easy to learn!

This article describes the process of building a virtual concert
made up of video compilations and live-streaming the pre-
recorded content to students, family members, and community
supporters. The process of creating a virtual concert experience
can be broken down into ten steps:
  1. Schedule a realistic timeline for the concert
  2. Select attainable literature
  3. Request copyrights and permissions
  4. Create click tracks for the students
  5. Record content
  6. Compile audio file
  7. Layer in video
  8. Create live stream platform
  9. Invite audience members
  10. Perform!
Much of the following detail is based on trial and error over the
months since Covid-19 first began to affect our program in
March 2020. Our first Berkner cluster live stream concert (all
high school and junior high bands: 7th - 12th grade) was
broadcast on October 28, 2020, and the feedback we received
from students, teachers, and family members was
overwhelmingly positive.

1. Scheduling
Select a concert date that allows time for sync rights
permissions, recording music and creating the video
performance. For a first live stream project, I recommend 9
weeks start to finish. Our most recent virtual concert took
place on October 28, with the first assignment given in Google
Classroom at the end of August. Giving yourself plenty of time
will lower staff stress, and allow you to enjoy the creative process
along with your students.
This timeline includes three weeks to obtain sync rights, and six
weeks of recording and editing. It is best to break the music
down into weekly assignments for the students, and the audio
editing can be done in small batches as students submit their
assignments. Layering video over a completed audio file might
take a week the first time, but goes faster once the process is
familiar.

2. Selecting Literature
Less is more. Consider reading down two grade levels when
selecting literature for a virtual performance. Students will enjoy
the recording process, and their video submissions will be more
creative and artistic. Consider giving the assignments
“ungraded” to encourage students to focus on creating unique
and engaging content rather than stressing too much about
technically perfect performances.

3. Acquiring Permissions
Most districts have a form authorizing the school to include
photos or videos of students in media. Confirm that you have
documentation on every student you intend to include.

You must also obtain permission from the copyright owners of
each song included in your concert. The virtual concert
experience detailed in this article requires “sync rights” for each
piece. Live-streaming or uploading a compilation video to
YouTube or Facebook requires sync rights, as the song was
recorded, and permission to record can only be granted by the
copyright owner of the song. Sync rights refers to the
synchronization of your students’ audio recordings with their
submitted videos, which are edited (synced) together to create
the performance.

Follow the process below to obtain the proper permissions before
students begin recording the music.
  1. Compile a list of all the pieces you wish to show in the live
     stream.
  2. Locate the copyright owner of each song. This is often
     different from the publisher. This information can be found
     at the bottom of the first page of the director’s score.
  3. Find out how to contact the copyright owner by searching
     for them online. Try entering “easy song licensing search”
     into your internet search.
  4. Contact the copyright owner via email, or through their
     website, which will often include a licensing request web
     form.
  5. Include the following information in your request:
        ● The request is for live stream only and will not be
          uploaded to YouTube.
        ● The request is for non-commercial, non-profit use, and
          you will not make any claims or monetizations in
          connection with the video.
        ● The term of license is one day
        ● The media type is online, non-branded
  6. Save the email from the song owner as documentation that
     you have a license for your performance. Some will require a
     reply email to agree to their Terms of Use.

4. Creating Click Tracks
Pick a manageable chunk of the piece that involves the entire
band. You do not need to start recording at measure one! Limit
the recording to about 30 seconds, as assignments longer than
30 seconds can be stressful for many eager-to-please band
students who may obsessively re-record to attain that perfect
performance.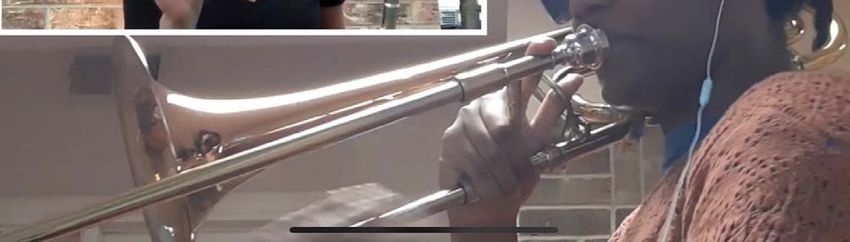
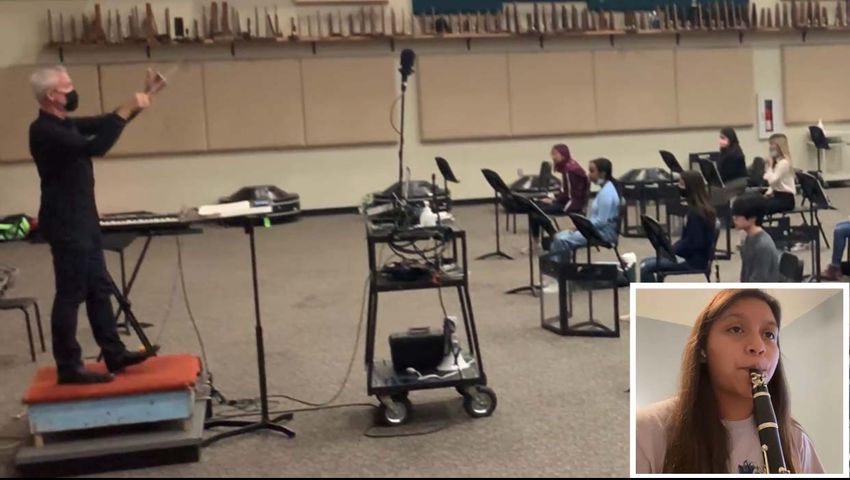
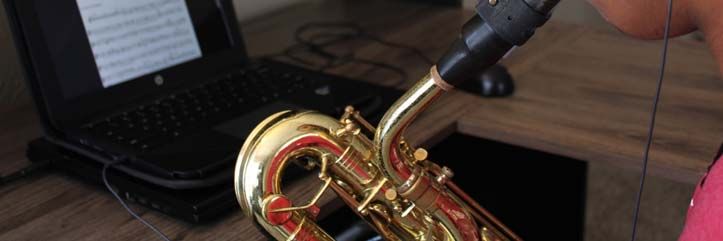
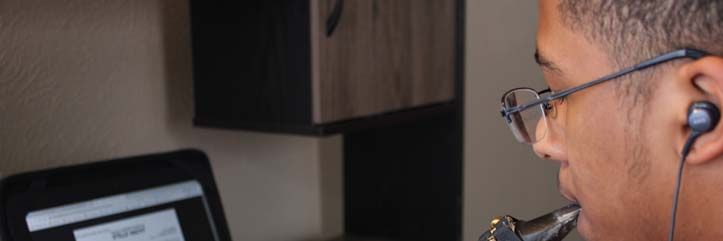
Decide exactly what tempo you hear in your head, and record a
metronome at that tempo. In addition to the tempo track, it is
helpful to layer a recording of yourself speaking along, coaching
in crescendos, accents, etc, but avoiding audiation of specific
pitches. A third layer using the harmony director that includes a
drone of adjusted chords underneath is also helpful so that
students can listen and adjust tuning by ear. These three layers
together (tempo, vocal coaching and chord drone) form the
master click track.

5. Recording Content
Using your virtual assignment platform (we use Google
Classroom) assign each student a weekly 30 second recording.
Include the master click track in the assignment and a due date.
During their recording session at home, each student listens to
the master click track using one earbud only. This enables
students to play in time with consistent phrase shaping and
excellent tuning. As described above, our assignments are
ungraded in order to prioritize artistry and creativity for a more
collaborative and engaging final product.
6. Compiling Audio
Audacity and GarageBand are easy to use and free to download.
Import each student file, then drag each track left-to-right to line
up to the click track. Once the audio file is complete, the file is
exported with the click-track muted. For full details on the
process of layering student submissions into one audio file, refer
to the handout from my virtual TBA session July 2020.

7. Layering Video
Import the audio file into iMovie and sync with imported student
videos as muted clips. The performance is enhanced when
priority is given to clips that are in some way creative, engaging
or unique. Video recordings from any in-person band classes can
supplement the individual recordings. The final product can be a
hybrid recording of the in-person ensemble during band class
synced with virtual students who are learning at home.
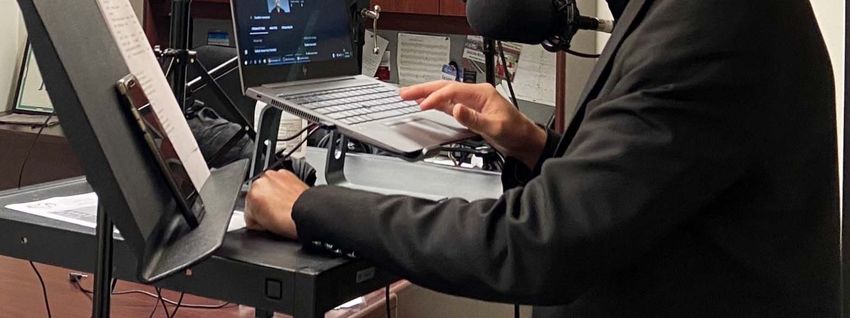
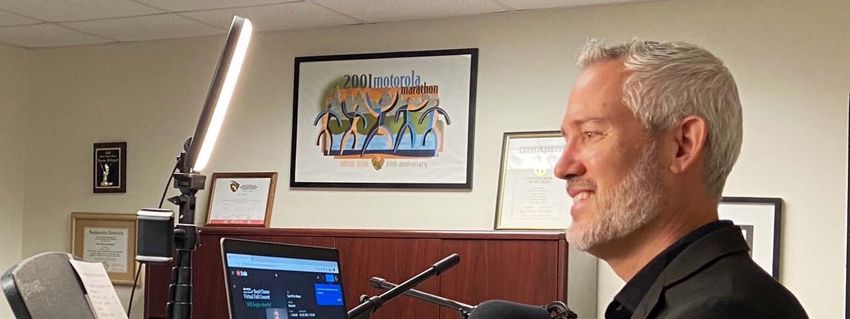
8. Creating the Platform
Creating a YouTube band channel is easy to do using a school
sponsored Google account. Within the YouTube channel editor,
YouTube studio allows you to schedule a live stream by choosing
“Go Live.” Choosing the “unlisted” and “Yes, it's made for kids”
settings turns off live chat functionality during the live stream.
This prevents distracting audience comments from appearing on
the screen during the performance.

9. Inviting the Audience
The YouTube share button creates a link that you can send to
students, families and supporters to advertise the concert. The
link will open a countdown window displaying the days and
hours remaining until your concert downbeat.

As you put together your audio and video files, consider keeping
the excerpts to yourself rather than playing bits and pieces for
the students before the concert. The buzz leading up to the
concert peaks everyone’s curiosity and gets them excited about
the live stream.

10. The Concert
OBS is a free download that enables the user to stream content
to YouTube. Once your live stream is scheduled, simply click on
the stream name in YouTube and copy the “stream key.” In
OBS, paste your unique YouTube stream key into the OBS
streaming settings. The handout from TBA July 2020 details the
process of setting up scenes and sources in OBS, and explains
live-streaming the pre-recorded content from your computer.
You can think of hosting your performance similar to acting as a
DJ, announcing each piece in real time, then pressing play from
your computer on each pre-recorded band video.
Consider setting up a format for taking virtual attendance during
the concert such as a google form that solicits feedback from
students such as “Tell us one thing about your concert that you
are proud of.” Google timestamps the entries for attendance
purposes, and you might be surprised by the students’
thoughtful responses!

The Takeaway
We have found that students and families love virtual concert
experiences! Students put in the work to prepare and record,
and they get the added fun of watching themselves and their
friends in a shared live experience. This is an opportunity to add
something fun and new to their time in band!
You can also read