Bioclimatic aluminum lamella roof - ASSEMBLY INSTRUCTIONS - English
←
→
Page content transcription
If your browser does not render page correctly, please read the page content below
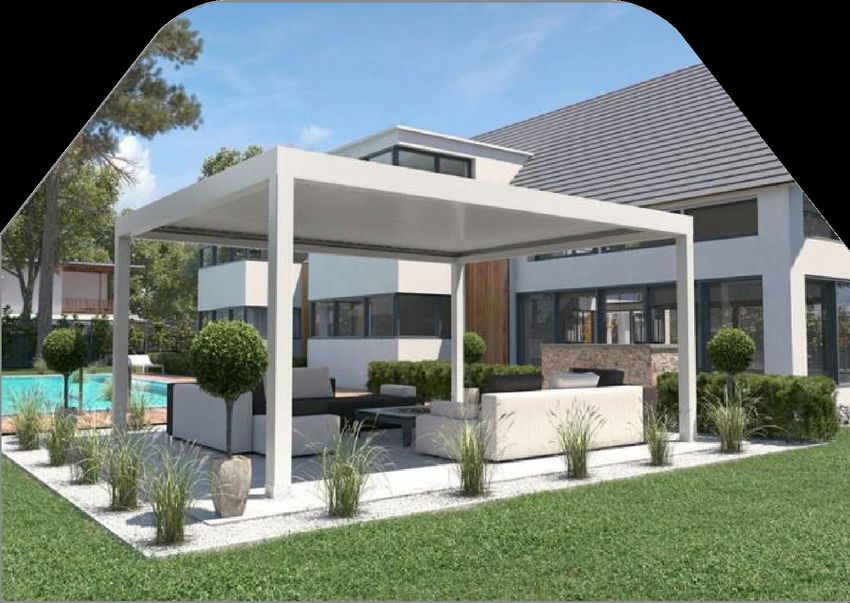
Bioclimatic aluminum lamella roof

    ASSEMBLY INSTRUCTIONS - English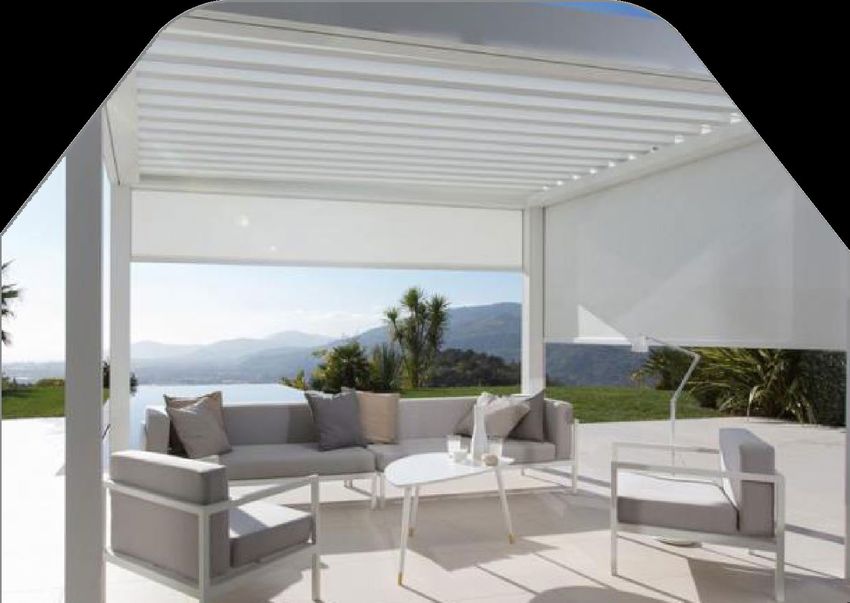
English

Tips: What do I have to consider and prepare before the assembly?
Prepare a frost and storm proof foundation, in balance, and take precautions for the power
connection (we recommend high fuse protection, preferably a power line with at least 6.4kw) and
grounding/lightning protection. You need at least four skilled assembly assistants with at least two
high standing ladders. It is better to also use a mobile scaffold for the large projects. You will need
useful tools (a cordless screwdriver, various wrenches, a hammer, a plumb bob, a spirit level, a
hammer drill for fixing the foundation, and possibly an angle grinder with a metal cutting disc (flex),
should small adjustments be necessary, silicone + pistol) It is best to set up with enough space so
that you can distribute the parts evenly. The structure is not complicated, but you need to read
the instructions well if you are stuck. With several hundreds of projects, the setup has always worked
very well so far. It is essential to follow our advice and read it carefully.
                                Prepare yourself well for the setup and read the FAQs - Frequently
                                asked questions on our website. Furthermore, we offer installation
                                videos for the pergola and the lateral ZIP blinds.

                                Exchange ideas with a craftsman beforehand because it is
                                impossible to provide instructions for every case due to the unique
                                design. All parts are included in the delivery. The electrical system
                                and motors are 80% pre-assembled. All you have to do is connect
                                the pieces, align them and connect them professionally.

                                Take your time, use sufficient space and do the set up in good
                                weather. You will need about two days.

Depending on the chosen form and scope of the project, minor adjustments may be necessary on-
site. You can process all metal parts accordingly and should be able to handle the most critical
small parts (e.g. screws) that can also be bought at a hardware store. Due to the powder coating,
mounting holes may differ slightly. Only process and slightly re-drill.

The sets are complete but without tools. Marking is not possible for all parts. Therefore, lay out the
pieces before assembly. Where which parts belong is usually immediately apparent and no problem
for experienced artisans.

Packaging and storage
The pergolas are delivered in large wooden boxes. The parts are packed with protective foil, and
the small details are sorted in a box. The wooden box may splinter when opened. Therefore, wear
gloves. The goods are protected from splash water, but you should protect the wooden box from
rain. If you delay the final assembly, cover it with a tarpaulin.

Delivery
The carrier will arrange a delivery date with you directly. Discuss the parking options on-site. Some
carriers need to know before delivery whether you have an unloading possibility and that access is
possible. Also, inform the carrier that they must unload. It has already happened that forwarding
agents have assumed that a forklift is on-site, or that truck access was not possible. If you have any
questions, you can also contact us at any time.

Security
Pay attention to occupational safety, and only do what you are confident doing by hand. Never
work alone and inform yourself well before setting up. We are happy to advise you and give you
tips.

                                                                                                    1
If you have any questions, please call 0800/7000477 or write to support@my-pergola24.com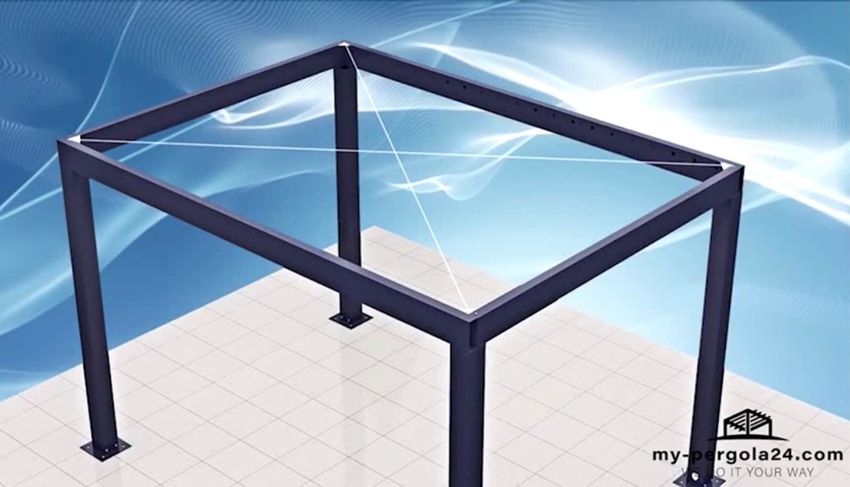
English

Step 1: Unpack, create an overview and attach end pieces to the slats
Take your time and space for the assembly and take care when moving the powder-coated parts to avoid
scratches. Now mount the end pieces to all slats using the screws provided.

Step 2: Orientation and slope

If you have chosen certain side parts, make sure that the pergola is in balance. Especially with the
motorised lateral slats, the alignment in scales and without slope is essential. Otherwise, they will not
close. If your terrace has a slight gradient, installation is still possible. An artisan can quickly recognise
whether you have to underlay/balance, and take the right measures. The rainwater drainage
system, which runs in the posts, has, already integrated, a pre-assembled slope. Thus, the free-
standing pergolas are to be aligned in balance and can be placed in such a way to the house wall.

Avoid excessive unevenness of the floor. If the alignment is not correct, the slats may not close
properly later and deviations may occur, which adds to larger gaps over the lengths. So, take your
time with the alignment, then the rest will go smoothly .
Step 4: Horizontal roof beams

Place the roof beams in pairs and fix them with the
supplied M10 screws and the distance plate. Before
tightening it, make sure it is at right angles.

We recommend greasing the screws. Be careful not
to damage the threads and use the right tool to
work without injury.

We also advise you to print out your individual
configuration/order because there are differences in
the illustrations. You can better place the parts. You
see the final result, and it is usually easier to work with
a construction goal in mind.

Note the slat alignment and the dimensions of the
parts. Avoid scratches and tighten everything
properly.

Step 5: Right angles and alignment

The alignment is critical because this is the only way
the slats will close adequately later.    All horizontal
and vertical angles must be at 90°.

If parts, or the surface, require adjustment, shorten or
underlay the uprights.

Only fix the screws now!

Step 6: Connection to the foundation

Make the stormproof connection to the foundation
by connecting the upright plates with drill holes and
the M12 anchor bolt.

If you have chosen the assembly with a sleeve,
connect the sleeve to the foundation and then guide
the post over it.

Types of foundations:
Roof terrace - strip foundation or steel plates free-
standing - 30x30x60 cm point foundation terrace
- stormproof connection to the underground roof
connection - stable connection wall/beam
                                                                    3
   Please also see our video instructions at www.my-pergola24.com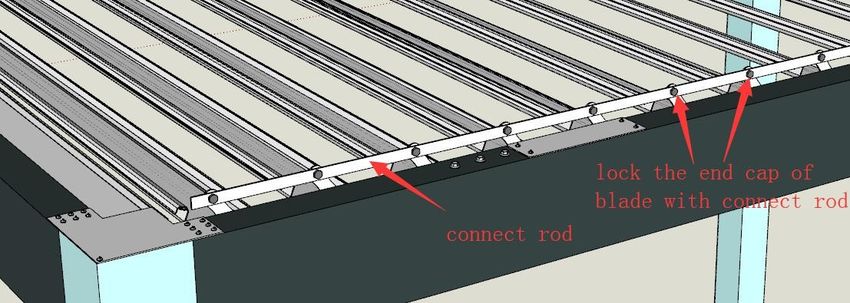
English

Step 7: Attach cover plates

The cover plates give the construction added
stability.

Step 8: Attaching rain panels/covers

Pay attention to your measurements and the
alignment of the parts.       The plates can have
different dimensions and are to be mounted flush,
in scales, at the bottom of the post. If screw holes
have to be adjusted, re-drill carefully. There may
be small deviations due to the powder coating.

Before you tighten parts, always check the next
steps in the assembly.

If the measurements differ only slightly in width and
length, pay particular attention to which parts are
used to measure them again for safety reasons.
Assembly instructions

Step 9: Tightening of the sheets

Tighten the plates and turn each one. Avoid guttering
overtightening the screws.

Step 10: Sealing with silicone

We recommend sealing the rainwater drainage system with silicone for outdoor use. Draw straight
lines and use washing-up liquid and kitchen paper, if necessary, to achieve clean finishes.

                                                         Step 11: Siliconising

                                                         Seal along the red lines with high-quality silicone
                                                         for outdoor use. You can also work with bitumen
                                                         sealant or other sealants.

                                                         Other parts of the pergola do not need to be
                                                         sealed. Pay attention to where you have
                                                         selected the rain outlet in your configuration. It
                                                         should be on the side facing away from the
                                                         house and must already be taken into account
                                                         when setting up the posts.

                                                                                                        5

The structure may vary if your configuration includes certain extras.
English

Step 12: Insert rotary bearing

Insert the rotation bearings into the prepared holes of the roof posts to hang in the slats later.

Note that on the motor, the rotation bearings A with the hole must be inserted and the closed B
bearings on the opposite side.

Always pay attention to occupational safety and take your time. A mobile scaffold or stable ladders
and sufficient helpers are required.

                                                Step 13: Fixation clip

                                                Pull the fixing clip to the back and use suitable
                                                pliers.

                                                Now hang up the slats one by one - see the next
                                                page.

Ideally you should read the assembly instructions before the pergola is delivered.
English

Step 14: Insert slats/engage fixing clip
Push the slats with the fixing clip pulled backward into bearing A (open at the motor), then they
can be guided into bearing B (closed). Now remove the fixing pin forward until it snaps in and the
slat is hooked in and secured.

Now hang in one slat after the other until the roof is closed.

Step 15: Connect motor side (bent end piece) with the rod

Connect the slats to the rod and align them strictly vertically. When the roof is closed, they must
interlock and close the top. Tighten the rod on each slat with the Allen key.

Ideally you should read the assembly instructions before the pergola is delivered.
English
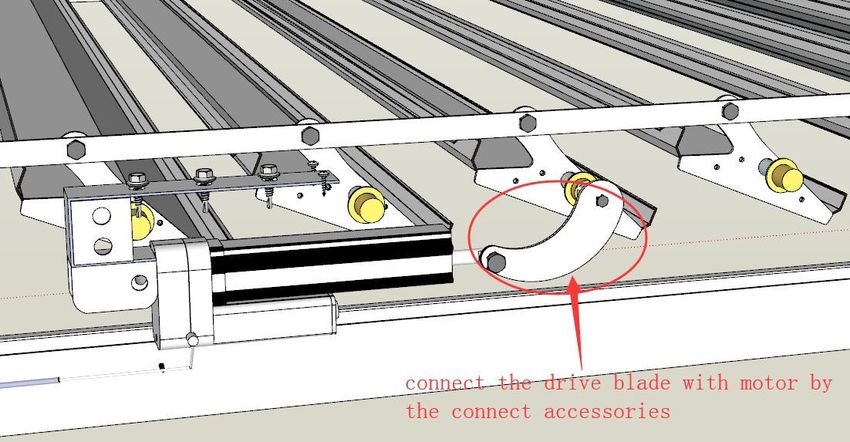
Step 16: Motor connection
This illustration may vary depending on the pergola's size, and there may be other connecting
parts. The pushrod must be well connected to each slat and is next attached to the motor.
Step 17: Assembly of further extras and
electrics
The electrical system is 80% pre-installed,
but we recommend that you consult a
professional for completion and final
electrical inspection. But you can also do
this yourself as an experienced craftsman.
The other installation of the extras depends
on the configuration. The important
positions have already been specified in
the configurator and are prepared.
Now enjoy your new bioclimatic terrace
room, and we wish you much joy and a
gain in your quality of life.
View of the finished lamella roof
Please note that depending on the configuration further steps are necessary. Assembly of the extras.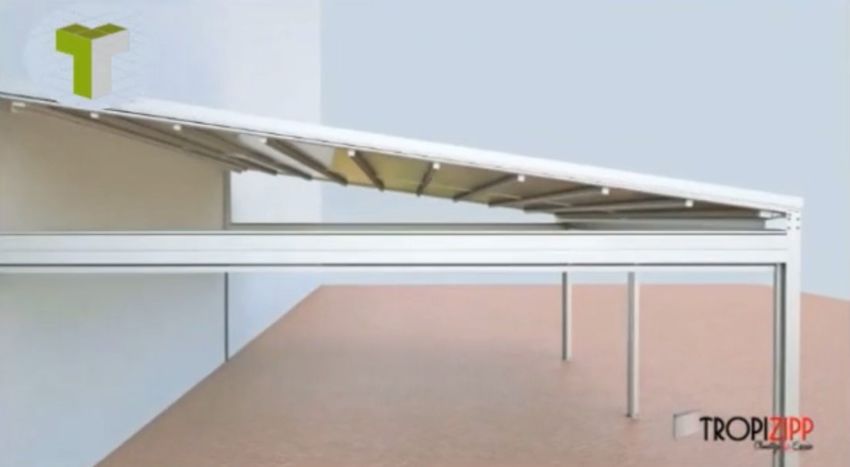
Assembly instruction ZIP-

 Lateral ZIP blinds with remote control

 One of the indispensable extras is the
 side zip roller blind with an electric
 motor and remote control. We offer
 you an incomparable price.

 Please note the following important points
 during assembly:

 Step 1: Unpacking - Blinds

 Fasten the covers of the zip roller blind.
 You may have to pre-drill the holes with a
 drill bit. When the blinds are inserted, the
 end cover should be flush on the outside.

 Step 2: Motor position

 The electric motor can make inevitable
 revolutions from 0 positions and then
 reaches its maximum position. It is
 imperative to find this 0 position (roller
 blind up) before installation.

 It is possible to connect the roller blind
 briefly to the power supply if this 0-position
 is adjusted. This is the only way that all
 blinds will move up and down in the same
 position.

  Step 3: 0-position found

  When the 0-position (roller blind fully
  rolled up) is found, the installation can
  begin.

  Before you install all the slats, connect
  them to the power supply and check
  that all the blinds move up and down
  properly in the same position.

The side blinds have a high dead weight, and it is important to find the 0-position before installation.
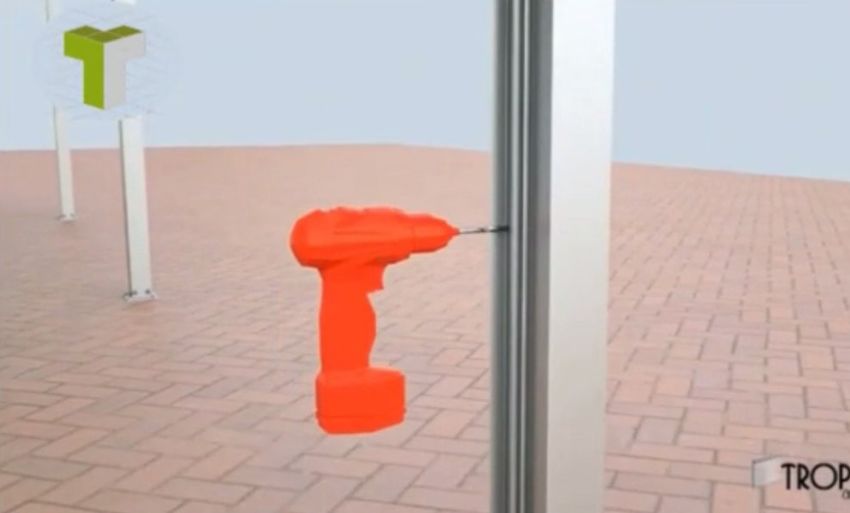
English

  Step 4: Inserting the roller blinds

  Now things are moving quickly. Insert
  the blinds and pay attention to the
  electrical connection.

  The lateral motorised ZIP roller blinds
  have robust plastic-coated sun
  protection, which is usually very
  resistant. In later use, the roller blind
  should not be used in strong wind.

  But a light breeze is no problem.

  Step 5: Lateral guide assembly

  Now mount the side guide and make
  sure that the roller blind can run
  vertically perpendicular.

  Please mark the holes and always
  pre-drill with a small metal drill when
  mounting on aluminum.

  Step 6: Lateral guide assembly

  Now screw the lateral guide rail
  tight.

Please read our FAQs before setting up and call us if you have any questions.
English

Step 7: Lateral guide assembly

Repeat the installation of the rear side
rail on all uprights and roller blinds.

It would help if you previously
reached the 0-position (roller blind
up) on the motor. The roller blinds
can run vertically free in the
perpendicular.

Make sure that you pre-drill the holes and
do not overtighten the screws.

The side parts must be firmly
attached to the aluminum or the
wall.

Next comes just the cover strip and
the connection of the roller blinds to
the general electrical system.
You can also read