Chassis & Safety - The electric vehicle build programme for New Zealand schools! Take up the challenge to use an electric bike kit to power an ...
←
→
Page content transcription
If your browser does not render page correctly, please read the page content below
3. Chassis & Safety

The electric vehicle build programme for New Zealand schools!

  Take up the challenge to use an electric bike kit to power an
electric bike or cart of your own design, and outdo your friends
                           on Race Day!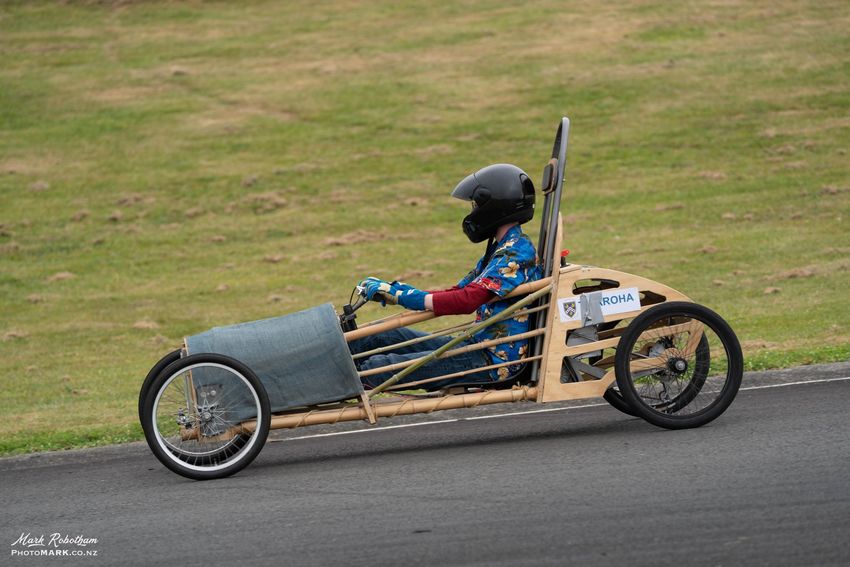
Choosing frame material
The material you choose to make the frame out of will
be decided by a number of factors
Ø What materials do I have available?
Ø What skills do I have to work with the
materials?
Ø What tools and facilities do I have
available?
Ø What help can I get?
Ø What is the best material to use for my
design?
When you ponder these don’t lose sight of your
dreams!
Sometimes determined effort can allow us to exceed
limitations and do something truly wonderful. The trick
is to be realistic and know what you can do in the time
available. Include your teacher in your discussions.
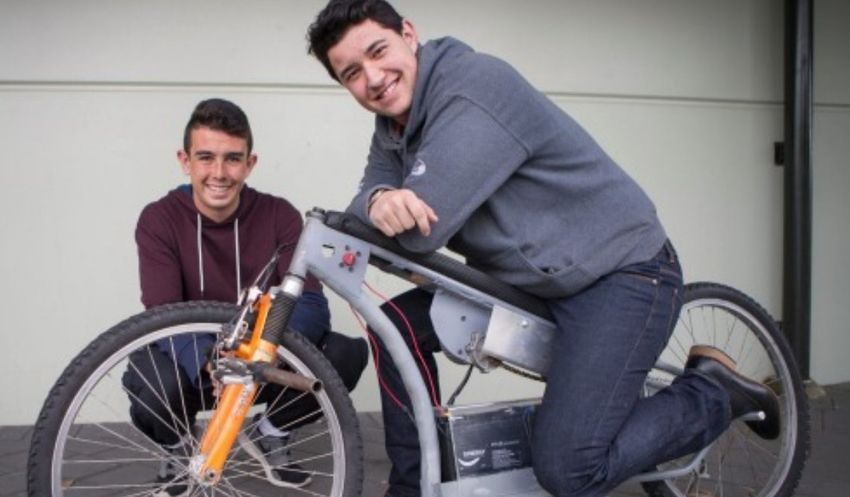
A thoughtfully reconstructed bike A sophisticated aluminium build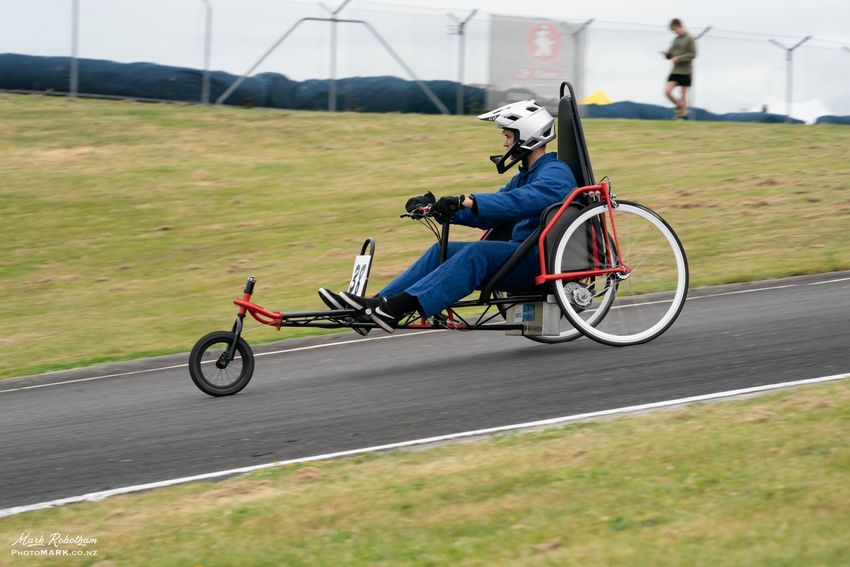
Materials – some possibilities
Often the materials you use will be dictated by the resources you can find or recycle.

Old bikes – these are usually made from steel which can easily be welded after some
tutorials.

Tube steel – this comes in various diameters and wall thicknesses. Round tubing is quite
strong. Go for the lightest (thinnest wall thickness and small diameter) that still retains
the strength you need. Square tubing is also available and is also strong. Solid steel rod
will be much heavier.

Aluminium -This is light, but welding is not trivial. It comes in several cross sectional
shapes as for steel. Some teams have been challenged to become very good welders of
aluminium and these skills are sought after by engineering firms.

Bamboo and wood - These materials are seriously underestimated and easy to work
with. Do consider them. Wood is easy to glue, screw and join and is often affordable
and readily available.

Carbon Fibre – Material of the future. Incredible strength to weight ratio. Becoming
more widely used because you can make parts so much lighter. Some teams have tried
using carbon fibre on small objects and moved onto full cart frames as they have
become more skilled. Carbon fibre kits are available from car parts shops, TradeMe and
other outlets. If you use it, abide by manufacturers directions and safety precautions.
Chassis strength
When putting a frame together be careful to ensure it cannot be distorted. Driving a vehicle can result in unusual
(unpredicted) stresses which can lead to frame collapse. We don’t want this to occur if the vehicle is travelling at speed.

eg a frame like this:                                  could easily become distorted like this:

…. But it won’t if it’s braced like this:                     or even this:
Chassis building for strength and safety

A cart chassis
Tapered rear end will help
negotiate the slalom run in
the Gymkhana.                                                                                              Roll bars are required on all
                                                                                                           carts and must be higher than
                                                                                                           the drivers head + Helmet. The
                                                                                                           back stay fixes the roll bar from
Side bars like these will stop the frame                                                                   front to rear movement. A stay
from sagging when the driver gets in &                                                                     across the width of the roll bar
also protect them from side impact.                                      The design of the area around     may be needed to stop a
                                                                         the driver, must ensure they      sideways collapse.
                                                                         are protected from all angles.
                                                                         A ‘Safety Cell’ should be
                                                                         formed as is the case in racing
                                           Often the rear wheel          cars. This shouldn’t be able to
                                           mount is the back of a        collapse in an accident.
                                           bike. The single wheel will
                                           have brakes already fitted
                                           and a very useful gearing
                                           system.
Materials – wooden chassis
                                             Talk to your teacher about the many types of timber joints and where to use them

                                                                                                A lot of skill went
                                                        Superb bamboo cart.
These are easier to make as the frames can be                                                   into this build of
glued and screwed together as is shown with                                                     Onslow College.
                                                                                                The bamboo
these two carts from Te Aroha College. Joints                                                   frame was built
need be carefully considered in order to make                                                   up from layers of
                                                                                                veneers. The
the vehicle as resilient as possible for race day.                                              contours of the
                                                                                                design are hard
                                                                                                to see in this
                                                                                                photo.

      A strong joint                                               A fantastic plywood build.
      for the corner
      of a wooden
      frame, These
                                                      These beautiful Morgan roadsters have
      can be glued
                                                      a wooden chassis and are still being
      and screwed
                                                      made today. Enthusiasts say the
      from two
                         Search wood joint            flexibility of the wooden chassis
      directions
                         types for options            contributes to their superb handling
Materials – steel welding

Welding tutorials are being organised for students in most regions. They are really worthwhile                 Dress safely         Good gear is
and great skill advances can be achieved in a short time. Feedback from students has been                                           available
fantastic. They commented on how much they enjoyed the sessions and found the skills
incredibly useful.

Most courses will use Metal Inert Gas (MIG) gear. This process ensures the molten metal is
protected from oxidation in the welding process and makes the job easier, neater and stronger.
Many schools now have MIG gear instead older arc welders.

Electric welders create an electrical arc between the welder and an ‘earth’ attached to the work.
When the arc strikes, metal is transferred to the earthed surface to form the weld.

Be sure to wear closed shoes, cotton overalls, leather gloves and a welding helmet with a
protective screen. Do NOT look directly at a weld as it is happening without using a protective
screen. Auto darkening screens are now available to help see where the weld is to start.

Some good instructional videos are available for MIG welding:
Short simple coverage:
https://www.youtube.com/watch?v=Sd9aVJ9twVI
more detail: https://www.youtube.com/watch?v=Xod-ByrxHg4
                                                                                                    Check out the advice &
                                                                                                    techniques in the videos and
                                                                                                    practise, practise, practise.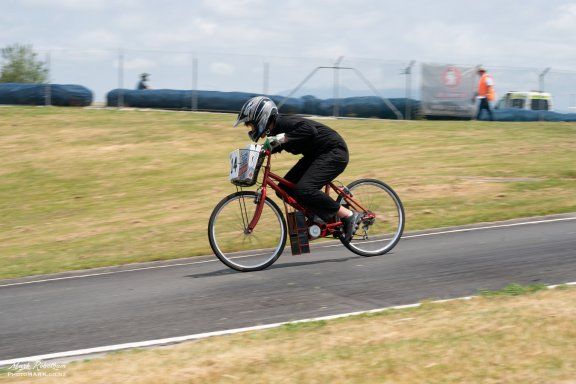
Materials –carbon fibre

Carbon Fibre carts have appeared in recent years and we predict that their lightness
will attract more teams to use it for their chassis.

Use of carbon fibre is covered in the Materials PowerPoint.

When using Carbon Fibre, you will need a mould to shape your sheets over. Some
teams have used wood (covered in layers of plastic) to create tubes of the desired
length then pulled the wood out and welded the empty tubes together using further
layers of carbon fibre. Use this to build bracing into your chassis of design.

The process requires a lot of work but the results are stunningly good and the material
has huge strength-to-weight ratio. It is a modern solution now being used in boats,
bikes and cars.

Chassis and body shapes can be made into sophisticated designs.

Both of the vehicles shown have chassis of carbon fibre.
Design consideration – ease of
                                                                                     development

Building in more than one location:
This cart was probably the fastest at nationals in 2019. Luka and
William designed it to be broken down into sections to allow
each of them to work on a particular section at home then bring it
back to school to check how the whole machine performed.

                       Building it in this way also made transport easier.

The Waimea Fantail Go team
were also able to break their
vehicle down while it was being
developed.                                                                        These joiners enabled deconstruction
Design consideration - stability Teams design the width of their vehicle to provide a competitive edge for particular events. Wide designs are good for cornering stability and a narrow wheel base will limit cornering speed but be good when negotiating a slalom. Do note that wider wheel based machines are often difficult to fit on a trailer! Make your vehicle with its mass and load as low as possible and as wide as your trailer allows. Large bike wheels are very easy to turn, they handle uneven surfaces well with lower friction.
Design consideration – some
                                                                                                   past bike options

Bike frames are usually
completely rebuilt as teams
redesign them to suit. All of
these bikes were cut down the
front of the seat stem and
behind the handle bar yoke
stem as shown.
                                                                                         A                               B                C
Team “A” developed a CAD design for the 2 sheets of MDF. They then used them to
form a sandwich either side of the bike frame to solidly link the rear frame and front
wheel assembly. Batteries and controller were fitted inside the sandwich. The rider
position was then lowered to improve the C of G for the EVolocity competitions. All of
these bikes could exceed 50kph.

Some teams have used bamboo or Carbon Fibre (C) effectively instead of MDF.

                                                                                             Successful standard bike with
                                                                                             mid mounted motor. No
                                                                                             change to bike frame except     This shows the frame
                                                                                             cowling over working parts. A   modifications of bike “B” above
                                                                                             very smooth runner.
                                                             Other design options
Design consideration –
cart options
The chassis of this cart is all steel
framed, strong and durable. The
driver is well protected.
The chassis of this cart is
Bamboo with steering etc attached.
A very effective lightweight design.
The chassis of this cart is
suspended below the axle height. It
is very light has a protective safety
cell.
The aluminium chassis of this cart is built on substantial
side runners. Note the variations in the gauge of the metal The chassis of this cart is made from
in each position. The cart is well designed with an excellent carbon fibre. Good safety cell
safety cell. around driver.Design consideration –
Interesting developments
This cart from Otaki College underwent a significant
steering rebuild to provide wheel camber, reduce its width
and improve its turning circle. These changes made it a
leading competitor in all events.
This impressive and innovative vehicle
didn’t have a steering wheel. Instead it
was controlled by an X-Box. The vehicle
progressed through several upgrades to
reach the steering smoothness and
driveability that satisfied safety
scrutineers.Design consideration –
More innovations
When this bike tilted as it cornered the sidecar wheel did too.
As the second photo shows, this was achieved with an
impressive level of engineering. The build used steel tubing.
This cart from Another steel cart from
Long Bay College Long Bay College that
had tilting abilities has castor wheels on
similar to the the back that could be
above but was fixed and run like a trike
steered by two or released to turn of
levers. their own free will and
drift impressively.Ensure that the RED of the
controller is connected to the
POSITIVE of the battery.
Similarly Controllers BLACK
wire must be wired to the
NEGATIVE of the battery
Swapping the wires over will
make the motor reverse
Electrical Safety
The throttle connection is
This is the controller Wiring essential
Diagram for the standard motor Motor works when ignition
switch is closed.
kit. Connect BLACK & RED wires
of switch to BLUE & RED
controller wires.
To get the kit to work initially
you only have to connect the Optional connection
Motor, Key, Throttle and
Batteries. Optional connection
Optional connection
Optional connectionEnergy Monitor Connector—Wiring harness
For the 2019 Economy Run an energy monitor will be used to allow the vehicle 50W.hr of energy. When this amount of energy is
consumed, the vehicle will stop and the distance travelled will be measured. The winning team will be the one that travels the greatest
distance.
Correct Wiring Order
For safety your wiring must include: Controller Negative Battery
Positive + - Fuse
• Standard kit - Fuse connecting the batteries. Battery
Controller
• Thermal Cutout switch - wired as indicated. This
ensures Open Class motors are restricted to Controller - +
Battery
1kW. Positive
Kill switch Battery Negative
wired in
here
Kill Switch – wired as shown between the battery
and controller. This must be clearly marked with a Open Class (only) - the thermal cutout is to be connected between the Kill switch and the controller.
sticker provided on Race Day.
Wiring the The LONG LEADS of the harness go to the BATTERY.
Wiring harness for Energy Monitor Leads MUST be the correct way around red to positive, black to negative.
connector:
Before Race Day you will be provided with a wiring
harness for the energy monitor. This box will be Placement: Ensure the blue connector is easily accessed. The connector will be pulled apart for the
loaned for the Economy Run and fitted between Economy Run and an energy monitor box inserted. The box measures 110x60x50mm
the blue connectors (as shown) immediately before
the event. The monitor will allow your vehicle to
use 40Wh of energy before it shuts the vehicle off.
Your challenge for this event is to go as far as
possible on 40WH of ‘fuel’.
Accessible Kill Switch
Wiring must be secured and protected. Give some
thought to running the wires through plastic tubing
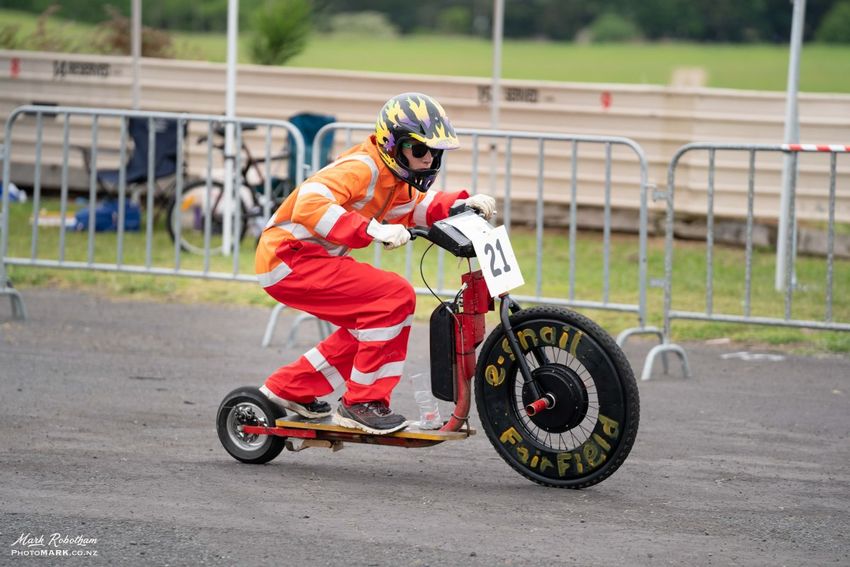
(ducting) and using cable ties.Safe dress for race day drivers
Visor / Eye protection
Full face helmet recommended
Overalls
On Race Day drivers must preferred
be dressed in all of the (No skin
showing)
gear shown. This will be
checked at the start of
each race.
Leather gloves
Sturdy
shoesIN FOR SOME FUN? C H E C K T H E S E O U T F O R P R I D E A N D PA S S I O N !
You can also read