Permaflo Purity Countertop Water Purifier - unlimited pure drinking water - Installation Instructions and Warranty
←
→
Page content transcription
If your browser does not render page correctly, please read the page content below
Permaflo Purity
    Countertop Water Purifier
Installation Instructions and Warranty

     …unlimited pure drinking water
          www.permaflo.com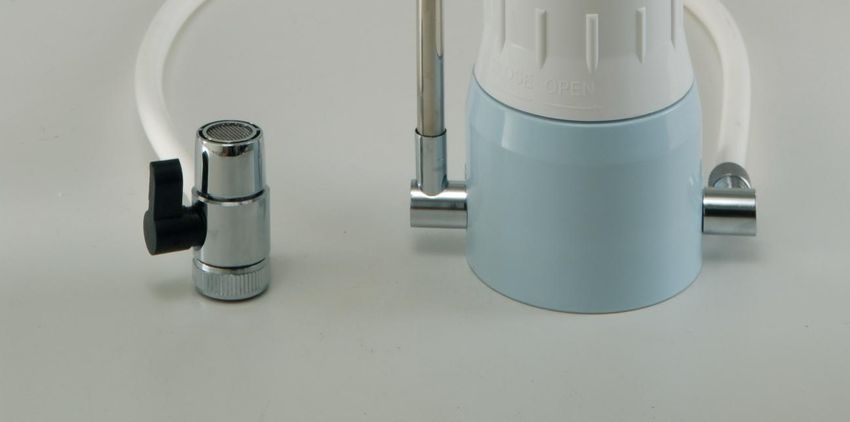
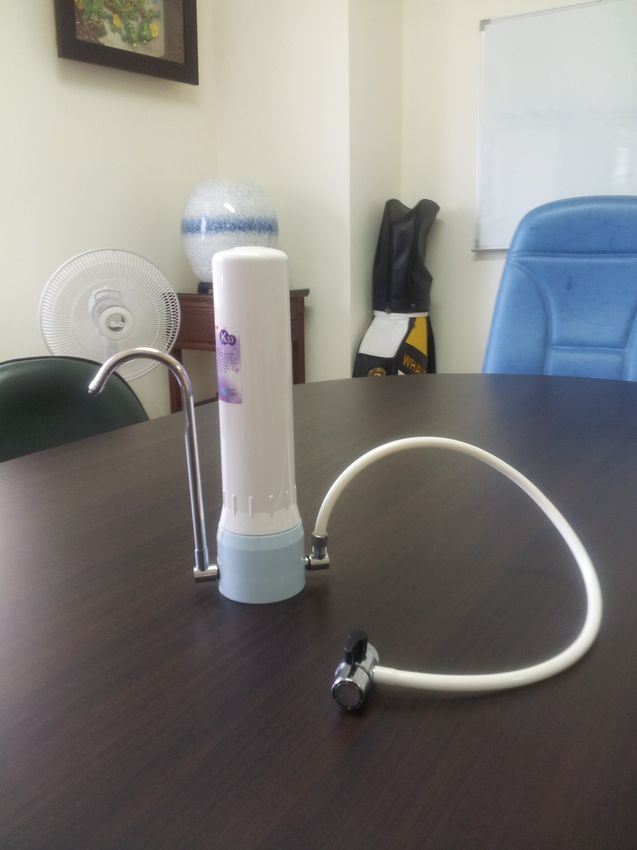
INSTALLATION

Unscrew the aerator from the end of your faucet to reveal the thread connections and check to
confirm whether this connection is male or female. Your diverter valve comes with a standard
3/8” female thread connection and will connect directly to a 3/8” male faucet connection. If
you have a 3/8” female faucet connection, then you will need to use the universal adapter that
has been provided as part of your Permaflo Purity connection kit.

Lubricate the new diverter valve with vegetable oil. Pour a drop of oil into the top of the valve
in the hole and then work the stem back and forth.

Note: This procedure should be done every few months to keep the valve lubricated internally.

Using finger pressure only, screw the diverter valve onto the faucet threads. The threads are
easily damaged so be careful to prevent cross threading.

If you cannot thread it on by hand, then something is wrong. Stop and investigate.

Once the valve is screwed on finger tight, a pair of pliers can then be used to snug it up. It does
not require a large force. Position the hose so that it does not interfere with the sink before the
final tightening. You can use elastic bands to hold the hose tight to the faucet so that it remains
out of the way.

Unscrew the countertop housing top. Remove the bubble wrap packaging from the ceramic
cartridge. If the ceramic is not already installed, inspect the new ceramic for any damage or
cracks. Make sure the black o-ring is in place. Gently thread the ceramic into the base of the
housing until it is snugly seated. Extensive force is not required and no tools should be used.
Carefully replace the top over the ceramic and thread it into the base. Again, hand tight is all
that is required.

Place the complete unit into the sink. Turn on the cold water slightly so that it flows through
the diverter valve into the sink. Inspect for leaks around the diverter valve faucet connection
and the aerator connection. Turn on the diverter valve stem (sending water to the filter
housing) and again inspect for any leaks from the diverter valve connections or the sump o-ring.

Note: If a leak is observed, simply turn off the cold water tap, wait for the pressure to drop and
then snug up the leaking connection as required.

Increase the water pressure and again observe for leaks for at least two minutes. While
observing, rotate the filter unit onto each side so that the top of the sump is held lower than
the base. This will allow excess air to escape from inside the unit enabling it to work more
efficiently. Allow the water to run to waste for five minutes.
Note: Each time you install a new ceramic cartridge, you will see small black specks in the water
for the first minute or so. These specks are carbon dust from manufacturing which will quickly
flush away. These are harmless if consumed.

Turn off the cold water. Dry the unit off and place it on the counter. Enjoy your delicious
purified water!

Note: If the filter is left to stand for more than 3 days then it is recommended that water be run
to waste for 1 minute before using.

                                        STERILISATION

Permaflo ceramic cartridges contain silver and do not require sterilization. They are designed to
remove chlorine, taste, odor and other dissolved contaminants such as organic molecules. After
the ceramic candle traps the bacteria, the silver impregnated into the ceramic pores makes
them unable to reproduce. Ceramic candles can be cleaned and reused many times. As the
pores in the candles filter out particles and bacteria, they get clogged and the water production
slows. When it slows to the point that the water production rate no longer meets your needs, it
is time to service them using the procedure below.

Note: Permaflo ceramic filters have an auto shut off capability. This means that once the filter is
spent, it will no longer allow the flow of water through it. This ensures that you do not run the
risk of accessing impure water through the filter. As long as the cartridge is operational, it will
only allow clean, pure water through it!

                              CLEANING AND MAINTENANCE

Cartridge Service

Note: Prior to service, ensure you have some petroleum jelly (Vaseline) on hand along with a
brush or rough nylon pad for cleaning the ceramic.
1. To service the counter top system, ceramic cleaning or cartridge replacement, place the
unit into the sink.
2. Unscrew the sump containing the cartridge and let the water runoff.
3. Lift off the housing lid with the cartridge still installed on the base and drain off the
remainder of the water. Carefully remove the ceramic unscrewing anticlockwise and
clean following the instructions.
4. Using a stiff brush, or nylon scouring pad, scrub the outer surface of the ceramic under
cool running water until it returns to a uniform off-white color (yellow tint). Do not
scrub too close to the mount. This is the area most prone to accidental breakage during
installation or removal so it is best to keep the ceramic as thick as possible next to the
mount.
CAUTION: Always keep the inlet up (threaded mount) and do not allow the inlet to come
into contact with the running water.
Note: Never use soaps, detergents, bleach, or any other chemical during the cleaning
process. Excessive cleaning shortens the life of the ceramic.
5. If you have a bottle brush, you can clean inside the housing with hot soapy water, then
rinse well. Lubricate the o-ring and threading of the base with the petroleum jelly
(Vaseline) and replace the lid. Hand tight only.
6. Let the water flush for one minute. (If replacing with a new cartridge let it flush to waste
for five minutes.)
Diverter Valve Service
1. The diverter valve must be serviced regularly. The exact service interval is difficult to
dictate, as frequency of service depends on the condition of the incoming water.
Mineral deposits and contaminants in the water will build up on the internal o-ring seals
and cause the valve to stick or become stiff to operate. Failure to service the valve will
eventually cause the o-rings in the valve to fail.
Note: A good rule to follow is to service the valve each time you clean the ceramic.
2. Unscrew the diverter valve from the faucet. Place a single drop of liquid dish washing
soap into the top of the valve and steadily operate the diverter valve back and forth.
Continue to do this under a fresh stream of water to flush away the soap.
3. Place several drops of liquid cooking oil (canola oil not olive oil) into the top of the valve
and again operate the diverter valve stem back and forth. Rinse with hot water.
4. Connect the diverter valve and test for leaks.Warranty The housing is warranted to be free from defects in material and workmanship for a full 1 year from the time of the original purchase. Any housing ever found to be defective will be repaired or replaced at no charge to the customer. *This warranty does not apply to any part or component that has been subject to misuse, neglect or altered in any such way that its performance is affected. To receive the full warranty you must replace your Permaflo Water Purification Cartridge with a genuine Permaflo certified product within the proper replacement period, generally every three to six months, depending on use. For questions, please call 0813 387 4435 or email contact@permaflo.com
You can also read