Processing Frozen Tissue Samples - A Step-by-Step Guide - Tissue Solutions
←
→
Page content transcription
If your browser does not render page correctly, please read the page content below
Processing Frozen
Tissue Samples
A Step-by-Step Guide
Introduction

 The Intelligent Tissue Group is a global provider of ethically sourced,
 high-quality human tissue and biomaterials and tissue-related services.
 We understand it can be challenging for scientists and researchers
 to procure tissue samples for their research. Once you have the tissue
 it is essential to ensure they are processed in a standardised way
 to avoid any quality issues.

 We hope this guide to processing frozen tissue samples will be
 a useful resource for anyone carrying out this type of lab work.
 In this guide we will outline some guidance for processing frozen tissue samples
 in accordance with global best practices. The guides below are split into specific
 processes with steps on how to best control for the following biological material:

 • Background Information
 • Process 1 – Isolation for RNA
 • Process 2 – Isolation for Proteins
 Please note these processes are for guidance and may vary depending on your
 application. Where relevant you should always follow the manufacturer’s instructions
 for any testing kits. If a commercial product is not used in accordance with the
 manufacturer’s instructions, responsibility for its use and performance lie with the user.
 Please be aware that the combination of products used from different manufacturers
 can impact on results due to potential incompatibility. They should only be used for
 testing if they have been tested together and validated to work accurately.

A Step-by-Step Guide to Processing Frozen Tissue Samples                                      2
Background Information

 The following steps will take you through some of background
 information relating to the handling of frozen samples.

 Outside the Laboratory
 1. Tissues taken for diagnostic purposes                  4. Transport conditions should be considered,
    could be from a larger section of tissue                  whether inside or outside the laboratory
    or perhaps via a biopsy and should be                     to ensure no adverse effect to the samples.
    fast frozen where possible.                               Accidentally freezing samples by using cool
                                                              packs in the wrong way for example can
 2. Post mortem tissues can also be frozen                    lead to RNA degradation and impact
    but should be done in a short timescale                   on the morphology of the sample.
    between death and autopsy to limit any                    Considerations should be given to the
    impact on the preservation of the RNA.                    containers used for transporting frozen
                                                              samples, the selection and use of any
 3. Cold ischemia can impact on RNA isolation                 stabilisation procedures (such as cooling
    so where possible direct freezing is                      methods) and labelling of containers.
    advised. Tissues should be transferred
    to an appropriate container without delay              5. Temperature monitoring should be
    to minimise any RNA profile changes.                      applied where possible whilst the
                                                              samples are being transported.

 Inside the Laboratory

 1. Samples should be recorded and handled                 3. Before proceeding to freeze the sample
    as per the receipt process determined                     the container should be labelled accordingly.
    by the laboratory.
                                                           4. To freeze the sample there are three
 2. Any temperature deviations noted within                   possible methods; snap-freezing,
    transport should be noted and handled                     fast freezing and frozen section.
    as per your protocols. This is due to the
                                                              See more about these on the next page.
    potential impacts to the RNA quality of
    the sample being affected by different
    temperature conditions.

A Step-by-Step Guide to Processing Frozen Tissue Samples                                                      3
Background Information (Continued)
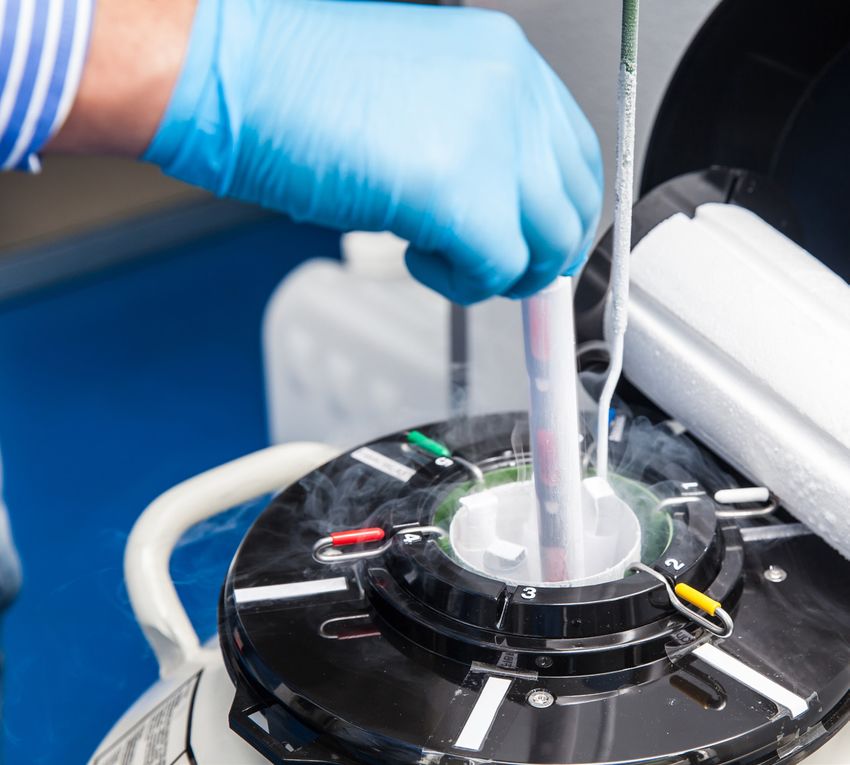
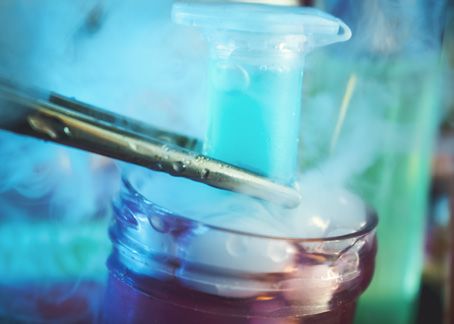
Possible freezing methods:
a. Snap-freezing b. Fast freezing
This method is preferred as it offers the This method uses dry ice or liquid nitrogen
best preservation of good morphology in to freeze the sample quickly. A pre-cooled
frozen samples. Isopentane is used for this (between ≤-80˚C to >-196˚C) metal
method and should be pre-cooled between plate or basket should be used and placed
≤-80˚C to >-160˚C. This can be done via on the surface or the dry ice or liquid
liquid nitrogen, dry ice or -80˚C freezers. nitrogen. Alternatively you can freeze
Ensure a tube or container is used that the sample directly within liquid nitrogen
can handle large and sudden temperature or in the pre-labelled storage vial in liquid
changes. The volume of isopentane used nitrogen or dry ice.
should be at least 10 times the volume
of the sample. When snap freezing ensure Please be aware that freezing directly
the sample is completely submerged in can have impacts on the morphology by
the isopentane. The sample should be a slow freezing process due to rising salt
submerged for approximately 5 to 60 concentrations and crystal formation. In
seconds based on the tissue size. Once particular freezing in liquid nitrogen can
frozen the sample should be transferred cause the Leidenfrost effect by causing
to its pre-cooled cryo-vial for storing. the boiling of liquid nitrogen around the
tissue. This leads to a liquid nitrogen vapour
Please be aware that isopentane is an surrounding the tissue and slows the
extremely volatile and flammable liquid at freezing process.
room temperature and pressure so ensure
you work in a well ventilated area and
isopentane is cooled sufficiently.
c. Frozen section
Ensure the tissue is transported without
delay to the laboratory for processing using
this method for freezing. The selected
part of the sample should be placed in the
metal grid that fits into the cryostat with
an appropriate freezing medium. The metal
grid should be held in the liquid nitrogen
or dry ice until the sample is frozen. After
cutting the sections the remainder should be
removed from the metal grid and stored
in a pre-cooled vial for long term storage.
A Step-by-Step Guide to Processing Frozen Tissue Samples 4Process 1 Isolation for RNA
The following steps will take you through some of the
important aspects to consider when preparing and
processing frozen samples for isolating RNA.
1. Some important aspects when selecting 5. When cutting, the relevant parts of the
samples for RNA isolation is to ensure microtome including the reusable blade,
the storage conditions have not impacted should be cleaned after each frozen tissue
on the sample. is cut. We recommend using disposable
a. It's important the selected sample is blades which can be used for each new
reviewed before processing for RNA sample to prevent cross contamination.
isolation to ensure it's a suitable sample.
This can be completed by preparing a 6. Any extracted RNA should be stored
parallel H&E (haematoxylin/eosin) to review on wet-ice or at a temperature of 2˚C
before processing by a qualified pathologist. to 8˚C and assayed immediately.
For molecular examination suitable parts
should be selected from the same area 7. Commercial kits should be used according
and areas of necrosis and bleeding should to the manufacturer’s instructions.
be avoided. If a commercial product is not used in
accordance with the manufacturer’s
b. Freezing of tissues may result in the
disrupting of the cellular membranes within instructions, responsibility for its use
the sample as a result, when thawing and performance lie with the user.
the tissue enzymes can be released and
activated causing degradation to the RNA
quality. To prevent this from happening
ensure the sample is not thawed prior to QC Assessment
its dispersion in lysis buffers with suitable
RNase inhibiting substances. The quantity and quality of the product
should be checked according to the
c. Storage temperature can influence the manufacturer’s instructions, however if
RNA stability within the tissue which can not using a commercial kit established
result in RNA degradation impacting on the procedures should be used.
validity and reliability of results, so review
records for any deviations. Some are referenced below:
Quantification by absorbance
2. All materials that could come into contact measurements or spectrofluorometry.
with the sample should be nuclease free.
Test for purity by absorbance
To achieve this the material used (excluding
measurements such as wavelength scan.
the lysis buffer and vial containing the buffer)
should be cooled toProcess 1 Isolation for RNA (Continued)
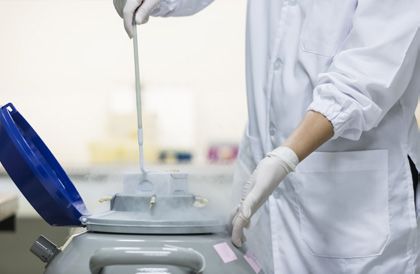
Storage Conditions
The standard method for storing isolated RNA samples is to freeze where
this should be eluted in an appropriate buffer and stored at ≤−70˚C.
For long term storage aliquots should be taken to prevent repeated freezing
and thawing of samples. These aliquots should not be diluted further to
avoid a reduction in the RNA quality.
Appropriate storage vessels should be used for long-term storage to prevent RNA
degradation. This is usually done through cryogenic vials to avoid water evaporation
during storage as this can make recovery extremely difficult if not impossible.
A Step-by-Step Guide to Processing Frozen Tissue Samples 6Process 2 Isolation for Proteins
The following steps will take you through some key requirements
in preparing frozen material for protein isolation:
1. Some important aspects when selecting 3. If using laboratories own protocols these
samples for protein isolation is to ensure should be validated to ensure they are fit for
you identify a suitable sample. purpose and instructions written and followed.
a. It's important the selected sample is
reviewed before processing for protein
isolation to ensure it's a suitable sample. QC Assessment
This can be completed by preparing a
parallel H&E (haematoxylin/eosin) to review To check the protein quality and quantity
before processing by a qualified pathologist. use a commercially available diagnostic kit or
For molecular examination suitable parts standard procedures, such as Western blot,
should be selected to determine the Bradford assay, or by suitable controls.
quantity of target cells before isolation
Some procedures used to determine the
of the protein.
purity and integrity may include:
b. The sample should not be thawed before
Sodium Dodecyl Sulfate Polyacrylamide
its dispersion into lysis buffers along
Gel Electrophoresis (SDS-PAGE) and
with suitable substances for preventing
Coomassie blue or silver staining
degradation or modification of proteins.
The sample should be thoroughly minced Capillary electrophoresis
while frozen then placed into the lysis
buffers containing the previously mentioned Mass spectrometry
substances for preventing degradation
or modification of proteins. Western blot (e.g. β-actin)
c. All tools used to handle and prepare the frozen To check the total protein concentration
sample for homogenisation or sectioning or the following procedures can be used:
transferring into the lysis buffer should be
clean to minimise any contamination with the Bradford assay
proteins. These should be cooled to at least Bicinchoninic acid (BCA) assay
-20˚C before use.
Lowry assay
2. When using any commercial kit these should
be specifically for isolation of proteins
from frozen tissue and should follow the
manufacturer’s instructions and guidelines.
A Step-by-Step Guide to Processing Frozen Tissue Samples 7Process 2 Isolation for Proteins (Continued)
Storage Conditions
1 If provided you should use the specific instructions supplied by the protein
isolation kit provider for storing the isolated protein.
If no information is available by the provider or if using your own validated
procedures, the isolated proteins should be assayed immediately.
If not possible to assay immediately you should have a verified procedure
in place on how to store the isolated proteins. Storage in solution on wet-ice
for approximately 2 hours can be appropriate in some cases.
2 For long term storage (for several years) this should be at -70˚C. If storing
long term, aliquots should be generated to avoid repeated thawing and freezing.
Try to avoid more than two freeze-thaw cycles where possible.
Proteins that are lyophilized can be stored for several years at 4 or -20˚C.
3 Protein stability can be affected by different factors such as freeze-thaw
cycles, pH, protein concentration, salt conditions etc so optimal conditions
for storing specific proteins can vary from protein to protein.
4 Appropriate storage containers should be used to avoid water evaporation
which can degrade proteins and make recovery difficult if not impossible.
Cryogenic vials help avoid water evaporation during long term storage.
A Step-by-Step Guide to Processing Frozen Tissue Samples 8Conclusion
Following a documented and standardized process for the
handling and processing of biological samples is critical to retaining
the quality of the tissue and ensuring you get the best possible
results and data for your research.
References
(1) ISO 20184-1, Molecular in vitro diagnostic examinations — Specifications
for preexamination processes for frozen tissue - Part 1: Isolated RNA
(2) ISO 20184-2, Molecular in vitro diagnostic examinations — Specifications
for preexamination processes for frozen tissue - Part 2: Isolated Proteins
A Step-by-Step Guide to Processing Frozen Tissue Samples 9www.intelligent-tissue.com This document is an online reference. Hard copy versions are valid on the day of printing only. Updated10/03/2021. www.tissue-solutions.com www.histologix.co.uk
You can also read