Assembly instructions, maintenance and safety information
←
→
Page content transcription
If your browser does not render page correctly, please read the page content below

Assembly

                Batch no. ....................
instructions,
maintenance
and safety
information

Triclimb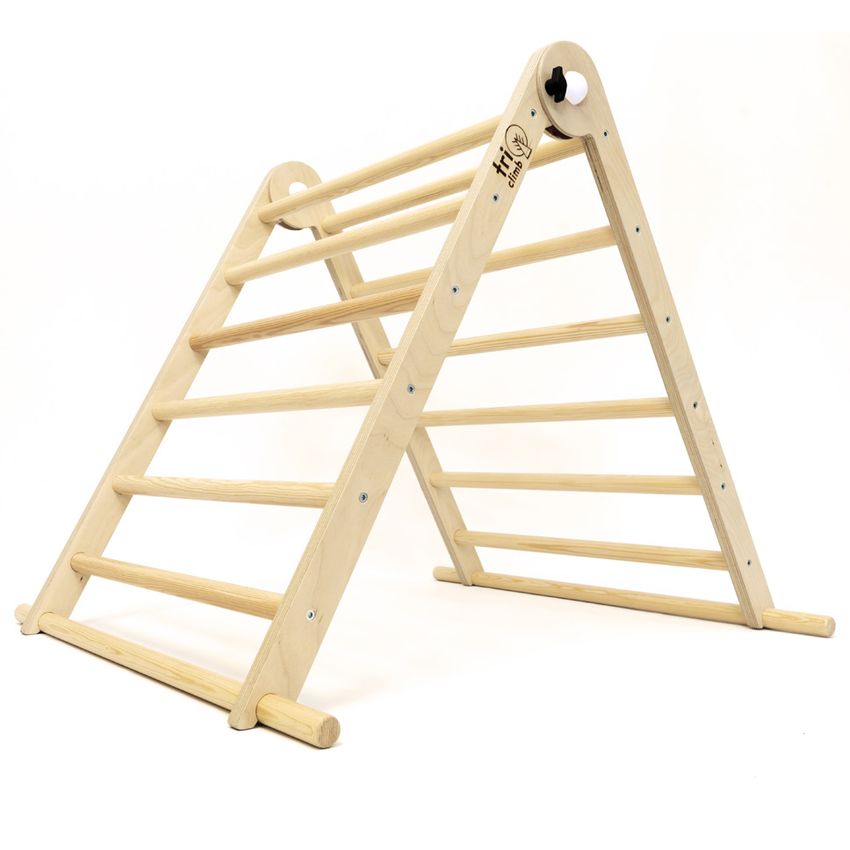
Suitable for ages 0+ Weight limit 100kg

                                     ENCOURAGE – ENHANCE – ENGAGE

Created to encourage children to be active, imaginative and creative in their play, the Tri Climb seeks to
enhance balance, develop motor skills and engage both mind and muscle.
Benefits of Play: The Tri Climb provides a surface designed for climbing which is intended for young children.
Younger children are still developing a sense of judgement and learning the strength of their own bodies.
They will be testing how far and how high they can jump and move. Their balance is still under development,
and they are learning how to solve physical problems using their bodies. The Tri Climb provides a chance to
develop all sorts of skills appropriate to their age; climbing gives them the opportunity to test, retest and
perfect their strength, coordination, self-confidence, concentration and independence.

                                             CARE INSTRUCTIONS

Caring for your Tri Climb is not only essential for improving safety, but will also add years to its life for
your children to play on and enjoy it as they grow.

WARNING: if the checks and maintenance of the Tri Climb are not carried out the activity toy could overturn
or otherwise become a hazard.
*All bolts and fixings should be checked regularly and tightened if necessary.
*It is important to check your Tri Climb for wear and damage regularly. If you are unsure as to the integrity of
any component, replace it immediately.
*We recommend that you regularly check your climbing frame for splits, broken or cracked wood and for
loose, missing or sharp-edged hardware. Replace, tighten and/or sand smooth as required prior to playing.
*The wooden components are manufactured from FSC birch plywood and solid timber poles; they are
protected with a durable child/toy-safe finish.
*To clean, wipe with a damp cloth and mild detergent. Dry immediately. Leaving water or cleaning agent on
the surface may damage the finish. Do not use abrasive cleansers.
* Do not modify the unit. Triclimb is not responsible for any injury arising as a result of modifications made by
customers to our products without our supervision, testing, or evaluation.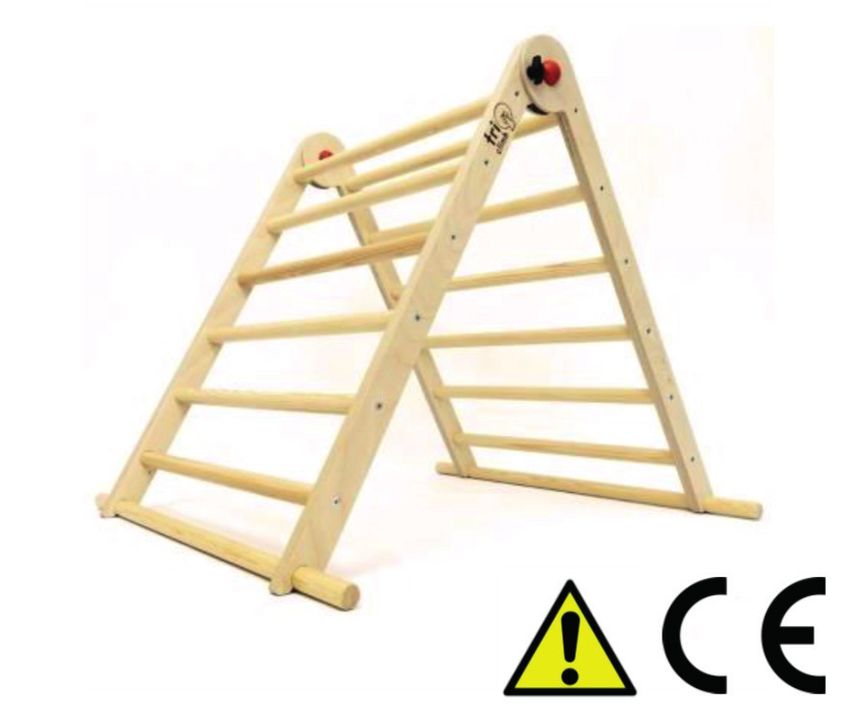
WARNINGS

*It is extremely important that you read and retain the information in this WARNINGS section to
reduce the risk of injury.
*Warning: contains small parts – choking hazard.
*Children must be supervised at all times while using the Tri Climb.
*No running, pushing or fighting.
*Only use the Tri Climb for its intended purpose. For indoor use only, in a domestic setting.
*Tip over hazard - Place play-frame on a level surface.
*Do not allow children to play on the Tri Climb frame until the unit is fully opened.
*Keep floors free of trip hazards and observe an obstacle free safety zone of at least 2m in all
directions around the unit.
*To minimize risk of injury from falling, do not install over a hard surface; a protective surface
should be used. Maximum vertical fall height - 590mm
*Never allow children to play with ropes, clotheslines, pet leashes, cables, chains or cord-like items
when using this play-frame or to attach these items to the play-frame.
*Never allow children to wear loose fitting clothing, ponchos, hoods, scarves, capes, necklaces,
items with draw-strings, cords or ties when using this Tri Climb
*Do not allow children to wear open toe or heel footwear like sandals or flip–flops whilst climbing.
*Do not permit rough play or use of equipment in a manner for which it was not intended. Jumping
from the top, elevated rungs could be dangerous.
*Observe capacity limitations of your play-frame - 1 user maximum.
*Recommended age: 0 months – 5 years
*Weight limit – 100kg
*Not suitable for children under 36 months until fully assembled – fall hazard and small parts –
choking hazard.
*Risk of entrapment when folding. Never allow children to open and close the frame – ensure the
thumb screws are secure both in the open position and the folded position. WARNING –
periodically check thumb screws to make sure they are securely in place.

                                         ASSEMBLY GUIDE

     Contents

 A   Long support poles x 2                          A

 B   Short climbing rungs x 12                       B

C    Leg sets (assembled) x 2                        C

 D   Flat head screws (hex head) x 24
                                                     D                     E

 E   Wood screws x 4

 F   Thumb screws x 2
                                                     F                     G
 G   Hex head Allen key x 1

     Tools needed:
     Philips head screws driver | Hex head Allen key (provided) | Check all parts are present
1                                                   2

Lay out the leg assemblies and six of the shorter   Insert rungs into recessed holes on one side.
rungs (C) roughly as above. Place the legs with     Insert flat head screws (D) and tighten using the
the larger holes facing inwards.                    hex key provided.

Items required:                                     Items required:
Bx6                                                 Dx6
Cx2

    3                                               4

    Repeat Step 2 on the opposite side.             Using the remaining rungs, repeat step 2.

    Items required: Dx6                             Items required: Dx6

        5                                           6       Ensure all rungs are securely inserted into
                                                            leg recesses and that flat head screws (D)
                                                            are screwed tightly and flush against the
                                                            legs. All screws should be tight and rungs
                                                            should not be able to move or turn.
                                                            Tightening the screws requires significant
                                                            strength.

                                                            Open the Triclimb frame and stand it up.
                                                        7
                                                            The frame may rock slightly, which is
                                                            normal. Place your hands at the top of the A
                                                            frame and press down firmly. This will help
    Repeat step 3 on the opposite side.                     to square up the frame. You may need to
                                                            rock the frame back and forth a few times
    Items required: Dx6                                     while applying downward pressure on the
                                                            frame to ensure the ends of all four legs sit
                                                            flat on the floor and that the unit does not
                                                            rock when the pressure is released.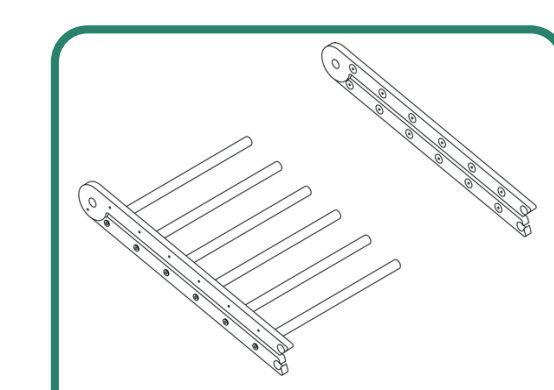
CHECK POINT

              What to do if your Triclimb still does not sit flat on the ground? You will need a book (or
                              something similar) about 40mm thick to act at a raiser.

                                             1) Open the Triclimb frame and insert the thumb screws.

                                             2) Place the book or similar under one of the two opposing legs that are
                                             flat to the ground.

                                             3) Push down on the top joints. You may hear a creaking sound - do not be
                                             alarmed, this is just the moving into correct alignment
                                             .
                                             4) Remove the book or similar and repeat step 3.

                                             5) You should now have a correctly aligned frame. You are now ready to
                                             attach the bottom support leg. If there is still a slight wobble, simply
                                             increase the size of the raiser and repeat step 2 and 3.

 8                                                                 9

Insert one of the longer, bottom rungs (A)                        Line the countersunk holes on the bottom rung
through the hole at the bottom of one of the legs                 (A) up with the centre of the frame legs (C). Insert
and push through to the corresponding hole on                     the two screws (E) and carefully, with controlled
the opposite leg.                                                 force, screw into the frame and tighten using a
                                                                  screwdriver. Be careful to ensure screws are
Items required: Ax1                                               centre to frame.
                                                                  Items required:
                                                                  Ax1
                                                                  Ex2

 10                                                                11

Insert one of the longer, bottom rungs (A)                        Open the Triclimb frame and stand it up. If the
through the hole at the bottom of one of the legs                 frame is not quite sitting flat on the floor, repeat
and push through to the corresponding hole on                     the procedure in step 6, placing downward
the opposite leg.                                                 pressure on the frame until it sits completely flat.

Items required: Ax1
OPENING AND CLOSING
OPEN CLOSED
Your Tri Climb includes two thumb screws that are designed to lock the product in an open or closed position.
To open the Tri Climb:
1) Fully unscrew and remove both thumb screws from the sides of the unit
2) Holding the unit at the bottom edges, carefully open the unit. The mechanism may be stiff, which is by
design to prevent accidental opening / closing
3) Once fully open, replace both thumb screws into the unit prior to use.
Closing the unit is the reverse of opening.
We also have an online instructional video available on YouTube
https://tinyurl.com/triclimbguide
IPO - Registered design.
Model – TC
Designed and Manufactured by Triclimb Ltd.
Triclimb Ltd. Ty Gelert, Porthmadog, LL499NX
Triclimb NI, PO Box 620, CRAIGAVON BT64 9EL
www.triclimb.co.uk hello@triclimb.co.uk
IMPORTANT! These instructions must be followed for safe assembly and use.
Please retain for future reference. 2021 V1You can also read