AURORAS Workshop 30 January 2021
←
→
Page content transcription
If your browser does not render page correctly, please read the page content below

AURORAS Workshop
                   30 January 2021

Welcome to Saturday Series!!
We are thrilled to have you involved! For an introduction to the Saturday Series leaders, watch this
video!

Kate Kogge (she/her) is a teacher at Murray Community School and started the
Saturday Series in the Fall of 2018. She is an ardent proponent of student agency
and cross-curricular project design. Along with teaching, she is a reproductive
laboratory technologist and the Co-Chair of the Charlottesville Sister Cities
Commission. Kate is a fan of distance-running, animal rescue, and Bodo’s.

Lauren Simkins (she/her) is a professor in environmental sciences at the
University of Virginia. She encourages students to become aware of the Earth on
which we walk and how it impacts our lives, teaches about Earth surface changes
that often transcend human lifetimes, and researches glaciers through the Earth
materials they alter and landforms they build. She enjoys walks in the forest,
coffee, and family time.

We would love to snap some photos during pick-up and for you to share photos/videos of you and
your projects. Please have an adult fill out the photo/video consent either given us permission to
take, save, and share photos/videos to promote Saturday Series and document outcomes or not -
available at pick-up and on our website here.

Throughout the lesson below, you will see some bold words like aurora and seasons. These are
important words and concepts that we will cover through this workshop or that you can explore
further on your own.

Today’s workshop plan
We will explore an atmospheric phenomenon, called aurora, that causes waves of colorful light seen
in the night sky through a lighted papercraft activity. To set the stage for aurora, we will learn about
how night happens and seasons. Included in your kit is breakfast or lunch, project supplies (small LED
lights, 3V batteries, conductive tape, cardstock, glue stick, and tape), a printed lesson (also emailed to
the adult who completed your registration), and a feedback form to submit in-person at the next kit
pick-up or you can upload an image of the form to the file drop here. For our younger students, adult
help using scissors and assembling your project might be needed.

Step-by-step learning prompts are below. Follow along and have fun!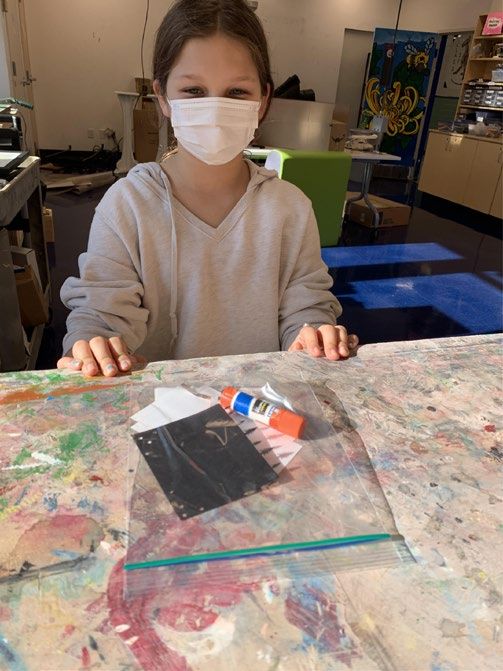
Click this link for a video of this lesson with Lauren
Part 1: An introduction to the night sky and seasons
Our planet, Earth, is not stationary in space. It makes a complete spin (or rotation) around an
imaginary line (axis, shown as a pink line in Image 1) running through the North and South poles
every day, which is 24 hours - well, actually 23.934 hours. At different times during its daily rotation,
parts of the earth are facing toward the Sun and other parts are facing away from the Sun. While the
state of Virginia faces the Sun causing “day”, the country of Indonesia faces away from the Sun
causing “night”.

The length of the full day - including daylight and night - is roughly 24 hours all year along, but you
may have noticed that the length of night (when it is dark) is shorter in the summer and longer in the
winter. Changes in the duration of light and dark result from Earth’s axis being tilted and the larger
spin that Earth makes around the Sun each year (yellow dashed line in Image 2). You may have a few
questions here.
But, why is Earth’s axis tilted? This happened because, early on in Earth’s history, a Mars-sized planet
crashed into Earth, knocking it sideways. Earth was peeled open and rocks and lava were blasted into
space. The bits that used to be Earth and the Mars-sized planet ended up grouping together and
forming the Moon. [article and video by The Natural History Museum, London]
How exactly does a tilted axis and Earth’s spin around the Sun each year cause days and nights to be
different lengths? Well, the tilted axis makes parts of Earth slightly farther from the Sun. You can see
in Image 1 that the South Pole is closer to the Sun and the North Pole is farther. But the South Pole is
not always the closest pole to the Sun. Because Earth makes a larger spin around the Sun, the North
Pole is closest to the Sun and the South Pole is farthest from the Sun in June (Image 2), resulting in
more day-light and warmer temperatures in the Northern Hemisphere. This Earth-Sun configuration is
called the June solstice, and the months around June when it is light for longer periods and warmer,
we call summer in the Northern Hemisphere! But summer in the Northern Hemisphere is winter in
the Southern Hemisphere because it is darker and colder during this time of the year. Around and
during the December solstice, however, it is the opposite - winter in the Northern Hemisphere and
summer in the Southern Hemisphere. [article from NASA Space Place on what causes seasons]

Part 2: A space-induced glow in the sky called aurora
The Sun sends a lot of “stuff” to Earth. We get (natural)
visible light from the sun during the day, as well as
other types of light like ultraviolet and infrared. The
Sun also sends tiny particles called electrons to Earth
that react with our atmosphere - which is made up of
gases that separate Earth’s surface from space (Image
3).
Now most of the tiny particles are blocked by Earth’s
magnetic field that acts as a layer of defense (Image
4). There are all sorts of neat facts about the magnetic
field so definitely explore it if you are interested! The
interaction between the electrons coming from the Sun and our atmosphere produce energy in the
form of light, called aurora, usually 50-300 miles up from Earth’s surface. [video demonstrating
electrons, magnetic field, and aurora by Visit Norway]
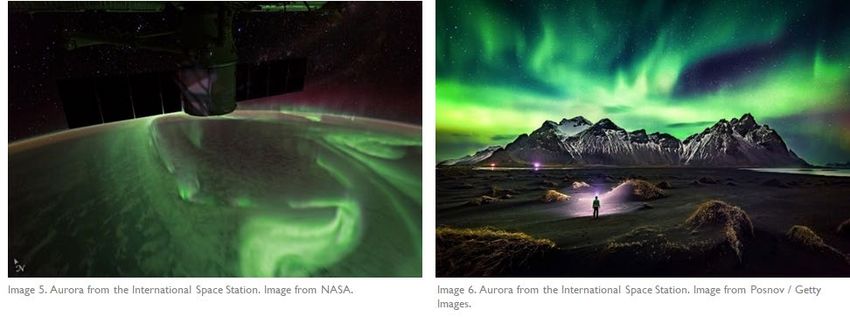
So what does aurora look like? Well it is mostly waves of green light (Images 5 and 6), but that
depends on the gases that are present in the atmosphere where the electrons sneak past the
magnetic field. Here is a video from the International Space Station.
These waves of colorful light are only visible to the eye on a cloudless night because they are not very
bright. And, they are not visible everywhere - just in special places that are not as protected by the
magnetic field. Around the North Pole, the lights are called Aurora Borealis or Northern Lights.
Around the South Pole, they are called Aurora Australis or Southern Lights. Here is a wonderful video
of Aurora Australis seen at the South Pole research station in Antarctica. Rarely do aurora creep out of
the polar regions, but they do sometimes, like when a red aurora was seen in Maryland (Image 7)!
Similar to the weather, there are aurora forecasts to help determine where an aurora can be seen.

You can go here to see the map that shows where aurora is likely to be seen.

                                              Part 3: Hands-on project: Lighted papercraft that you
                                              can use as a nighttime decoration!
                                              Click this link for video instructions with Kate.

                                               Are you ready to make some
                                               (tiny) auroras at home? Let’s
do some papercraft! Note: It might be helpful to know the difference
between a valley fold and a mountain fold as you assemble this papercraft.
For a mountain fold, the crease is at the top, while in a valley fold, the
crease is at the bottom.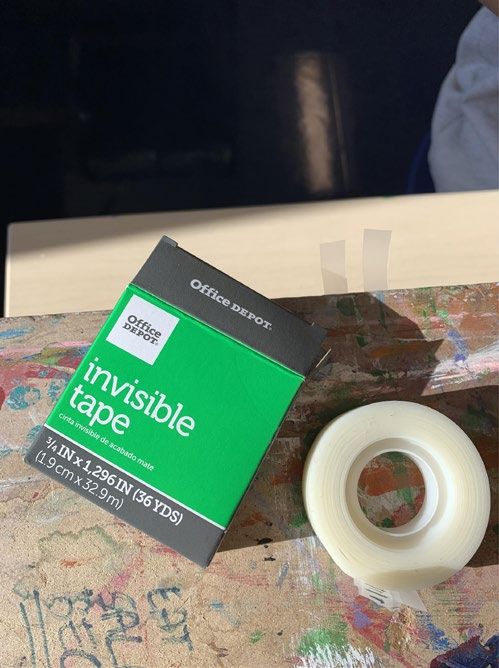
1.                                 2.                                  3.

Step 1: We recommend that you prepare two (tiny) pieces of tape before getting started. See our tiny
pieces hanging off the table? You may want to use safety scissors for this step.

Steps 2 & 3: Make sure you have a clear working space and take out your supplies from the plastic
sandwich bag. Be sure to re-use the sandwich bag later on!

4.                                 5.                                  6.

Step 4: Check to make sure your LED light works! Your LED should have two “leads” or legs sticking
out from the light - the longer lead is the positive side of the LED and the shorter lead is the negative
side of the LED. Take your battery out of its packaging and place it between the leads so that the
longer lead is on the smooth “positive” end of the battery. See a glow? You’re ready to go!

Steps 5 & 6: Take out your large, white cut of paper and place it on the table so you can see the fold
marks. Fold the four outermost edges of the paper up (also known as a valley fold).
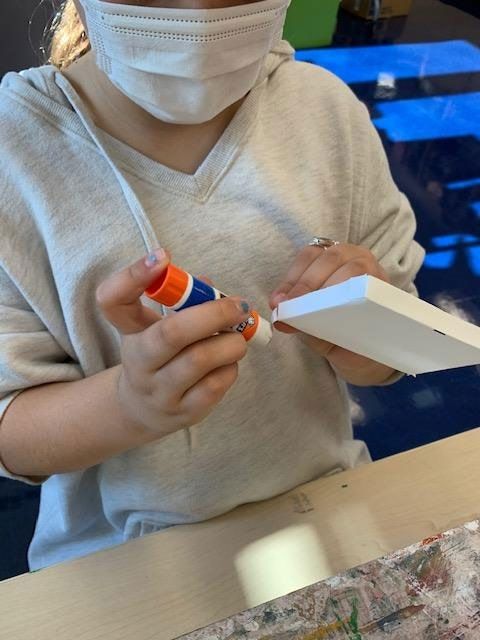
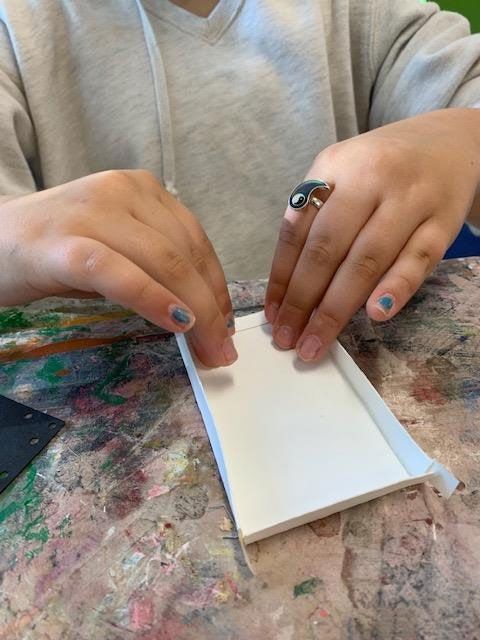
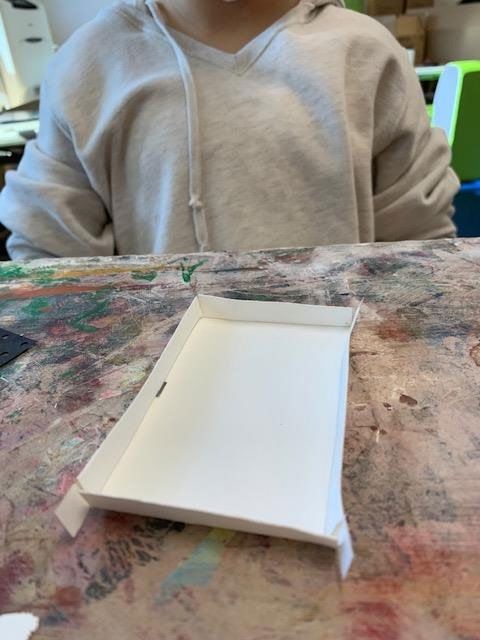
7.                                 8.                                    9.

Steps 7, 8, & 9: Glue down your valley folds on all four sides. Press down hard to make sure the glue
really sticks!

10.                                11.                         12.

Steps 10 & 11: Fold up (valley fold) from the edges of the paper; these lines are laser-cut, but they
might be hard to see at this point. By doing this on all four sides, you should end up with a shallow,
rectangular box with little square tabs on the sides.

Step 12: Glue those tabs to the side of the box using your glue stick!

13.                                                     14.

Step 13: This is what your rectangular box should look like after you have glued all of the tabs!
Step 14: Find the black cut paper with the trees on it. Hold the paper so that you can see the
horizontal lines that have been etched by the laser cutter. Carefully fold those lines down (mountain
fold), one after another. Not sure what we mean? Check out the photos in the next steps:

15.                         16.                          17.

Steps 15 & 16: Here is what your black piece of paper should look like after your two folds. It should
look like there is a little trough behind your trees. This is where your LED light will go…

Step 17: Take your LED and bend the legs so it looks like it is sitting. The two legs should be sticking
out to the side.

18.                         19.                          20.

Step 18: Stick the legs of the LED through the tiny holes that are located behind your trees on the
black paper. It might be helpful to move the trees out of the way when you do this. You should only
be able to see the bulb once the legs are through.

Steps 19 & 20: Glue your aurora to the background - use your glue stick to glue your swirly paper
behind your trees. Make sure not to glue your paper on any of the folds in the black paper!
21.                                22.                         23.

Steps 21 & 22: Carefully take your black paper with the LED and place it within your white rectangular
box that you made earlier. It’s important to note that the legs of your LED should go through the slit
that has been cut in your box; make sure you can see the two legs sticking out the back! Make sure to
pull them apart from one another a little bit (see image).

You can actually place your battery here and see the final product in action! In the next steps, you will
assemble a battery holder so that it is easier to keep your battery in place. They are certainly the most
challenging steps in this project, so be patient and know that you already have made something really
cool!

Step 23. You should have two small white rectangular pieces of paper in your kit. Fold your paper
(valley fold) on the marked line on both.

24.                                25.                                26.

Steps 24 & 25: Gently peel the backing off of a piece of conductive tape. Carefully apply the tape
underneath the fold and down the length of the white paper. Take another piece of conductive tape
and apply it to the second piece of white paper. You will want to rip or cut the excess tape off of the
edges.

Step 26. Remember those LED legs sticking out the back of your white, rectangular box? Take one of
the pieces of paper from the previous step and place it underneath one of the LED legs so that it is on
top of the conductive tape. Note the position of the fold on the side.

Take a piece of conductive tape and place it on top of the LED leg so that it is attached to the
conductive tape below. Press down firmly on the tape so that the LED leg is secure. Trim or rip any
excess conductive tape.

27.                                28.                                29.

Step 27: Fold over the paper so that it covers half of the conductive tape. Secure this fold with a small
piece of transparent tape from Step 1.

Step 28 & 29: Repeat this process with the other LED leg. Again, really make sure that the LED leg is
secured between the pieces of conductive tape. Fold over the paper and secure with the other piece
of transparent tape. You now have your battery holder! Let’s put it to work.

30.                                31.                                32.

Step 30: Locate your battery and place it down on the left side of your battery holder as shown above.
Notice that we have twisted the right side of the battery holder around so that the conductive tape is
now facing down.

Step 31: Place the right side of your battery holder down on the battery. You should make sure that
the conductive tape on the bottom is touching one side of the battery and the conductive tape on the
top is touching the other side of the battery.

Step 32: Check out the lights! Not seeing a glow? Flip that battery around - LED lights are very
particular about their orientation. You did it!

Thanks to Julia Craddock for demonstrating all 32 steps of this process so that we all can follow along.
We would also like to thank Murray Community teacher, Dom Morse, for assisting with the laser
cutter! This papercraft was based off of the Northern Lights Papercraft. The steps have been adapted
so that we can engage as many students as possible.

Sharing & closing remarks
We hope that you learned something new and take a good look at the sky on a clear night! Unless you
are in places like Iceland, Russia, Tasmania, or Antarctica, it is unlikely that you would see an aurora,
but the night sky has so many interesting sights to offer. Grab a jacket, blanket, and peer at the sky!
How many airplanes can you see? Do you see any shooting stars blazing across space? Play connect-
the-dot with the stars; what shapes can you make? Are there any lights in the sky that are bright? It
might be another planet!
We would love to see how your lighted papercraft turned out! How did you like working with the pre-
cut pieces? Do you think you could build a glowing papercraft for another nature-based scene? Drop a
picture or short (
You can also read