Centrify / Idaptive Content Collaboration: Single Sign-On Configuration Guide - Last Revised: May 2019 - Citrix Docs
←
→
Page content transcription
If your browser does not render page correctly, please read the page content below

Content Collaboration: Single Sign-On Configuration Guide
                                 Centrify / Idaptive

                                           Last Revised: May 2019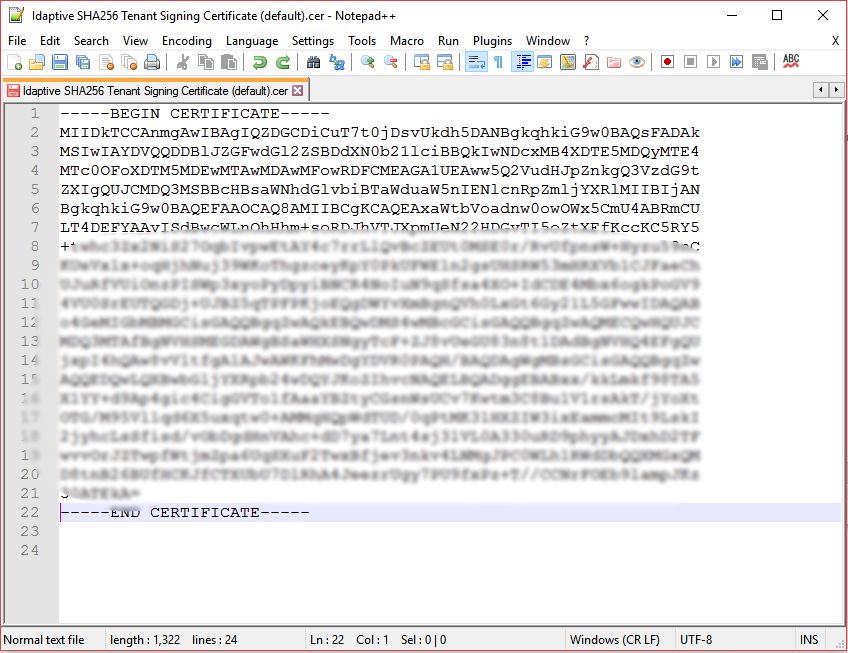
LEGAL NOTICE
This document is furnished "AS IS" without warranty of any kind. This document is not supported under any Citrix
standard support program. Citrix Systems, Inc. disclaims all warranties regarding the contents of this document,
including, but not limited to, implied warranties of merchantability and fitness for any particular purpose. This document
may contain technical or other inaccuracies or typographical errors. Citrix Systems, Inc. reserves the right to revise the
information in this document at any time without notice. This document and the software described in this document
constitute confidential information of Citrix Systems, Inc. and its licensors, and are furnished under a license from Citrix
Systems, Inc. This document and the software may be used and copied only as agreed upon by the Beta or Technical
Preview Agreement.

Copyright © 2019 Citrix Systems, Inc. All rights reserved. Citrix, Citrix Content Collaboration, and ShareFile are
trademarks of Citrix Systems, Inc. and/or one of its subsidiaries, and may be registered in the U.S. and other countries.
Other product and company names mentioned herein may be trademarks of their respective companies.
Steps Description
 1.   Log in to the Idaptive Portal URL.

      For example, login to: https://customerid.my.centrify.com/manage.

 2.   In the Dashboard navigation menu, click on Apps > Web Apps.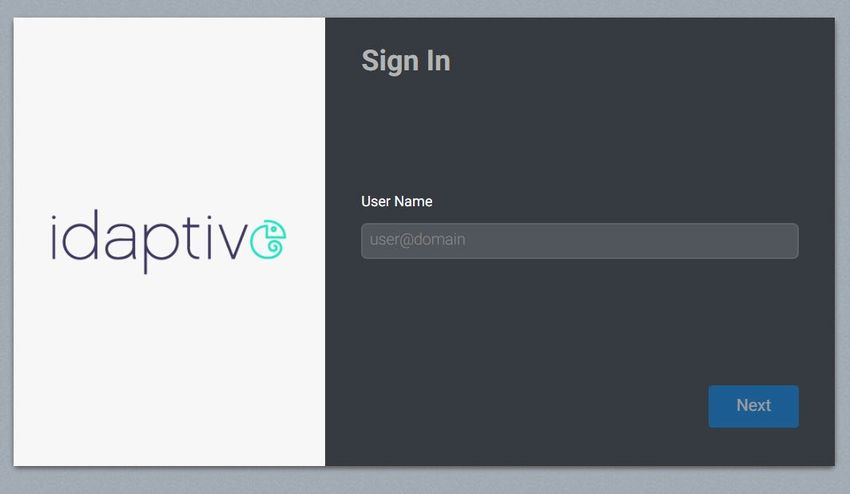
3.   Click on Add Web Apps.

4.
     Search the catalog for “sharefile.” Choose Add for Citrix ShareFile.

     **Make sure the app is SAML + Provisioning. The User Password Web App is not
     compatible for SAML authentication. Contact Idaptive support team if the Web
     App is not available in the admin portal.

5.   Confirm Yes to add the application.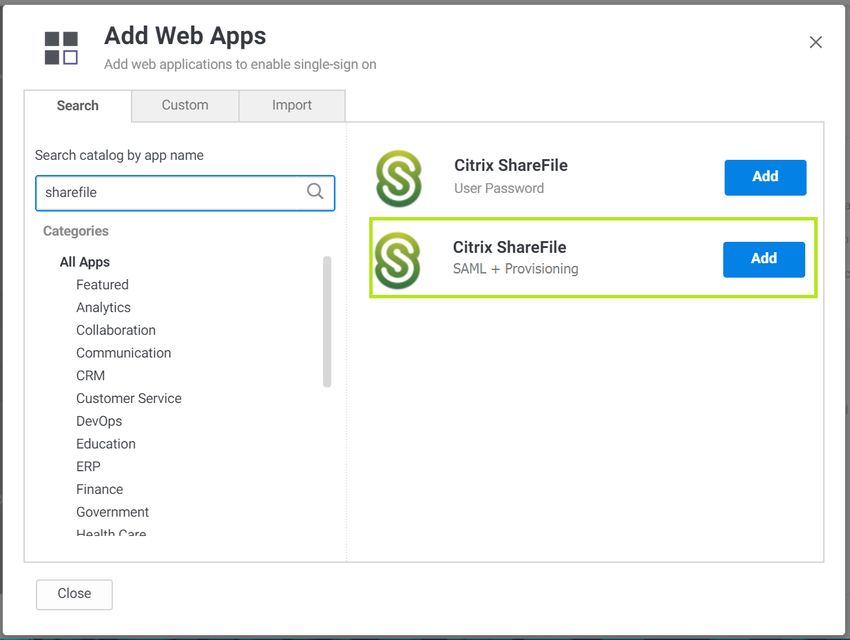
6.   Exit Add Web App, and begin to configure Citrix ShareFile app.

7.   Click on the Trust section. Under Identity Provider Configuration > select Manual
     Configuration > Expand Signing Certificate > click Download.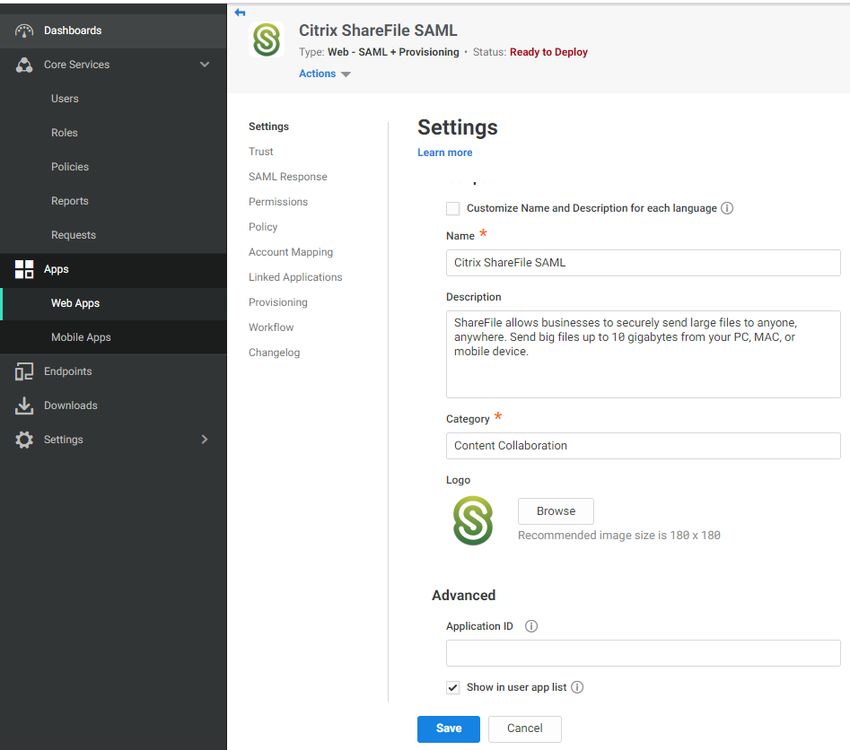
8.   The default certificate file is a .cer file. Open the file with Notepad or any text
     editor and save for later steps.
9.   Click on the Trust section to the left navigation menu. Under Service Provider
     Configuration > select Manual Configuration. Enter the following settings only:

     ShareFile Issuer / Entity ID: https://subdomain.sharefile.com/saml/info
     Assertion Consumer Service (ACS) URL: https://subdomain.sharefile.com/saml/acs
     Authentication Context Class: PasswordProtectedTransport

     Click Save when done.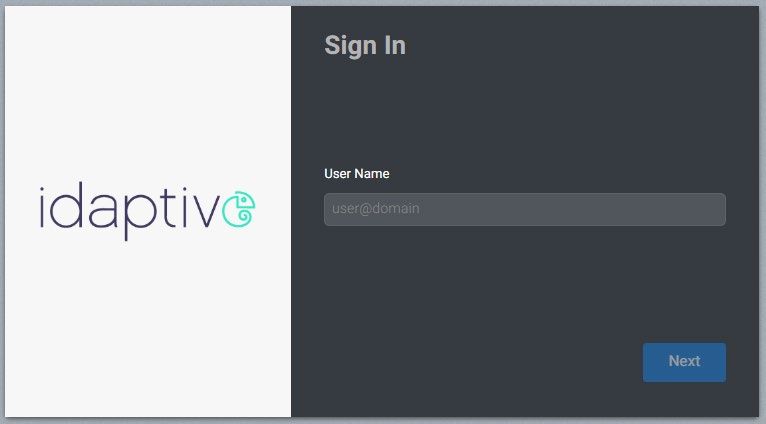
10.   Click on Permissions in the left navigation menu. Choose Add to select users that
      have access to single sign on to ShareFile.

      **You will need to make sure each selected user has an Email Address in Idaptive and their
      account in ShareFile should have a matching Email Address. The Web app switches to Ready to
      Deploy to Deployed when users are assigned.
Click Save when done.
11. Click on Account Mapping in the left navigation menu. Ensure the Directory Service
Field name is left as mail.
Click Save when done.
12. Go to your ShareFile account: https://subdomain.sharefile.com > Login with
Administrator account > Settings > Admin Settings > Security > Login & Security
Policy > scroll down on this page to Single sign on / SAML 2.0 Configuration.Use values from Admin Portal > Web App > Citrix ShareFile > Trust settings to
configure Single sign on / SAML 2.0 Configuration:
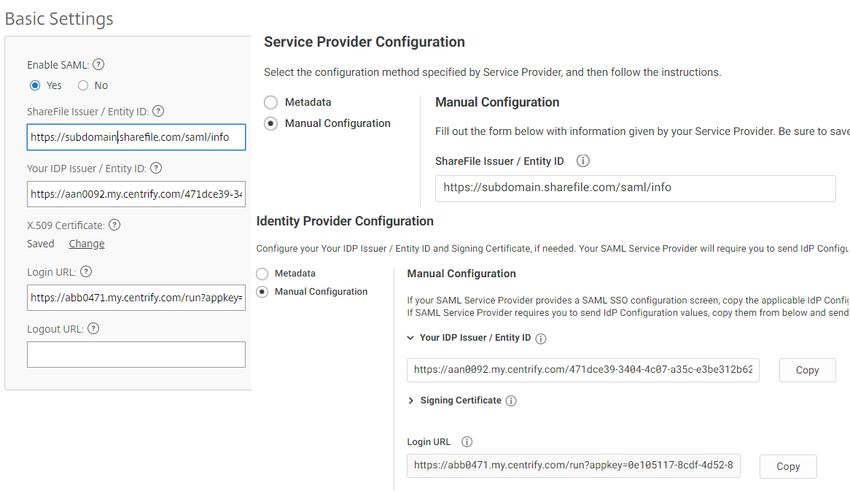
Basic Settings
o Enable SAML: Select Yes
o ShareFile Issuer / Entity ID: Copy and paste from Service Provider
Configuration
o Your Issuer / Entity ID: Copy and paste from Identity Provider Configuration
o X.509 Certificate: Click Change, then copy and paste the certificate
downloaded in previous steps
o Login URL: Copy and paste from Identity Provider Configuration
o Logout URL: Leave blank is recommended
(When users log out of ShareFile, they will be redirected to ShareFile login
page https://subdomain.sharefile.com.)
13. Optional Settingso Require SSO Login: Optional (After single sign on is successfully validated, checking Yes for this option will require all non-admin Employees to log in using Idaptive. Admins can login using Idaptive or email address and their ShareFile password.) o SSO IP Range: Optional (Limit requiring non-admin Employees to login from a specific IP range. Employees outside of this specified range will not be required to use Idaptive to login.) o SP-initiated SSO Certificate: Select HTTP Redirect with no signature o Enable Web Authentication: Yes (Choose No when you do not want to allow logins via a web browser. This means Windows authentication will need to be available). o SP-initiated Auth Context: Select Password Protected Transport. o Active Profile Cookies: Leave blank o Click Save
14.   Test successful authentication by going to ShareFile URL:
      https://subdomain.sharefile.com and click Sign in under Company Employee Sign
      In
**Make sure the user logging in with single sign-on has an Active Directory or
Identity Provider email address that matches their email address in their
ShareFile account.
Sign in will redirect you Idaptive for sign in:
Successful logins will authenticate users into their ShareFile account Dashboard.
15. Done!You can also read