The Complete Outdoor Porcelain Guide 2020
←
→
Page content transcription
If your browser does not render page correctly, please read the page content below
The Complete Outdoor Porcelain Guide 2020
The DB Outdoo r Living Collec tion: L aying Guide
Outdoor 20mm Porcelain
 Outdoor Porcelain is the beautiful
   alternative to natural stone.

 From private patio areas to entire
   commercial projects. Outdoor
Porcelain is made to suit your needs.

 Using years of industry experience
 and state-of-the-art technology DB
 Out Door Living Centre is proud to
  bring you the newest in outdoor
            technologies.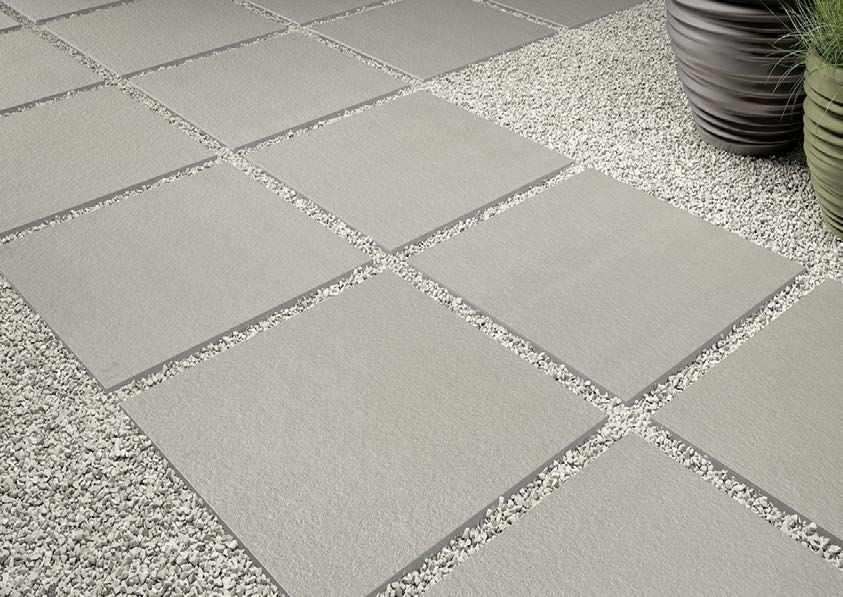
The Product

• 20 millimetres to enable incredible strength.
• Resistant to heat changes.
• Frost Proof.
• Fully vitrified porcelain stops penetration of water
  and other contaminants.
• Easy maintenance thanks to Vitrification
• Resistant to Stains, Moss and other penetrants
• High Slip-Resistance.
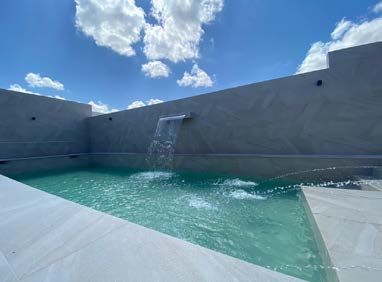
The Applications

•   Patio Areas
•   Garden Landscapes
•   Driveways
•   Pathways
•   Swimming Pool Surrounds
•   Commercial Projects
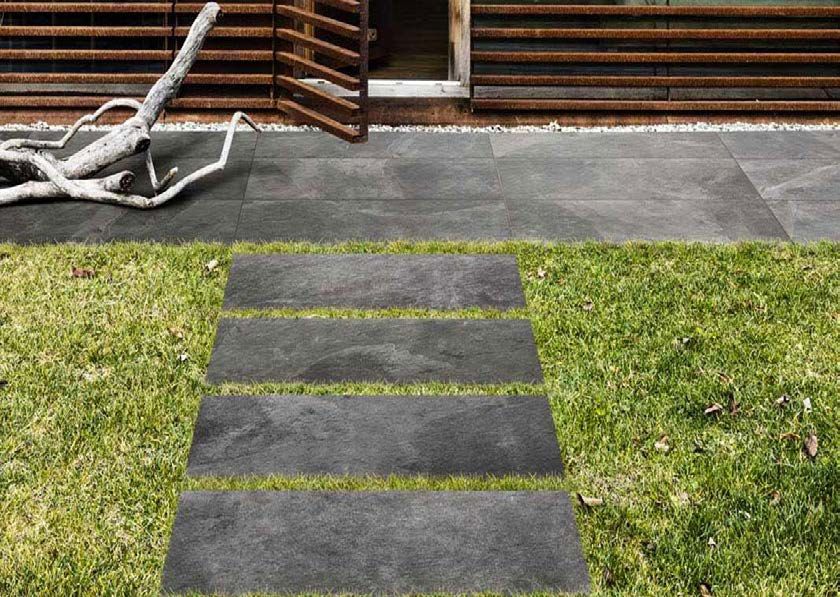
INSTALLATION

1. Bedding on Grass

2. Concrete Screeds/ Adhesive

3. Gravel/ Sand

4. Raised Flooring/ Cup Systems
Bedding Outdoor Porcelain on Grass

1. Position Slabs in desired position to ensure correct
 mapping and placement. Mark permiter using lawn
 edger.
2. Carefully remove slabs and begin removing top soil to
 a depth of 70 to 100 mm.
3. Place gravel of 3 to 6 mm grain size into the existing
 hole to a depth of 50 to 80 mm (depenendent on desired
 height of slab).
4. Ensure gravel is compacted and place slab into place
 using a rubber mallet to level.
5. For those using real grass ensure the slab is 8mm below
 the surface to ensure lawnmowers can pass over safely.
6. Use leftover soil to fill in remaining gaps between slab
 and soil
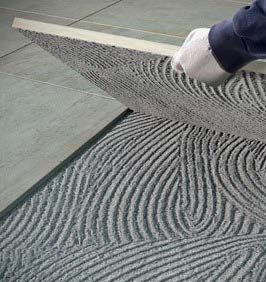
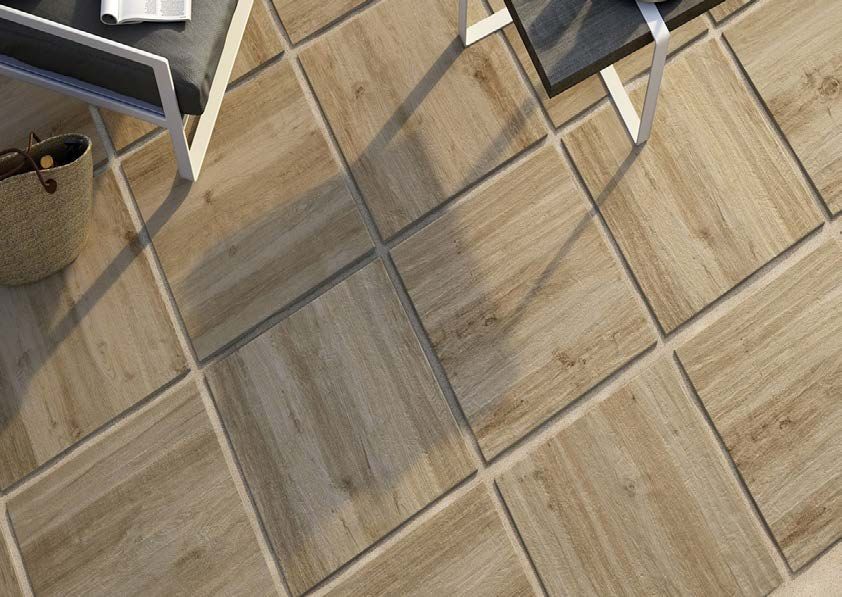
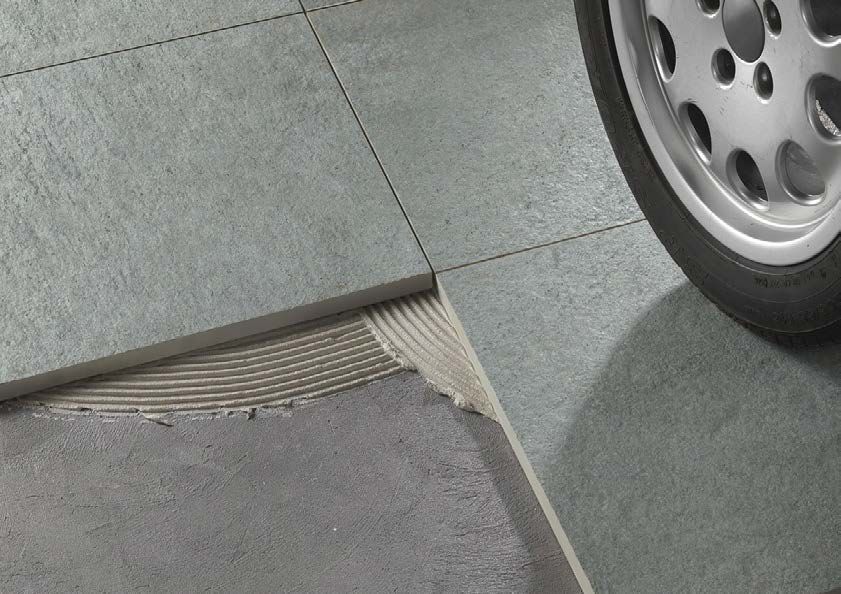
Laying on Screed/ Adhesive
Traditional laying with adhesive on
concrete screeds is ideal for outdoor
areas used by vehicles, such as the
entrances to garages, car parks and
yards.
The key benefits are:
• The system’s excellent resistance to
dynamic and concentrated loads. Laying the Slabs
• Option for use of the same material Install the slabs using an outdoor
adhesive.
in pedestrian and vehicle areas.
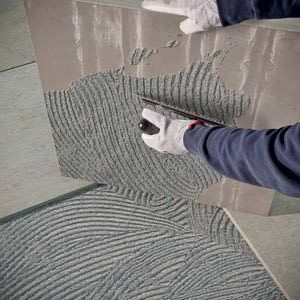
• Suitability for both residential and To ensure that the laying materi-
al is evenly compacted, the dou-
public or retail locations. ble coating method should be
used (this method is necessary for
pavings exposed to high levels of
stress).Joints
Slabs must be laid with open
joints of variable width of no less
than 5 mm.
High Level grout must be used.
Contact a member of sales team
for recommendation
Structural Joints
Expansion joints are compulsory: they must be at
least 5 mm wide (except for structural joints) and
must reach up to the top of the paving surface.
Seismic joints must form a square or rectangu-
lar grid across the surface, with ratio between the
sides not exceeding 1.5 m. Grid sizes are normally
between 3x3 m and 4x2.5 m.
Perimeter joints must be provided at points where
the paving meets walls, steps, raised areas, pillars
etc., where compressible material (e.g. polystyrene)
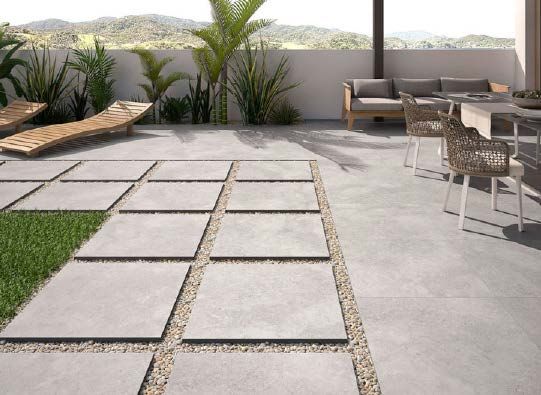
must be added.Laying on Sand or Gravel • Laying on gravel ensures correct soil drainage, through the gaps between the slabs, allowing the water to drain off into the ground. • This laying solution is ideal for projects where permanent floor laying is not possible. • For installation on gravel the use of spacers is recommended as they provide the slabs with support and allow for planar sur- face. • The transparency of the material (spacers) makes them scarce- ly visible and they can be cut in order to create T-shaped spac- ers for straightforward installation patterns.
Instructions for Laying on Sand
1. Remove the grass from the designated area
2. Dig out 5 to 7mm of soil in dry climates and around
100mm deeper in cold or wet climates. Ensure the area
is approximately 150mm wider than the tile itself.
3. Compact the remaining soil layer.
4. Lay a waterproof membrane on the now compacted
soil. This is to ensure weeds can’t penetrate the surface
over time.
5. Fill the working area with gravel of 3 to 6mm grain
size. Compact the gravel to create a 20 to 30 mm solid
base.
6. Compact the hole with sand to create a solid surface
for placing the tile. Allow a 1 to 1.5 degree slope away
from any local structures.
7. Place the Porcelain tile directly on top of the com-
pacted sand.
8. Ensure a space of at least 4mm is left between
each 20mm porcelain slab
9. Make use of a rubber mallet to ensure all tiles are
perfectly bedded into the sand.
10. Use any leftover sand to fill in joints and gaps.

*Please note: Do not use a compacter/ vibrat-
ing plate on the porcelain as the pressure can
cause cracks and breaks in the slabs.
Instructions for Laying On Gravel
•   •   Remove the grass from the designated area

1. Dig out 5 to 7mm of soil in dry climates and around
   100mm deeper in cold or wet climates. Ensure the area
   is approximately 150mm wider than the tile itself.
2. Compact the remaining soil layer.
3. Lay a waterproof membrane on the now compacted
   soil. This is to ensure weeds can’t penetrate the surface
   over time.
4. Fill the working area with gravel of 3 to 6mm grain size.
   Compact the gravel to create a 20 to 30 mm solid base.
5. Place the Porcelain tile directly on top of the compact-
   ed sand.
6. Ensure a space of at least 4mm is left between each 20mm
 porcelain slab
7• Make use of a rubber mallet to ensure all tiles are perfectly
 bedded into the sand.
8• Use any leftover gravel to fill in gaps or if using a wide joint
 use decorative shingle or pebbles to gain desired effect.

*Please note: Do not use a compacter/ vibrating plate
on the porcelain as the pressure can cause cracks and
breaks in the slabs.
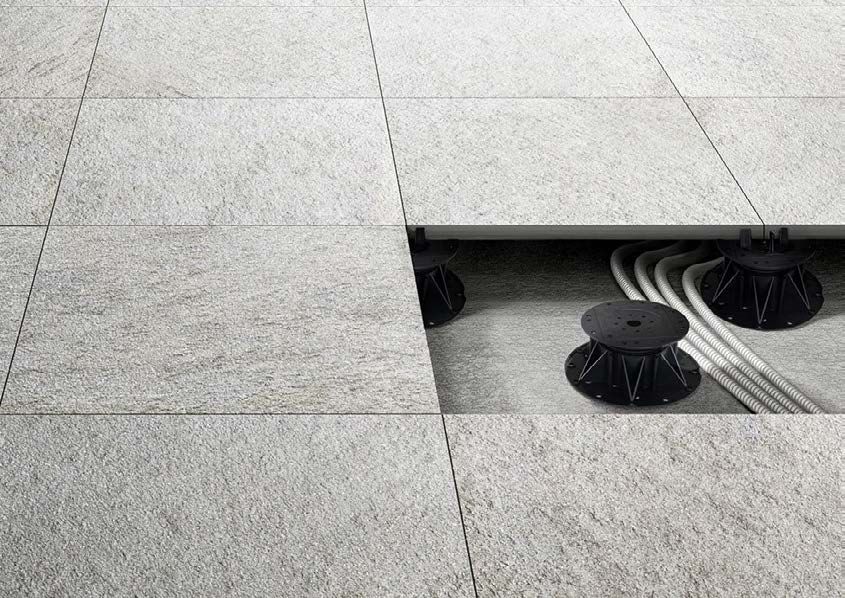
Raised Pedestals            • The pedestals support paving
                               and have excellent mechanical
                               strength. They can withstand acid
                               and alkali solutions, weather and
                               temperatures from -30° to +75°.
                             • Outdoor pedestals are designed
                               to be heightadjustable (from
                               a minimum of 20.2 mm to
                               a maximum, recommended
                               100mm) and accessories allow
                               correction of the gradient up to a
                               maximum of 5%.

Produced by King, please contact a
member of our sales team for further info
on these systems.
This system should only be used by Land-
scaping Profesionals.
12 Meadow Rd BT67 0HH Tel: 02892616950
You can also read