Bubble Waffle Maker Care Instructions and Recipe Booklet - CucinaPro
←
→
Page content transcription
If your browser does not render page correctly, please read the page content below
Inspiring Chefs Everywhere
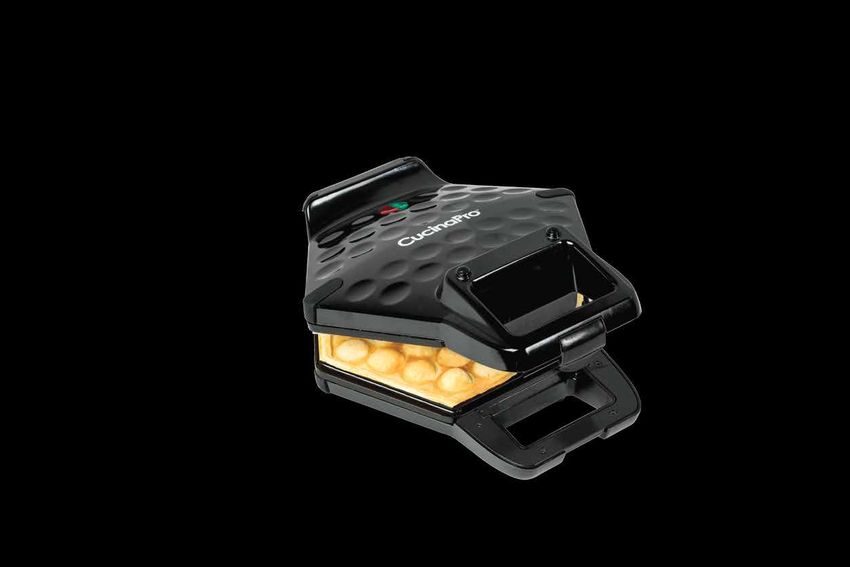
Bubble Waffle Maker
Care Instructions and Recipe Booklet
SCS DIRECT, INC
9 TREFOIL DRIVE
TRUMBULL, CT
#1446

  Bubble
Waffle Maker

               1
IMPORTANT SAFEGUARDS
When using electrical appliances, basic safety precautions should
always be followed, including:
1. Read all instructions
2. Do not use this for more than an hour at a time as it is
very hot.
3. Do not touch hot surfaces; instead use the handles and
oven mitts.
4. To protect against electrical shock, do not immerse power
cord, plug or appliance in water or any other liquid.
5. If the power cord is damaged, the manufacturer (or a
similarly qualified person) must replace it in order to avoid
a hazard.
6. Do not use outdoors
7. Close supervision is necessary when any appliance is being
used by or near children.
8. Avoid contact with moving parts.
9. The use of attachments not recommended or sold by the
manufacturer may cause fire, electric shock or injury
10. Unplug from outlet when not in use and before cleaning.
Allow appliance to cool completely before putting on or
taking off parts.
11. Do not operate any appliance with a damaged power cord
or plug or after the appliance malfunctions or is dropped or
damaged in any manner. Return appliance to manufacturer
or its service agent for examination, repair or electrical or
mechanical adjustment.
12. Do not let the power cord hang over the edge of a table or
counter or touch any hot surface.
13. Do not use the appliance for other than intended use.
14. Do not place on or near a hot gas or electric burner, or in a
heated oven.
15. To disconnect, remove the plug from the wall outlet.
16. Do not clean the appliance with metal scouring pads.
Pieces can break off from the pad and touch electrical
parts, creating a risk of electrical shock.
POLARIZED PLUG
This appliance has a polarized plug (one blade is wider than the
other). To reduce the risk of electric shock, this plug will fit in a
2polarized outlet only one way. If the plug does not fit fully in the
outlet, reverse the plug. If it still does not fit, contact a qualified
electrician. Do not modify the plug in any way.
SAVE THESE INSTRUCTIONS
HOUSEHOLD USE ONLY
Longer extension cords may be used if care is exercised in their
use. If an extension cord is used, the marked electrical rating
should be at least as great as the electrical rating of the appliance.
Arrange the longer cord so that it will not drape over the counter
top or tabletop where it can be pulled on by children.
HOW TO USE YOUR WAFFLE IRON
For best results, follow these simple instructions. Note that when your waffle is new you
may notice some slight smoking or odor. This is normal with many heating appliances
and will not recur. This does not affect the safety of your appliance. Also it is recom-
mended that you discard the first waffle from your new baker.
1. Before the first waffle of the day, use a pastry brush to carefully coat
the entire surface of both halves of the waffle baker with vegetable oil or
melted shortening. Spray shortenings work very well for this purpose.
Repeat this only at the start of each day that you bake waffles.
2. Plug into a 120 V AC wall outlet. Allow the iron to heat. The indicator
light will glow, indicating that the baker has begun preheating. It will
take approximately 2 to 3 minutes to reach baking temperature. When
baking temperature has been reached, the green READY light will turn
on. The baker is now ready for baking.
3. Ladle just enough batter to fill the lower grid half full so that the peak
area of the waffle pattern is covered. If necessary, a silicone spatula
may be used to spread the batter evenly to be sure the corners are
filled properly..
4. Close the baker. Cover will rise slightly as waffles begin to bake. Do not
open the cover or the waffles will split. They should take about 3 to 5
minutes to bake. If darker waffles are desired, let the waffles remain
to bake another ½ to 1 minute. For lighter waffles, remove in 2 ½ to 3
minutes. Remove waffles with non-metallic fork or utensil..
5. Reviewing the operation of the Light:
3a. Always wait until the light is GREEN before pouring batter
b. Once you pour batter & close waffle, the light will automatically
go ON
c. Continue to bake
d. Then, when the light goes OFF, waffles have reached an
“average” color and may be removed.
6. If you need to take a short break, close the baker to maintain maximum
heat. A hot waffle iron produces best results. Waffles may tend to stick
as the iron cools down. When you return to baking, waffles will bake
much faster because extra heat has been allowed to build up.
7. When you are through baking, simply unplug from the wall outlet to
turn off and leave baker open to allow it to cool. After it has cooled,
brush crumbs from the grooves and wipe off the grids with dry paper
towels to absorb any excess margarine or shortening.
FOR BEST BAKING RESULTS
Do not open the waffle during the first 90 seconds of baking.
Do not attempt to remove waffles from baker until they are
completely cooked.
Stir waffle batter just until large lumps disappear. Do not over-mix
And extra crispy waffle may be made by first beating the egg
yolks, blending with flour & other ingredients, and then gently
folding stiffly beaten egg whites into the batter.
DO NOT IMMERSE IN WATER OR ANY
LIQUID. DO NOT PLACE IN DISHWASHER
4RECIPE
Makes approximately 5 waffles
3 Egg yolks
3/4th Cup milk
1 Tablespoon vanilla extract
6 Tablespoons unsalted butter, melted
¾ Cup sugar
1 ¼ Cups cake flour
1 ½ Teaspoon baking powder
Pinch freshly grated nutmeg
1/8 Teaspoon salt
6 Egg whites, beaten to medium peaks
In a bowl, whisk together egg yolks, milk, vanilla, butter and sugar until com-
bines. In a large bowl sift together the flour, baking powder, nutmeg and salt.
Whisk the egg yolk mixture into the flour mixture until well combines and no
lumps remain. Add one-third of the egg whites into the batter and stir until light-
ened. Gently fold in the remaining egg whites in 2 additions
Pre-heat the iron and pour the batter evenly over the bottom plate. Some people
use a soup ladle to do this. Use a temperature Silicon or wood utensil to spread
the batter evenly over the bottom plate.
Bake for 3 to 5 minutes until the waffle turns a golden brown.
5Full One Year Warranty
This CucinaPro, Inc. product is protected against defects in ma-
terials and workmanship for one year from the date of original
purchase. If the product proves to be defective in materials or
workmanship during this period, it will be repaired free of charge.
This warranty does not apply to damage resulting from misuse,
accidents or alterations to the product, or to damages incurred
in transit. This warranty does not apply to cords or plugs. All
returns must be carefully packed and made transportation prepaid
with a description of the claimed defect.
www.cucinapro.com
customerservice@scsdirectinc.com
67
8
You can also read