Patient quick start guide - DreamStation 2 - Rotech
←
→
Page content transcription
If your browser does not render page correctly, please read the page content below
DreamStation 2

CPAP Advanced
Auto CPAP Advanced

                Patient
                quick start guide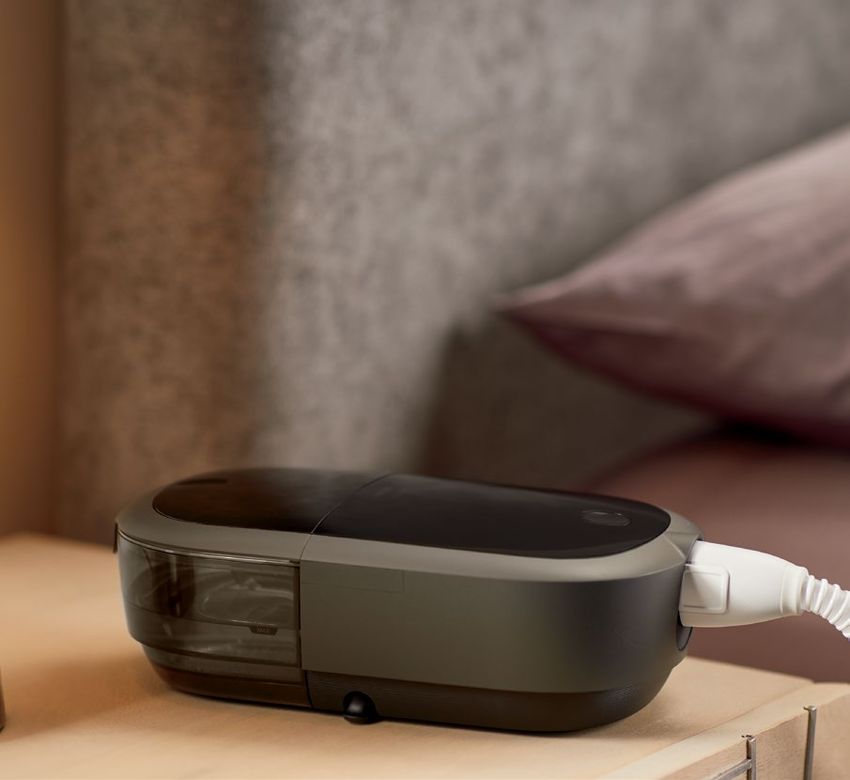
Connecting to DreamMapper
Sync your device to your tablet or mobile phone using the
DreamMapper app, available in the App Store and Google Play.

     With the device and mobile phone powered up and in close
     proximity, initiate Bluetooth setup and pairing in DreamMapper.
     Follow the pairing instructions in DreamMapper.

     A 6-digit PIN will appear on the DreamStation 2 screen.
     Depending on your phone, you will need to either enter the
     PIN into DreamMapper or tap “Pair” on the device screen
     within 30 seconds to complete the pairing.

     The screen displays “Pairing to Device” and then “Success:
     Bluetooth Device is now paired.”
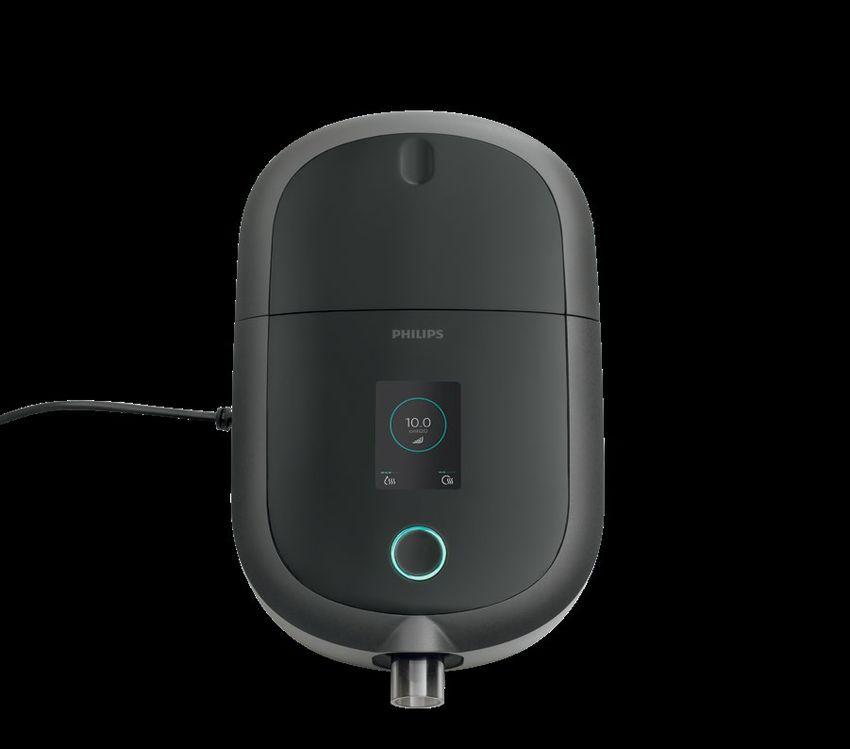
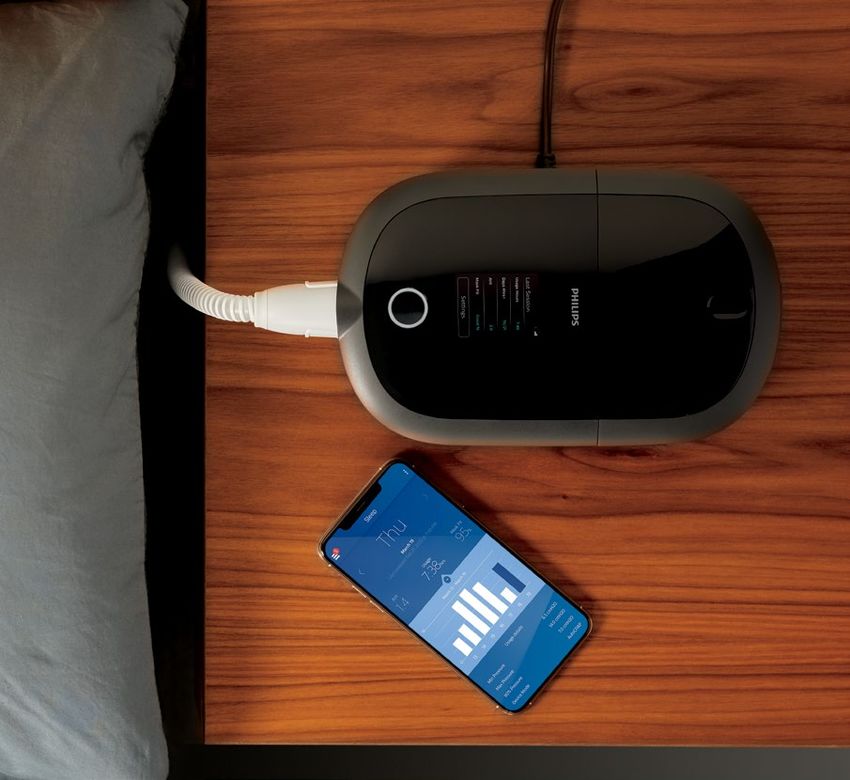
Get started with therapy
To begin therapy, press the Therapy button.
A blue ring indicates therapy is on.

                                              Therapy pressure
                                              A solid ring indicates
                                              prescription pressure is
                                              being delivered. A dotted
                                              ring indicates Ramp Plus
Interactive touchscreen                       pressure is being delivered.

                                              Ramp Plus icon

                                              Heated tube
Humidification icon                           temperature icon

       Therapy button
                                              Note: If the screen goes
                                              dark after 30 seconds
                                              of inactivity, simply tap
                                              it to wake up the device
                                              if you want to make
                                              further changes. This
                                              will also simultaneously
                                              restart Ramp Plus.
Customize your settings

Ramp Plus
The Ramp Plus feature allows you to set a comfortable starting
pressure while you fall asleep.
1. Tap the Ramp Plus icon to view and adjust your Ramp Plus pressure.
2. Tap the + or - symbols until you reach a comfortable setting.
   Ramp Plus settings can be turned off or set from 4 to 10 cm H2O.
3. Tap “Confirm” to save the setting.
Once Ramp Plus is set, it will be saved and automatically activated for
future therapy sessions without tapping the Ramp Plus icon again.

Humidification (if available)
1. Tap the humidification icon to view your current setting.
2. Tap again until you reach a preferred moisture level.
   Humidification can be turned off or set from 1 (minimum)
   to 5 (maximum).

Once humidification is set, it will be saved and
automatically activated for future therapy sessions.

Heated tube temperature (if available)
1. Tap the heated tube icon to view your current temperature setting.
2. Tap again until you reach your preferred temperature. Heat can be
   turned off or set from 1 (minimum) to 5 (maximum).

Once the temperature is set, it will be saved and automatically
activated for future therapy sessions.
Therapy data summary
To stop airflow, press the Therapy button. A summary of your therapy data will be
displayed. Access to certain information will depend on what your provider has set.

        Last Session screen
        Information in blue indicates that you
        can tap to learn more or take action.

        The Usage Hours screen displays the amount
        of time you received therapy in hours and
        minutes during your last 3 sessions.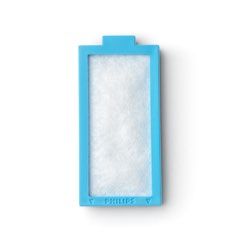
The Days 4hrs+ screen displays the total number
of sessions lasting 4+ hours that you’ve had in the
past 30 days. Once you have reached your goal,
“Complete” will be displayed.

The AHI screen displays the Apnea-Hypopnea
Index (AHI) value for the most recent one-day
time frame (if enabled by your provider).

The Mask Fit screen displays how your mask
fit during your last session. You can also run
a Mask Fit check. Put on your mask and tap
“Start” to initiate the Mask Fit check.
Settings
Comfort, device, and data
Access to certain information will depend on what your provider has set.

        To make adjustments to settings and to access
        additional information, tap “Settings.”

        Adjust available Comfort settings. Information in
        blue indicates that you can tap to make changes.
        a. Ramp Plus time and pressure
        b. Humidity
        c. Heated tube (if available)
        d. Tube size
        e. FLEX
Swipe up to view additional device information
like adjusting airplane mode, clearing Bluetooth
pairings, and resetting time or language.
Tap on the information in blue to make changes.
You can also view the device’s serial number
and software version.
Tap “View Reports” to select a date range and
view additional therapy data summaries.
To exit out of Settings at any time, tap “Back”
to return to the Last Session screen.
Consult your User Manual for detailed troubleshooting information.Cleaning and maintenance To keep your device and components in good working condition, you must clean them regularly. It’s also important for maintaining your good health. Humidifier water tank, seal, and lid Clean daily with water and mild dishwashing detergent.
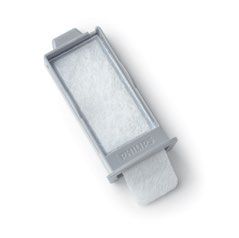
Tubing and adaptors
Clean daily with water and
mild dishwashing detergent.

Filters
Clean gray, reusable filter every two weeks   Do not clean blue, disposable filter.
with water. Replace every 6 months.           Replace every 30 nights.

Consult your User Manual for detailed
care and cleaning information.
© 2020 Koninklijke Philips N.V. All rights reserved. Specifications are subject to change without notice.
Trademarks are the property of Koninklijke Philips N.V. or their respective owners.

www.philips.com/respironics

Respironics Inc.                                                                                     1149265
1001 Murry Ridge Lane                                                                           1149265 R01
Murrysville, PA 15668 USA                                                                     ZL 11/23/2020
You can also read