Creating a Blog with iWeb - Quick Start
←
→
Page content transcription
If your browser does not render page correctly, please read the page content below
Quick Start

Creating a Blog with iWeb
iWeb, part of the iLife suite of applications, makes it simple to create great looking
websites. iWeb comes with preformatted templates for different types of webpages,
including a blog page, a podcast page, and pages that let you upload photo albums and
movies to the Internet.
In this activity, you will create a blog. Blog is an abbreviation for web log, a collection of
text passages that are created over time to build up a log history, or journal.

iWeb in the Classroom
Today’s students are accustomed to sharing information and their creations on the
Internet at home through such sites as Facebook and YouTube. Sharing their classroom
work on the Internet is thus exciting for students who are motivated to communicate
with a combination of text, the spoken word, and images.
Using iWeb, students can become citizen journalists, readily creating professional-
looking school websites to publish blogs, podcasts, and photos, with links to additional
information resources. In addition to working collaboratively to create these sites, students
can respond to feedback posted by website visitors. Students can have an audience that
includes not just the teacher, but their communities or even the entire world. Citizen
journalism also provides an important public service by offering an insight into previously
inaccessible areas of the world.
This activity takes you through the steps that students could take to create a current
events blog for a journalism class. The blog’s purpose is to establish an interactive forum
to foster an in-depth analysis of one news event. The blog could be a daily journal made
up of photos, texts, ongoing comments, and any other media that helps present the
issues raised by the event. One student could write the entry each day and the other
students in the class could then provide comments on the effectiveness of the news story
itself and on the event’s impact.
To visit an example of the site you will create, go to:
http://web.me.com/hs_teacher/Current_Events/Blog/Blog.html

Goals
In this activity, you will:
• Select a website blog template and replace placeholder text and pictures
• Add a comments button
• Publish the blog on the Internet
• Add a new entry to the published blog
• Republish the blog with the new entry
Quick Start                                        2
                                           Creating a Blog with iWeb

    What You Will Need
    For this activity, you need to download the files in the iWeb_Assets folder:
    • iWeb_Blog_Text.pages, a Pages file with text you will use for the blog
    • newspaper_swirl.jpg, an image file
    • newspaper_fin_2.jpg, an image file
    • raw_sewage_sign.jpg, an image file
    Software needed:
    • iWeb
    • Pages (to open the text file provided)
    To publish your site, you need to have a MobileMe account, a service from Apple that
    provides website hosting and a variety of other services. If you already have an active
    .Mac account, that account has been upgraded to MobileMe and can be used to publish
    your site. If you do not have a MobileMe account, go to www.apple.com/mobileme to
    sign up for a free trial.

    Time
    This activity will take approximately one hour to complete.

    Getting Started
    Using iWeb, you can create an attractive looking, distinctive blog by using one of the
    preformatted design templates.
1   Open iWeb by clicking its icon in the Dock or by double-clicking its icon in the
    Applications folder.

      Note: If this is the first time you are opening iWeb, an iWeb welcome window may
      appear.

    A window appears that displays all the available themes.
2   In the template chooser on the left of the window, click the Black theme to select it.
    A set of thumbnails for predefined pages appears on the right.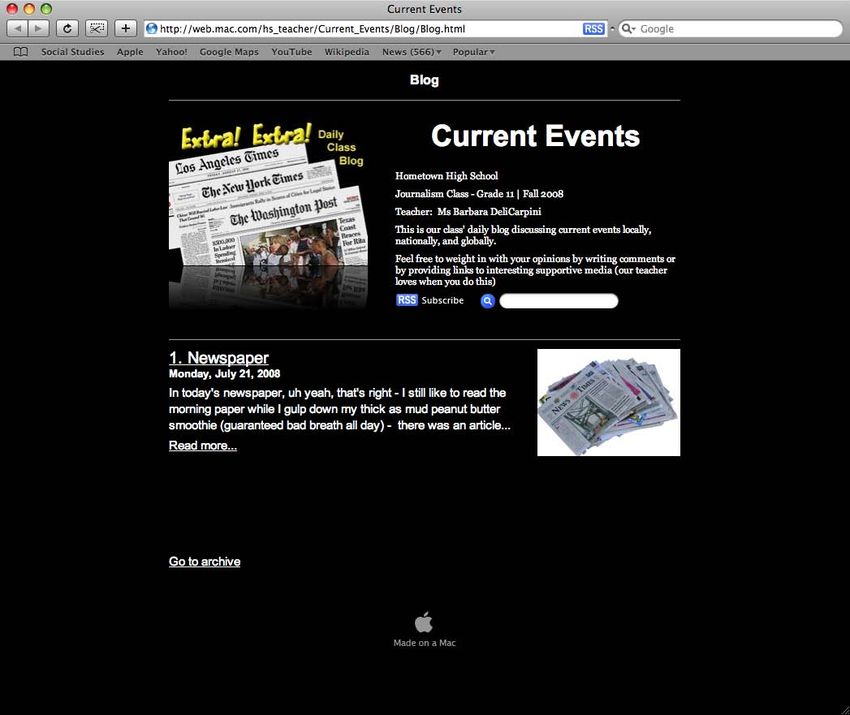
Quick Start                                            3
                                           Creating a Blog with iWeb

3   Click the Blog page to select it, then click Choose.

    The sidebar displays a new Site item with three icons underneath it. The Entries page
    is where you create and manage your blog entries. The Blog page is a summary page
    with excerpts of your most recent blog entries. This is the page that visitors see when
    they first visit your site. Archive is for viewing older entries no longer available on the
    summary page.
    You click an item in the sidebar to display it in the webpage canvas. The webpage canvas
    is where you edit your webpages.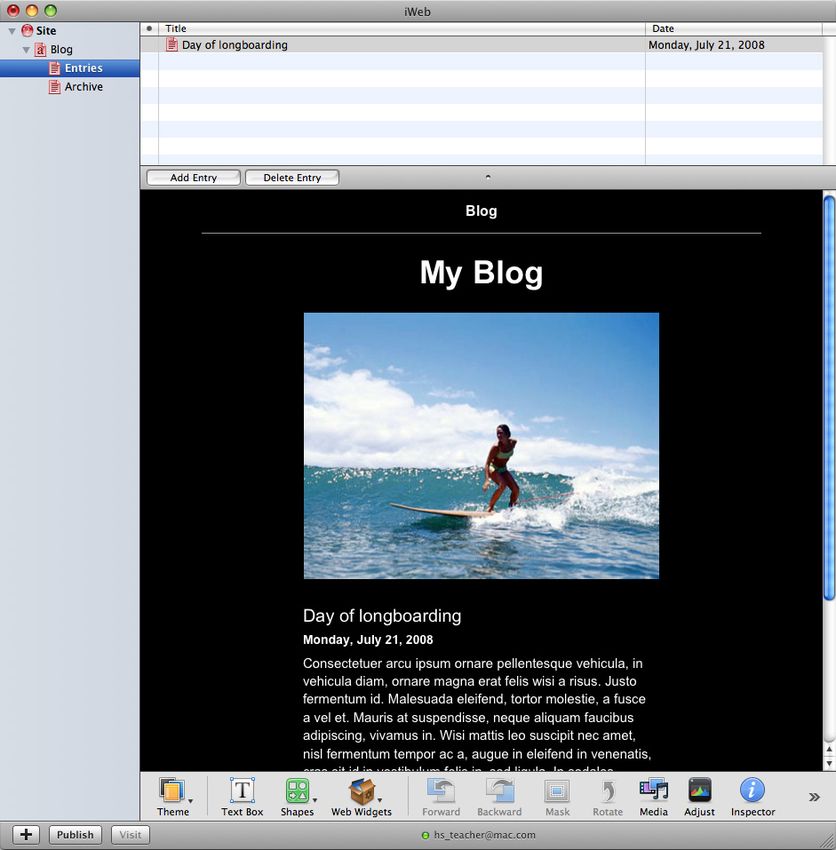
Quick Start                                               4
                                           Creating a Blog with iWeb

    The blog entry displayed on the Entries page consists of placeholders for the page’s main
    title (“My Blog”), a picture of a surfer, and the template’s entry title, date, and body text,
    which you will replace.

    Replacing the Entry’s Headings and Body Text
    You can change the main title on the Entries page to make it your own. For this activity,
    all main titles will be the same: Current Events.
1   Drag across the main title text, “My Blog,” then replace the text by typing Current Events.
    Next, you’ll change the title of this entry, now named “Day of longboarding,” using the
    placeholder text directly below the photo. (The entry title is also listed at the very top of
    the Entries page.)
2   Drag the “Day of longboarding” heading to select it, then replace the text by typing
    1. Newspaper.

      Note: Double-clicking the text will also select it for editing.

3   Click outside the heading text box to deselect the text.
    The entry’s name in the list at the top of the page changes to reflect the new name.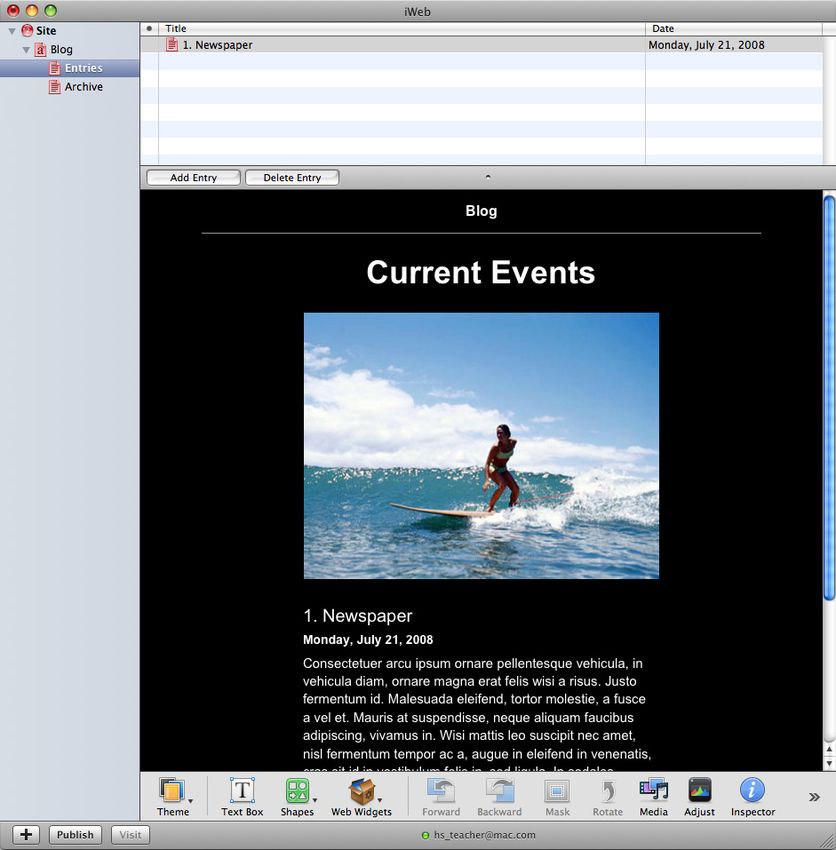
Quick Start                                           5
                                         Creating a Blog with iWeb

    You are now ready to replace the placeholder text with your own text by copying and
    pasting a paragraph from a document that was created with Pages.
4   Open a Finder window and locate and open the iWeb_Assets folder. Double-click the
    iWeb_Blog_Text.pages file to open it in Pages. (See “What You Will Need” for information
    about downloading this file.)
5   Select the text under Paragraph #1 and copy it by choosing Edit > Copy (or pressing
    Command-C).
6   In iWeb, place the pointer in the middle of the placeholder paragraph text, and double-
    click to select the entire paragraph. Choose Edit > Paste and Match Style (or press
    Option-Shift-Command-V) to replace the highlighted template paragraph with the text
    you copied.

      Note: The date located below the entry’s heading is automatically updated by iWeb
      to reflect today’s date. As a result, all entries are automatically date stamped when
      they are posted.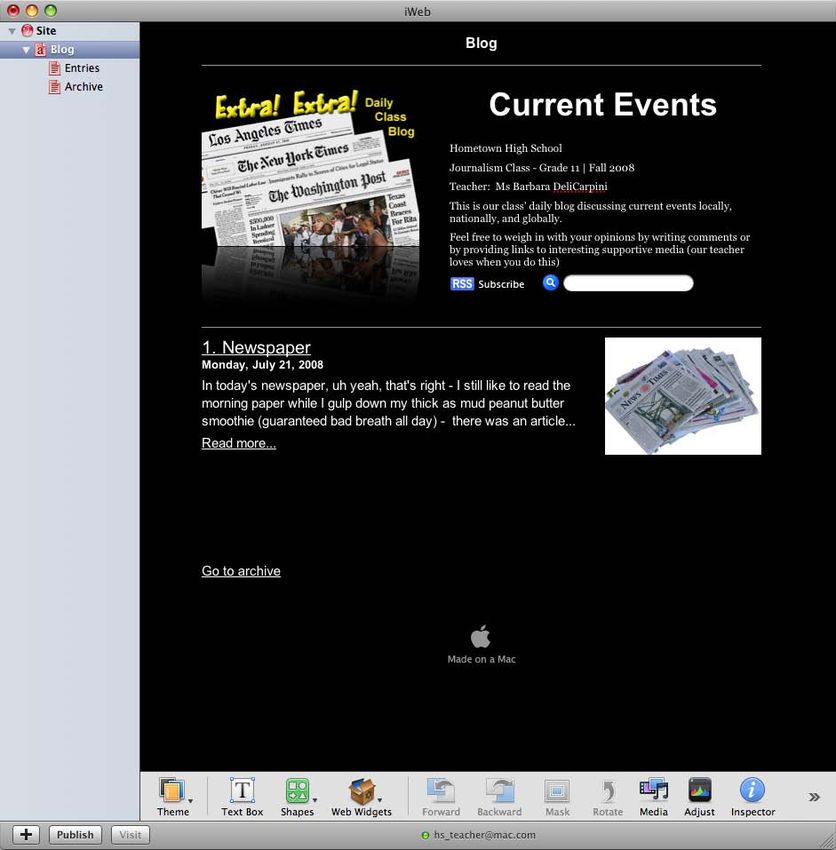
Quick Start                                           6
                                        Creating a Blog with iWeb

    Replacing the Entry’s Image
    In iWeb, you can drag pictures into your new blog entry.
1   Open a Finder window and locate and open the iWeb_Assets folder.
2   Drag the newspaper_swirl.jpg icon file to the current placeholder picture. Release the
    mouse button when the current placeholder picture is outlined in blue. The new picture
    replaces the placeholder image.
    Your page should now look like the following figure.

      Note: On your own Mac, you probably have a library of photographs stored in iPhoto.
      You can access all of those photos by clicking the Media button on the toolbar at the
      bottom of the iWeb window and clicking the iPhoto button.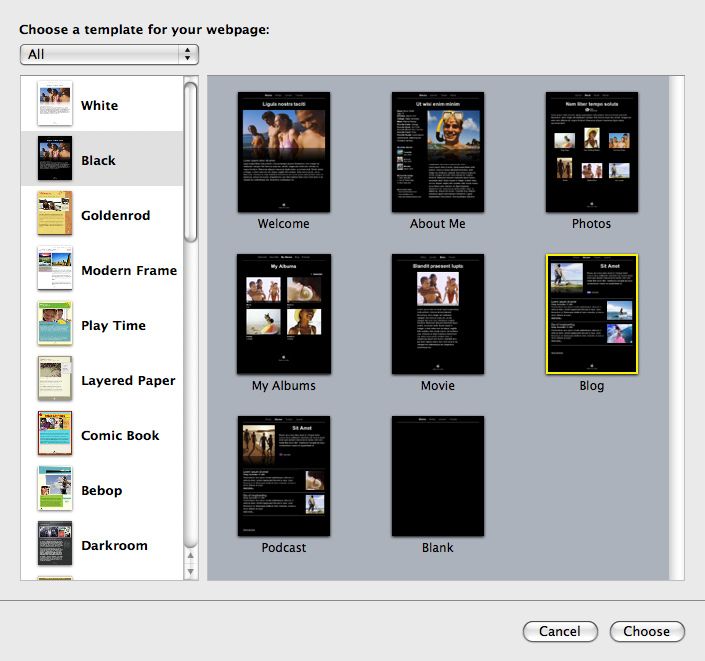
Quick Start 7
Creating a Blog with iWeb
Replacing Text and Pictures on the Blog Page
The Blog page is your blog’s home page and the first page that visitors will see when they
enter your blog. So far, you have created the first entry page. You will now modify your
Blog home page before publishing it to the Internet.
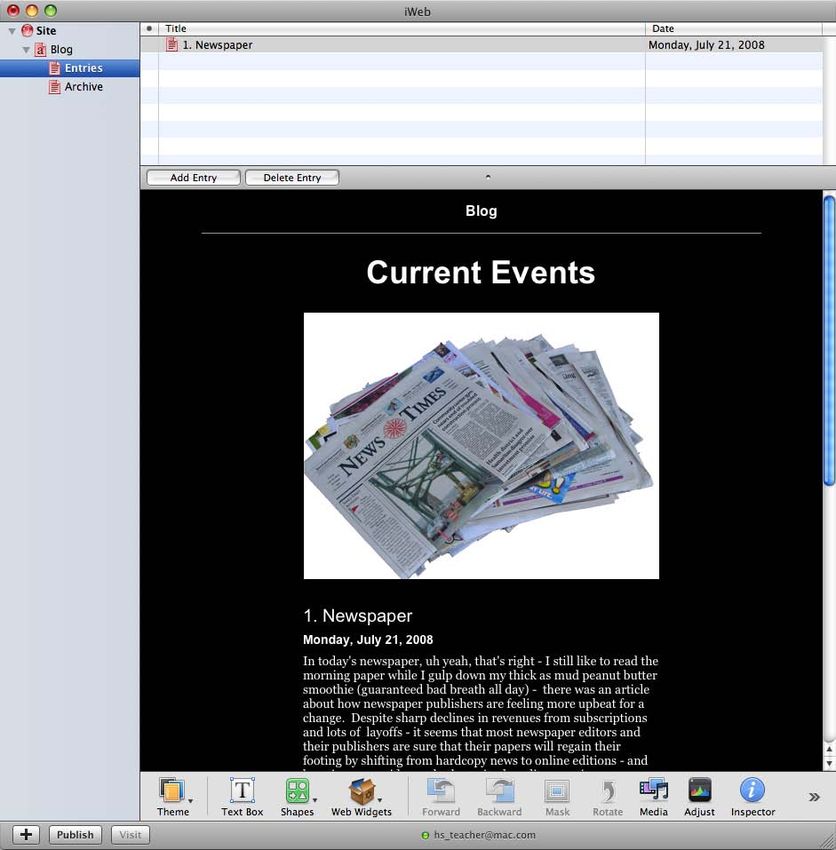
1 In the sidebar, click Blog.
The entry that you just built appears below the Blog page section at the top of the page.
2 Drag to select the “My Blog” main title, then type Current Events.
This will become the name of the blog’s home page.
3 If the Pages text file, iWeb_Blog_Text.pages, is not still open, open the file located in the
iWeb_Assets folder.
4 Select the text under Paragraph 2 and copy it by choosing Edit > Copy (or by pressing
Command-C).
5 In iWeb, place the pointer in the middle of the Blog page top paragraph and double-click
to select the entire paragraph. Choose Edit > Paste and Match Style (or press Option-Shift-
Command-V) to replace the highlighted template paragraph with the new text.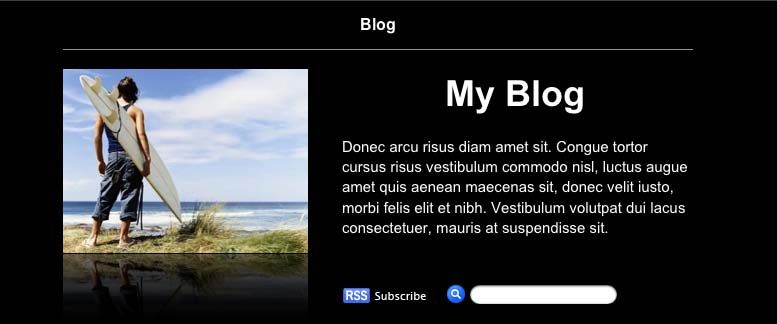
Quick Start                                             8
                                         Creating a Blog with iWeb

6   Drag the newspaper_fin_2.jpg file from the iWeb_Assets folder in the Finder to replace
    the current placeholder picture.
    The new picture replaces the template’s placeholder image.

    Publishing Your Blog
    You now have a blog with two pages—the Blog page and one entry page—and you’re
    ready to publish it on the Internet. Before it can be published, however, you need to give
    the blog site a name.
1   In the sidebar, click Site.
    The webpage canvas turns white. Don’t worry, you’ll return it to normal in a moment.
2   Select Site in the sidebar and type the website name Current Events.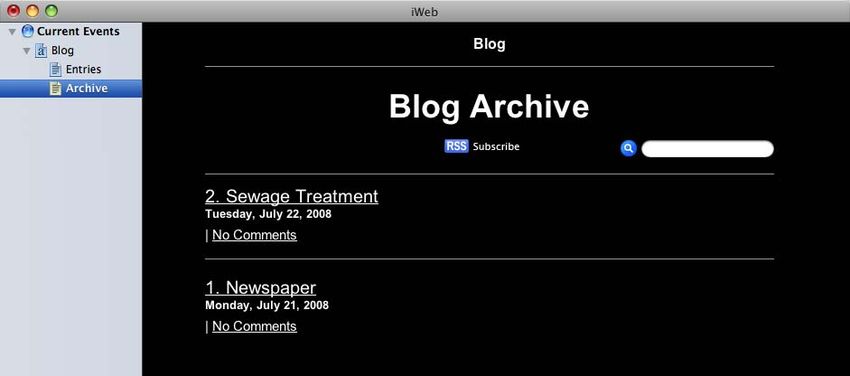
Quick Start                                              9
                                           Creating a Blog with iWeb

      Note: It is essential that each website have a unique name. If the same name is used
      for a second website, its pages will overwrite the first website’s pages. It is acceptable,
      however, to use the same names for pages.

3   Click Blog in the sidebar to display your site again. In the lower-left corner of the iWeb
    window, click the Publish button.

4   In the dialog that appears asking if you have copyright permissions for the files you’ve
    used, click Continue.

      Note: You must either own any content that you are publishing to the web or have
      legal permission to use it.

5   In the dialog that appears asking you to authenticate your keychain information, click
    Always Authenticate so that this dialog will not reappear.
6   In the dialog that appears with the message, “Publishing will now continue in the
    background,” click OK.
7   After the site is published, you will see the message, “Your site has been published.”
    Click OK.
8   To visit your new website, click the Visit button. The Safari web browser opens and
    displays your new website.
Quick Start                                            10
                                          Creating a Blog with iWeb

    Adding a Comment
    Next, you will set up the site so that visitors can add comments.
1   If the Inspector is not open, click the Inspector button in the webpage toolbar below the
    canvas. Make sure that the RSS and the Blog buttons are both selected (in blue).
2   Select “Allow comments” in the Blog pane, then click OK in the dialog that appears.

3   Click the Publish button to republish the site.
4   In the sidebar, click Entries and scroll to the bottom of the first entry where you see an
    Add a Comment link below the entry text.
    Clicking the Add a Comment link opens a comment dialog that can be filled out by the
    person who wants to make a comment when your students visit the website.

    Adding a New Entry
    It’s easy to update a blog with a new entry.
1   In the sidebar, click the Entries page to view the first entry you made, 1. Newspaper. To
    add a new entry, at the top of the Entries page, click the Add Entry button.
    A new entry page opens.

2   Replace the “My Blog” title by double-clicking it and typing Current Events.
Quick Start 11
Creating a Blog with iWeb
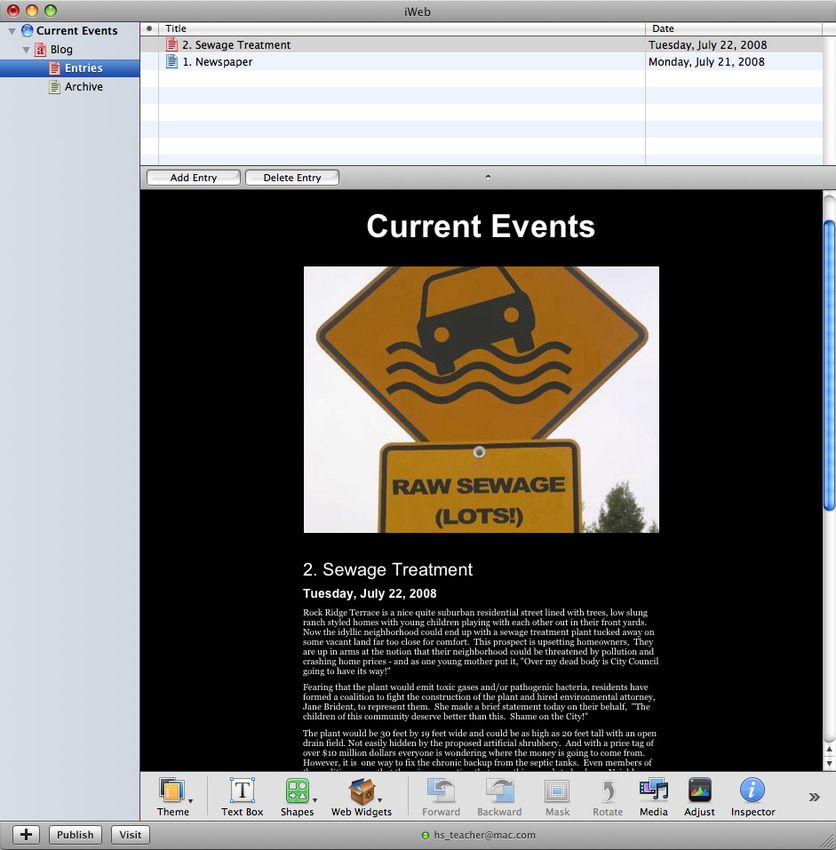
3 Replace “Day of longboarding” by typing 2. Sewage Treatment. The Entry 2 name is
changed.
4 If it’s not still open, open the iWeb_Blog_Text.pages document in the iWeb_Assets folder
in the Finder. Copy paragraph 3 by choosing Edit > Copy (or pressing Command-C). Paste
the text into the new entry page placeholder paragraph by choosing Edit > Paste and
Match Style (or pressing Option-Shift-Command V).
5 Drag the raw_sewage_sign.jpg file from the iWeb_Assets folder in the Finder onto the
placeholder picture in your entry in iWeb.
Republishing Your Site
After you’ve revised your blog, it must be republished to the Internet before the rest
of the world can see it. When any page is revised, its Site icon in the sidebar turns red
to indicate that you need to republish the page to update it online. If no red icons are
indicated, the Publish button is unavailable.
1 At the bottom of the iWeb window, click the Publish button to republish the blog.
After it has been republished, the red icons return to blue.
2 To view your updated website in a browser, click the Visit button.
Your default web browser opens and displays your revised website. Notice that blog
entries are listed in reverse chronological order with the most recent placed at the top.Quick Start 12
Creating a Blog with iWeb
The Blog Archive
iWeb automatically creates an archive that lists all your blog entries much like a table of
contents, so visitors can read all previous entries, no matter how old. In the Blog home
page, a limited number of entries are displayed, but the archive lists all entries.
Next Steps
Now that you’ve gotten started with iWeb, you’re ready to use it with your lessons to
enhance teaching and learning. The additional activity ideas that are included here
suggest a few more of the ways you can use iWeb with your students. When you want to
gain further skills in using the software to implement these and other activities, you can
use the resources listed in “Learn More,” below.
Learn More
Help
When you’re working in iWeb, onscreen help is available at any time by choosing
Help > iWeb Help.
Video Tutorials
For a collection of tutorials about using iWeb, go to www.apple.com/ilife/tutorials or
choose Help > Video Tutorials when iWeb is open.
Apple Media Series
ILife ’08 in the Classroom, part of the Apple Media Series, provides how-to videos and
step-by-step guides for learning how to use iWeb and the other applications in the iLife
suite. iLife ’08 in the Classroom, available at an affordable cost to individuals and schools,
guides you through what students could produce with each application.
www.apple.com/education/k12/applemediaseriesQuick Start 13
Creating a Blog with iWeb
Additional Activity Ideas
Literature Blogs—Language Arts
A webpage can be created in iWeb for students to discuss aspects of a literary work being
studied. For example, the webpage could have questions from the teacher for students
to respond to in blog entries, such as about foreshadowing, character analysis, and use of
metaphors. Such blogs could also be a way for students at schools in different parts of the
world to collaborate on the study of the same piece of literature.
What Do You See?—Visual Arts
In art classes, iWeb can be used to create a blog about pieces of art being studied.
Students can add blog entries about each work of art and provide their personal
interpretation of that artwork.
Electronic Portfolios—All Subjects
Electronic portfolios created with iWeb are a great way for students to save, present, and
publish their work from just one class or throughout their high school career. For example,
they could have a website to showcase their photography or other artwork, their history
research papers, or their poetry. Such a portfolio can also be valuable when students are
applying to college or for a job.
Learning on the Web—Science
Students can use iWeb to create a website on a unit of study for a science class, such
as molarity in Chemistry or cell division in Biology. The site can include photo galleries,
blogs, shared documents, and podcasts about related topics. This site can help students
understand the topic with different media and also provide them with review material to
use for preparing for tests.
Educate the Public—Science, Social Studies, Language Arts
Websites are a great educational tool for providing information to the school community
and the public. Students can use iWeb to present information about local and national
topics such as community bike paths or energy conservation.
© 2008 Apple Inc. All rights reserved. Apple, the Apple logo, iLife, iPhoto, Mac, and Pages are trademarks of Apple Inc.,
registered in the U.S. and other countries. Finder and iWeb are trademarks of Apple Inc. .Mac is a service mark of
Apple Inc., registered in the U.S. and other countries. MobileMe is a service mark of Apple Inc.You can also read