WALLPAPER Lookbook - Innovate Interiors
←
→
Page content transcription
If your browser does not render page correctly, please read the page content below
WALLPAPER
Lookbook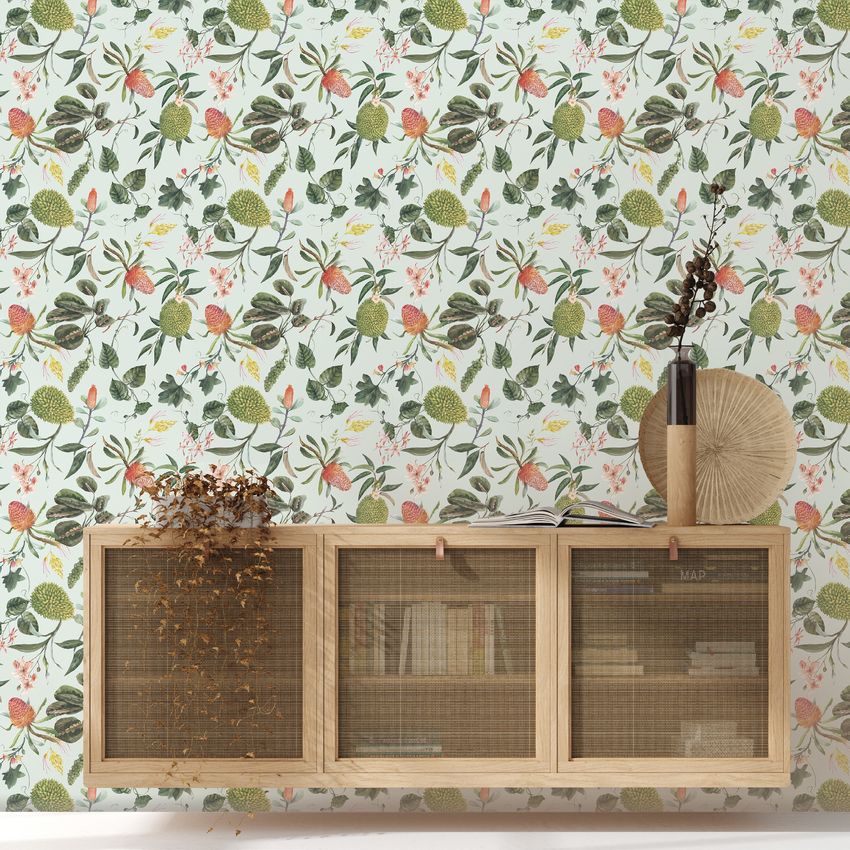
Wallpaper Information
HOW MANY ROLLS DO YOU NEED?
Once you know what media you’re after divide the width of your room by the width of the wallpaper roll to calculate the
number of rolls you require. Then choose the appropriate length for your ceiling height. Note you will need to round up to
the next whole number. NB: Our rolls come with a 25mm pattern overlap.

Still unsure? We’re here to help. Just send the height and width measurements of the wall you’d like to beautify to office@
innovateinteriors.com.au. We will get back to you ASAP with our estimation.

Roll widths:
Smooth Texture (Peel & Stick) = 550mm
Canvas Texture (Peel & Stick) = 620mm
Silk Paper Texture (Spray & Up) = 540mm
Commercial Grade Smooth (Wet & Up) = 620mm

WALLPAPER MEDIA INFORMATION

Smooth or Canvas Texture – (Peel & Stick)
This removable wallpaper removes clean and can be repositioned and reused as often as you wish. It’s also waterproof
and washable. Designed to help you reuse, re-purpose and reapply your prints easily yourself.

This wallpaper solves the hassles of traditional wall paper installations with an easy to apply, matte white self adhesive
film. Ideal for the non-professional, DIY installer with no experience or tools required. Better yet, when you are done with
that graphic it can be removed with minimal fuss and cleaning. Up to 3 year durability on indoor interior walls. Great for
partial and full wall graphics.

APPLICATIONS
Home interiors decoration – including rental accommodation | Schools and office interiors | Retail and Point of Sale |
Restaurants and Cafes.

Silk Paper Texture – (Spray & Up)
A beautiful textured wallpaper with a unique look. Quick, easy and clean. Eliminates the need for conventional wallcover
paste. Simply spray the wall with water, then apply the wide format media directly.

APPLICATIONS
Home Interiors Decoration – including Rental Accommodation | Schools and Office Interiors | Retail and Point Of Sale |
Restaurants and Cafes.

Commercial Grade Smooth – (Wet & Up)
This smooth wallpaper is pre-pasted. Simply activate the glue with water and install. There’s no need to handle separate
glue or adhesives and no glue waste to deal with. You get strong adhesion, yet with this strippable wall paper, removal is
easy and clean.

HP PVC-free Wall Paper printed with water-based HP Latex Inks produces odourless prints that meet GREENGUARD
criteria for low emitting products. Flame retardant class A approved fire certification. Up to 20 years display
permanence indoors, away from direct sun. Mould and mildew resistant. PVC-free alternative with a true, ultra-smooth
wall paper finish.

APPLICATIONS
Offices and Retail | Schools and child care centres | Government Departments | Home interiors decoration
CUSTOM DESIGNED AND PRINTED WALLPAPER FOR EVERY SPACE
Innovate Interiors is excited to introduce you to our new DIY Wallpaper Collections. Durable, colourful,
creative wall decorations that last with scrub- & scratch-resistant performance.
Transform your space with our custom printed and designed wallpaper – with no messy paste necessary.
All our wallpapers are easy to remove, so no need to stress about changing your mind in a few years and
wanting to refresh your space. You can choose new wallpaper and do it all again!
Our DIY wallpaper collections come to you ready to transform your walls in handy roll lengths from 2.5m
up to 3.1m. Should you require longer rolls for those super tall ceilings, or even a custom design, please get
in touch with us and we will happily custom quote for you.
We are always adding to our wallpaper ranges, so check out our website for our latest designs.
www.innovateinteriors.com.au
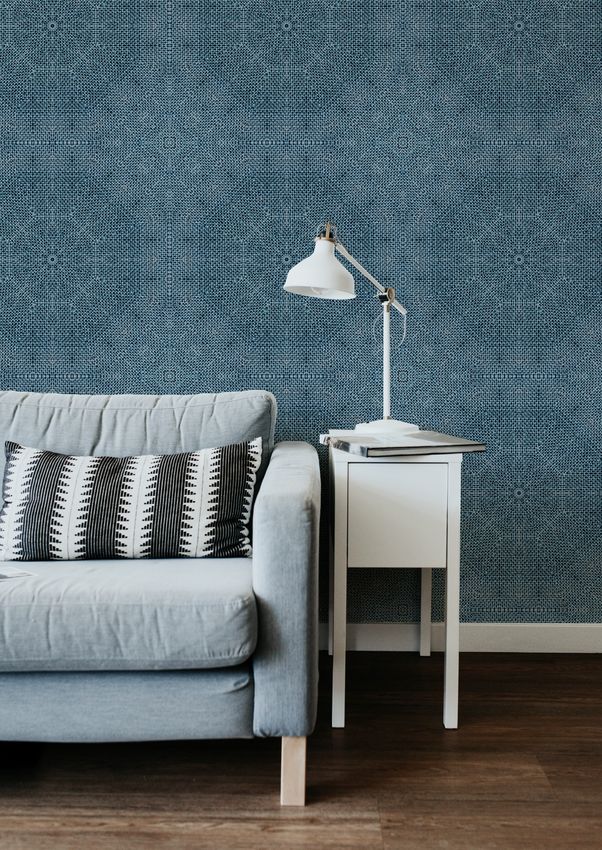
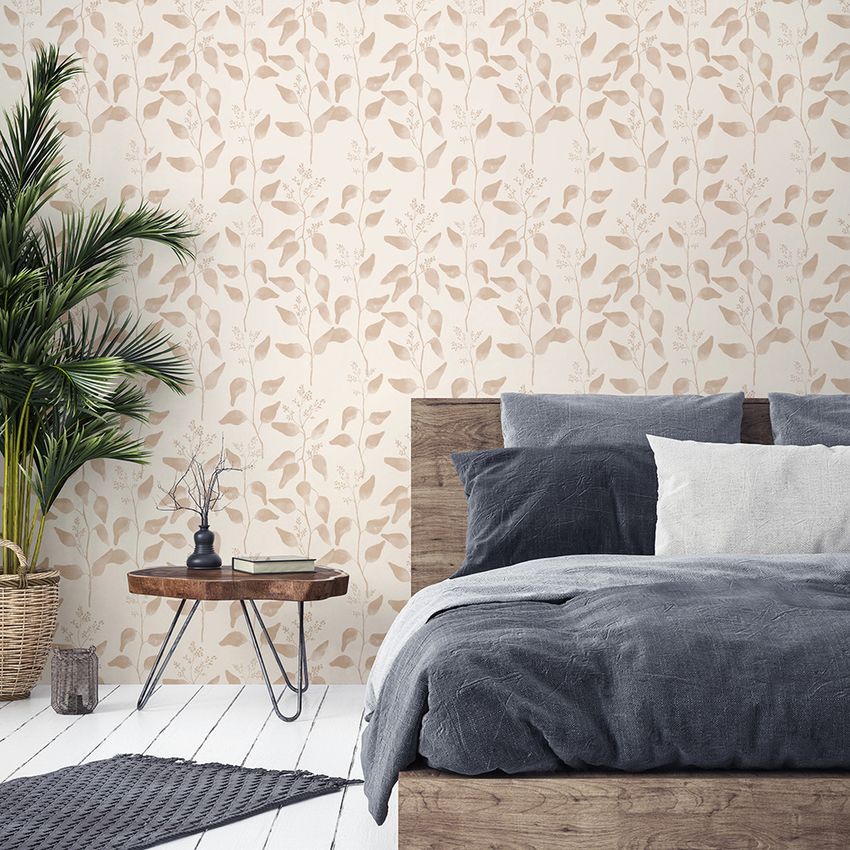
Cover. Mandala, Indigo
Above Left. Terrazzo, Cookie Dough
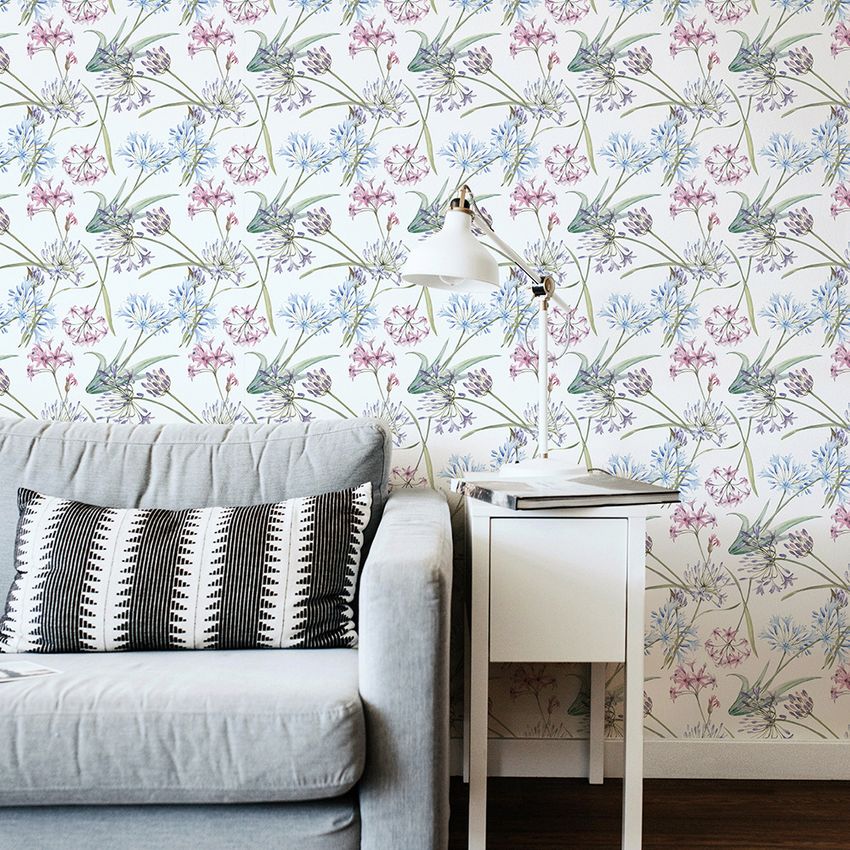
Above Right. Agapanthus, White
KIDS11         KIDS26

KIDS08          KIDS04

          Children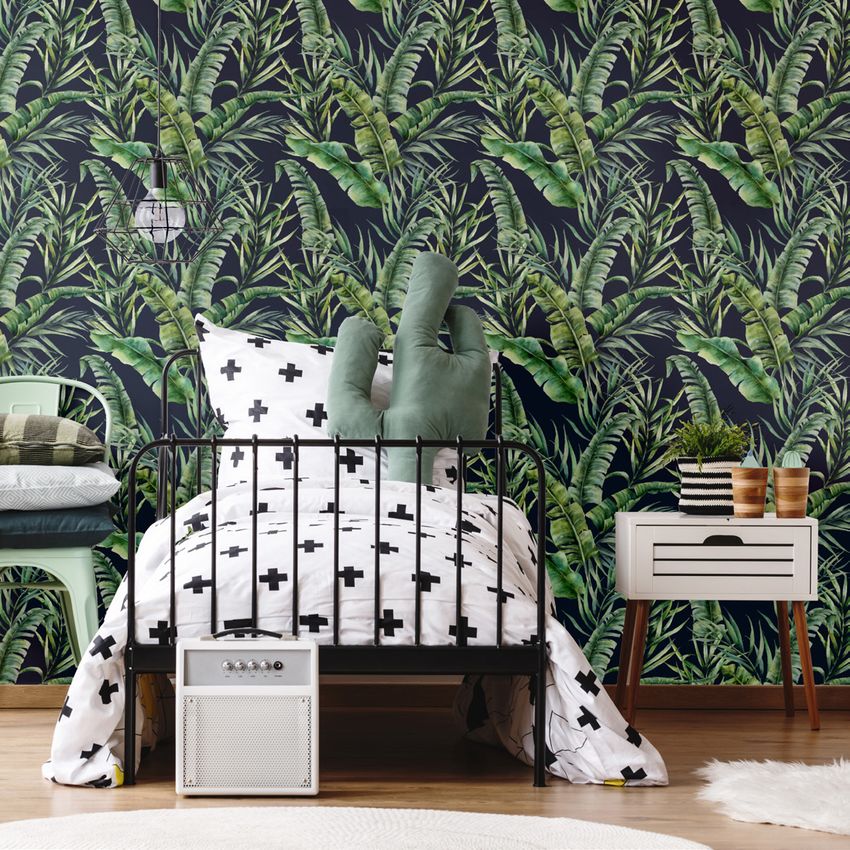
KIDS01

BUTTERCUP LANE       Buttercup Lane
KIDS11

TOUCAN DO IT            Toucan Do It
KIDS12 Lavender   KIDS13 Cactus Green   KIDS14 Fiesta   KIDS15 Bluebell

LILO LLAMA                                                    Lavender

KIDS20 Pow   KIDS21 Zap   KIDS22 Wham

SUPERHERO                                Pow
KIDS23 Canyon   KIDS24 Whitewashed Musk

CACTUS JACK                                       Whitewashed Musk
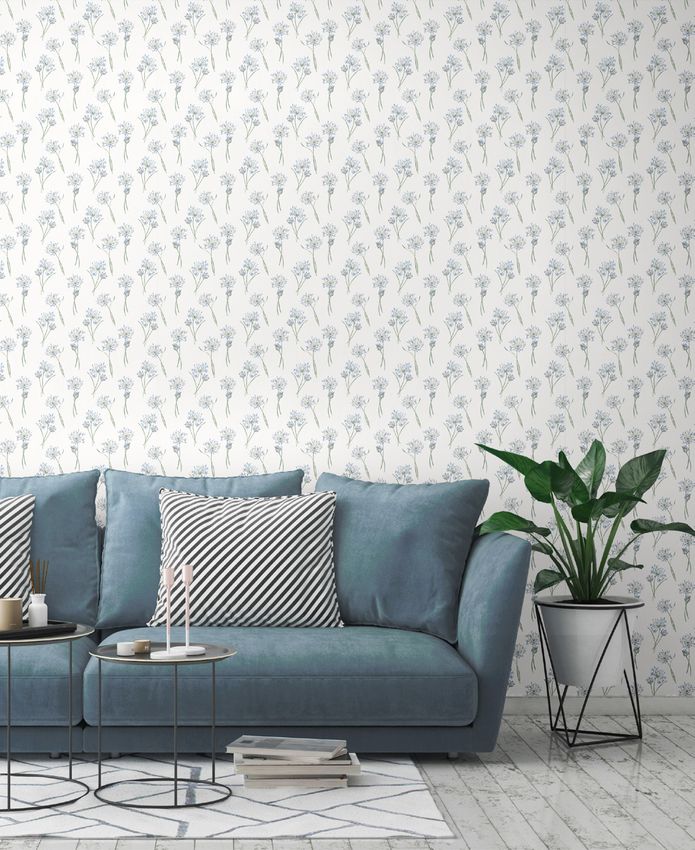
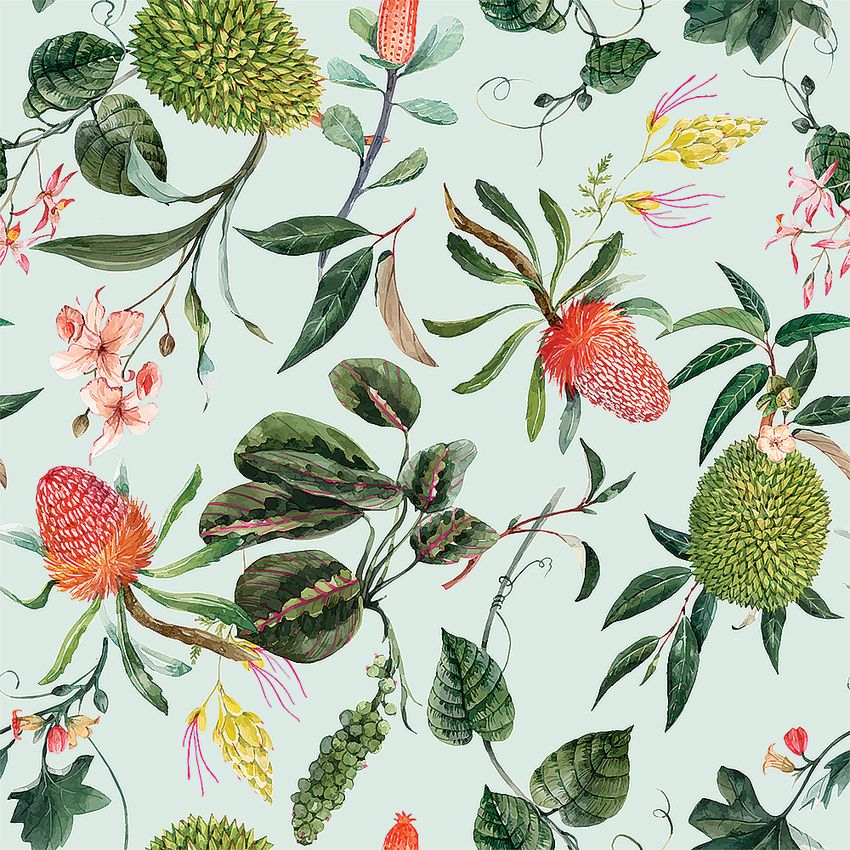
NATURE14       NATURE07

NATURE12       NATURE18

           Nature
NATURE01 FLORAL BANKSIA Floral Banksia
NATURE05

SAGE GUM              Sage Gum
NATURE10 Cream

VINTAGE BLOOM          Cream
NATURE13

SPRING POSY          Spring Posy
NATURE18 Sage   NATURE19 Blush   NATURE20 Natural

TRAILING GUMLEAF                                 Natural
PATTERN05     PATTERN04

PATTERN08 Smoke   PATTERN11 Jet

            Patterns
PATTERN01 Whitewash PATTERN02 Hessian PATTERN03 Indigo MANDALA Hessian
PATTERN04

GRAND DECO          Grand Deco
PATTERN05 Nostalgia   PATTERN06 Cookie Dough

TERRAZZO                                           Cookie Dough
PATTERN08 Coral    PATTERN08 Blush   PATTERN08 Clay   PATTERN08 Butterscotch

 PATTERN08 Sage    PATTERN08 Smoke     PATTERN08 Ink          PATTERN08 Jet

INVERTED DASH                                                        Smoke
PATTERN09 Coral     PATTERN09 Blush   PATTERN09 Clay   PATTERN09 Butterscotch

PATTERN09 Sage     PATTERN09 Smoke     PATTERN09 Ink          PATTERN09 Jet

ROPE                                                                      Ink
EASY D.I.Y. WALLPAPER INSTALLATION
                                                                                        peel & stick

 Step 1                     Step 2                          Step 3                      Step 4

Layout                     Measure                         Peel & Stick                 Finalising

Needed: Masking tape,      Needed: Tape measure,           Needed: Masking tape,        Needed: Stanley knife,
Stanley knife              pencil, ruler or spirit level   Stanley knife                squeegee

1. Find a large space      Please note: Prior to           1. Line up the top of        1. Using your squeegee
on the ground and lay      hanging your wallpaper          your first panel with the    flatten the top of the
out all your wallpaper     on the wall, make sure          top of your wall & also      wallpaper so there are
panels in the order you    the wall is clean and           with the faint line you      no bubbles and it is
will hang them.            dry.                            drew on the wall.            attached to the wall
                           1. Use your spirit level to     Approx. 200mm down           securely.
2. Now overlap them
                           determine if you roof           from the top of the wall
by 25mm and line up                                                                     2. Discard the masking
                           line is level (this             TAPE the panel to the
any patterns or distin-                                                                 tape holding the panel
                           becomes more import-            wall on both sides to
guishing features                                                                       on the wall.
                           ant the wider your wall         hold it in place.
3. Once you are happy      is!)                                                         3. Gently pull the
                                                           2. Peel back the top of
with the alignment,                                                                     release paper slowly as
                           2. Measure the width of         the release paper to
place little strips of                                                                  you push the wallpaper
                           your first wallpaper            approx. 200mm and cut
masking tape at                                                                         down the wall with your
                           panel and then draw a           the paper off carefully
intervals along the                                                                     squeegee, working your
                           faint line down the wall        making sure the sticky
joins                                                                                   way down the wall and
                           from the edge to the            side does not stick to
                                                                                        to the side edges
4. Score and slice the     width of your panel,            anything.
                                                                                        making sure the
masking tape between       using a ruler or the side
                                                           3. Carefully line up the     wallpaper is flat with no
the joins so you will be   of your spirit level.
                                                           top of the panel to the      bubbles.
able to align these
                                                           top of the wall again, &
tape marks again once                                                                   Please note: Cut away
                                                           apply pressure to stick it
the panels are on the                                                                   some of the release
                                                           to the wall.
wall.                                                                                   paper as you go so the
                                                                                        wallpaper stays closer
                                                                                        to the wall as you apply
                                                                                        it.
                                                                                        4. Repeat the process
                                                                                        with each panel & use
                                                                                        your knife to trim away
                                                                                        any excess.
Commercial Enquiries
0481 147 643
trade@innovateinteriors.com.au
www.innovateinteriors.com.auYou can also read