FAQs About Common Computer Tasks Using Windows XP
←
→
Page content transcription
If your browser does not render page correctly, please read the page content below
FAQs About Common Computer Tasks Using Windows XP
The University of the Pacific Laptop Computer Program allows students to gain access to multiple school
resources, including online course materials and presentations, digital radiography systems, databases,
printers and email. The following are some frequently asked questions about how to set up your laptop to
be able to access these resources.
Q: How do I log onto the computer and the school network?
i) Plug the network cable into the computer's network port
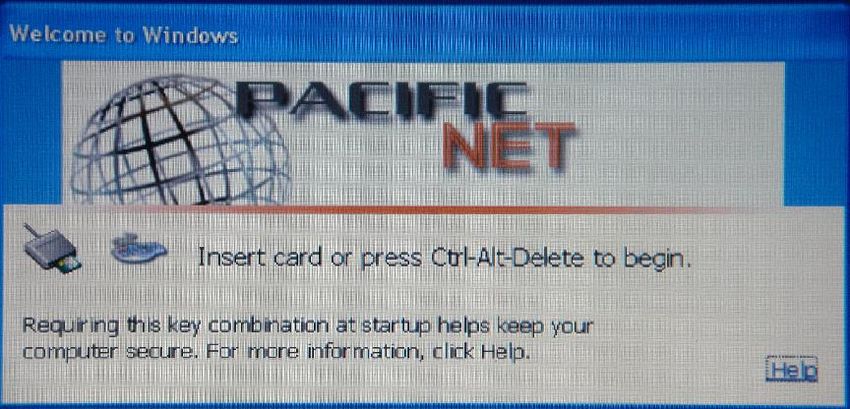
ii) Turn on the computer. The Windows Client for Windows XP screen appears.
While holding down the Ctrl key, press the Alt and Del keys.
iii) The login screen appears.
Dell Latitute Laptop 1
Common Computer Tasks using XP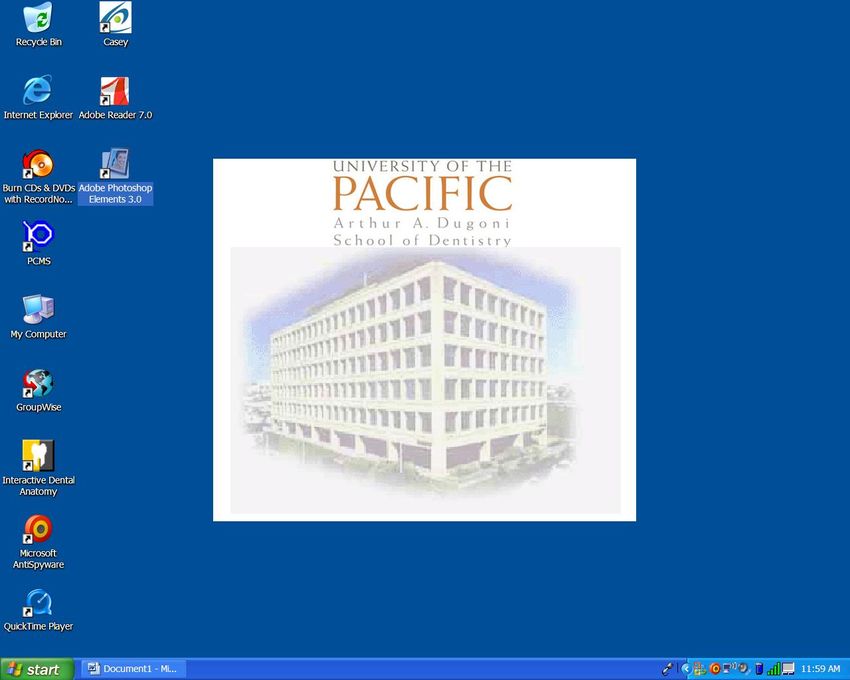
iv) Click on the Options button to expand the Log On window.

       v) In the PacificNet field, enter your user name. In the Password field, enter your password
            (your user name and password should have been provided to you separately)
       vi) Press the OK button to login.
       vii) You should see your desktop appear looking similar to the screenshot below.

Q: How do I access online resources available to me?

   The following is a brief list of some available resources:

       •   OVID’s Medline. To access this tool, use your web browser to go to the Pacific Dental Web
           site at http://dental.pacific.edu. Select Current Students > Online References > Ovid. If

Dell Latitute Laptop                                                                                  2
Common Computer Tasks using XP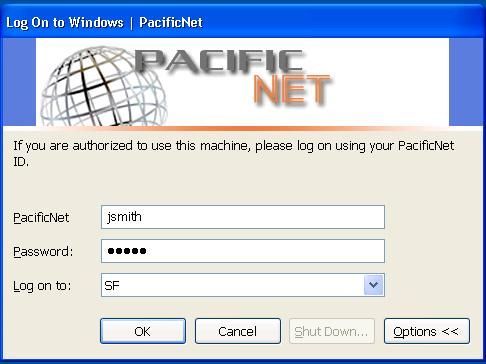
you are inside the school, you don’t need to input the user ID and password. If you are
outside, then you will have to input the user ID and password to login (please refer to your
“Computer ID and Password List” for your Ovid user ID and password).
Note: Only two concurrent users are allowed to access OVID Medline at a time.
• LexiComp CRL Online drug information database. Go to http://dental.pacific.edu. Select
Current Students > Online References > LexiComp. You will be taken to the LexiComp
web site. When requested for a User Login, enter the appropriate userid and password as
indicated on your “Computer ID and Password List“
• Blackboard electronic course management system. Go to http://dental.pacific.edu and select
Current Students > Online References > Blackboard. (If it does not connect at first, click
the “back” button on your browser and then try again). When you get to the login prompt,
enter your Blackboard ID and password (which you should receive separately). Instructions
for using Blackboard are available in the course, “A Student Guide to Blackboard,” within
Blackboard.
• Research opportunities and competitions. Go to http://dental.pacific.edu and choose Current
Students > Research and Postgraduate Opportunities.
• Your student email account. The School of Dentistry uses the GroupWise email system.
You can access your GroupWise account in two ways:
l The GroupWise client software that has been installed on your computer. This client
has more functionality than the Web version of GroupWise. To use the GroupWise
client software, double click on the GroupWise icon on your desktop to open the e
mail application.
l Via the Web. Open Internet Explorer and type in the following address:
webmaildental.pacific.edu/gw/webacc and press the Enter key. You will be
prompted for your username and password.
l Your email address will be in the format username@pacific.edu. Example:
jsmith@pacific.edu or jthompso@pacific.edu. Please note that your network
username (PacificNet ID) may differ from your GroupWise username.
Q: How do I add my personal printer to my printer list when I’m not on campus?
Start > Printers and Faxes > (Printer Tasks) Add printer > Next > Local printer
Q: How can I make sure that I am printing to the correct printer?
On all Windows applications there is a print dialog screen that is available on the File menu. Choose
File > Print. Then on the print dialog box, in the box labeled Name, click the dropdown menu to see
a list of installed printers. Choose the printer you want to print to by clicking on its name to highlight
it. Then set other options on the print dialog screen as needed and click on “OK” to send the print job
to that printer.
Dell Latitute Laptop 3
Common Computer Tasks using XP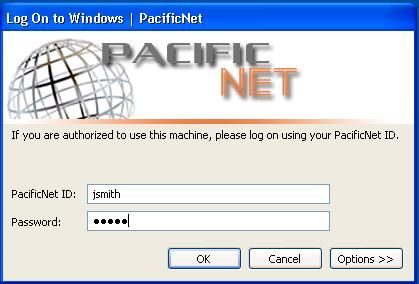
Q: Do I need to back up my files? If so, how do I do this?

   If you do not make backup copies of files and your hard drive fails, you will lose those files. To
   prevent this scenario, you should back up your personal files regularly.

   There are several ways to make back up copies of your files. One way is to copy files onto a USB
   flash drive or recordable DVD or CD on the laptop computer. The other way is to save a file into a
   directory on your network drive. Disk space has been reserved for you on the university's network
   drive for this purpose.

   a) Backing up files to a DVD/CD drive:

          i)   Insert a blank recordable DVD/CD into the DVD/CD drive.
         ii)   Start > All Programs > Sonic > RecordNow! Plus > RecordNow! Plus or double click
               on the Burn CDs & DVDs with Roxio icon

                                    Burn CD & DVDs with Roxio.lnk

        iii)   Click on make a Data CD
        iv)    Click on the Data CD Project button. This will open another window that will allow you
               to highlight the files and folders that you want to add to your CDR disk.
                     (1) After making your file selections, click on the Add button to add files to the
                          current job.
                     (2) Repeat the above to add additional files to the current job.
         v)    Click on the red “Burn” button to start the process

   b) Backing up a file you are working on to your network drive:

       i) After creating a document, click on “File” (menu) and “Save as”.
       ii) Click on the down arrow in “Save In” field, click on the S:\> drive, navigate to the folder
           where you want to save the file, then click Save.

   c) Backing up a file to a USB flash memory drive:
      i) Open the USB Flash Drive (Remove the cap).
      ii) Insert the USB drive into the USB port located at the rear of your laptop.
      iii) Wait for a message to appear on the screen indicating that your laptop has detected the
           device.
      iv) Double click on “My Computer” icon and you will see an additional drive letter as a
           removable drive.
      v) You will be able to “drag and drop” or “copy and paste” files into that device. (See diagram
           below)

Dell Latitute Laptop                                                                                     4
Common Computer Tasks using XP
Dell Latitute Laptop 5 Common Computer Tasks using XP
You can also read