Swapcard Guide for Exhibitors - Edana
←
→
Page content transcription
If your browser does not render page correctly, please read the page content below
Swapcard Guide for Exhibitors
STEP 1
  -
LOGIN

         4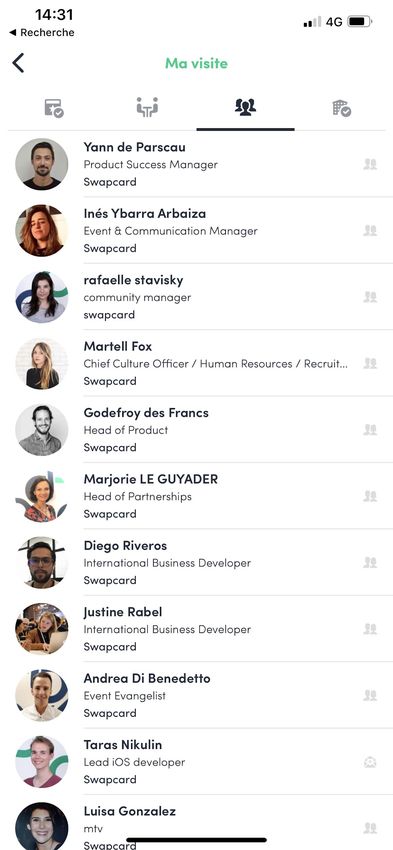
1. Login / Email

                   2 weeks prior the event, you will
                   receive an email with a button
                   redirecting to a login page. Your
                   account is automatically pre-
                   created by the event organizer. A
                   window will then suggest you
                   create a password for your account.

                         If you didn't receive anything,
                              check your spam box.

                                                           5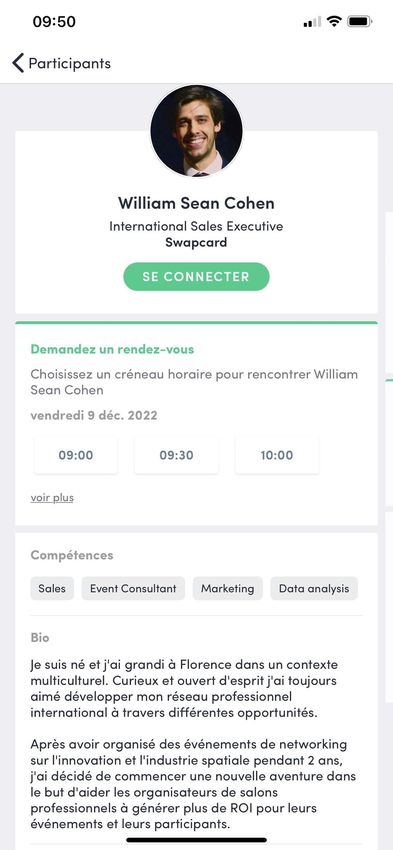
1. Login / Platform – with an account

                     Access your account at login.swapcard.com.
                   Enter the email you used to register for the event.
          If your address is not recognized, send an email to support@swapcard.com.   6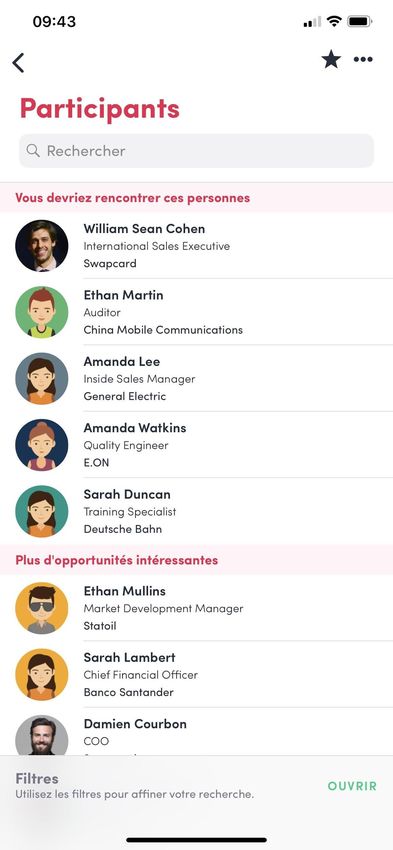
1. Login / Platform – without an account

         Simply register with the email address you prefer, and set a password.
                                                                                  7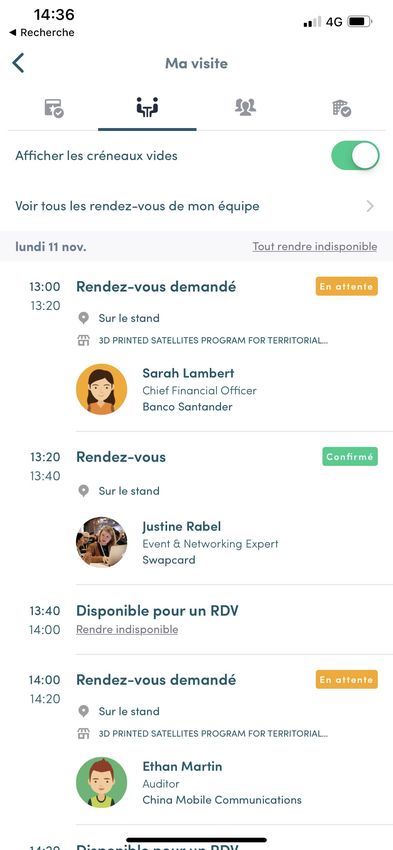
1. Connection / Platform – with a code

                                      Your email address
1                                    wasn’t recognized? No
                                     problem, just click on
                                        “join an event”.

2                                                   Use the secret event code :

                                                              CODEXX
                                                                                  8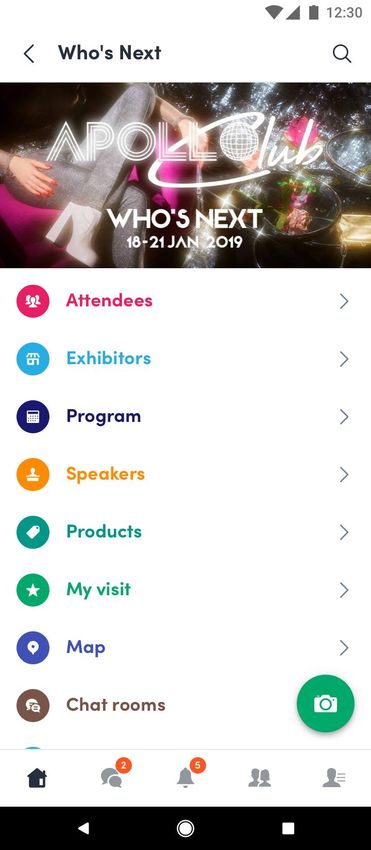
WELL DONE! YOU NOW HAVE
 ACCESS TO YOUR EVENT     9
STEP 2
      -
APP & WEBAPP

               10
2. App & WebApp / Navigation

                       Web App                                               App

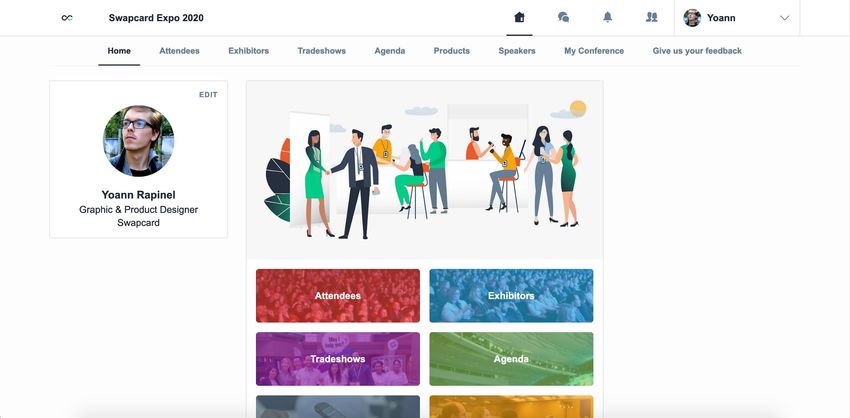
     This is the home page of your event. The main
                                                         Home          Messages        Notifications
  navigation page is the same on Web and Mobile. It is
                   divided into 5 parts:                        Contacts          My profile
                                                                                                      11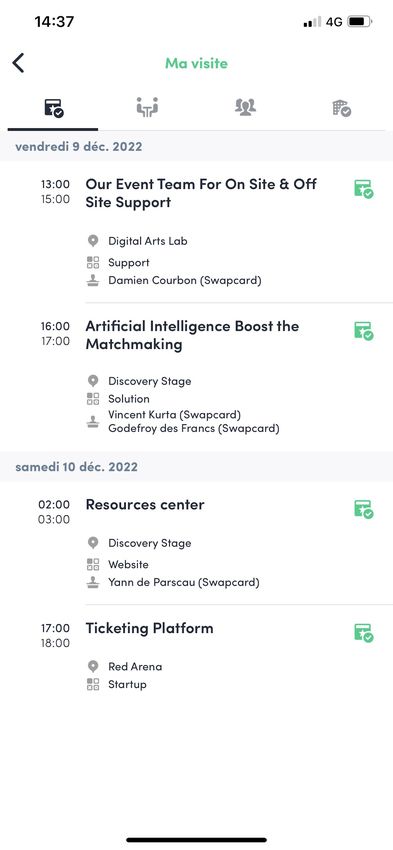
2. App & WebApp / Navigation

                               Web App                                                           App

To access the different sections of the platform, use the buttons on the home   •   Home           •   Program
screen. From the Web App, navigation is made easier by the navigation           •   Attendees      •   Speakers
sub-bar. This allows access to the 6 sections of the event:                     •   Exhibitors     •   My Visit
                                                                                                                  12
2. App & WebApp / Attendees & Matchmaking
Find out who to meet!
1. Sort the attendees to see the most
relevant results
2. Click on a participant to view their
information
3. Connect with qualified profiles
A personalized connection request (with message)
is 4 times more likely to be accepted.
AI & Matchmaking
1. Fill in your profile information
2. Enter your search criteria
3. Add the profiles that interest you
The more data you enter into the platform, the
more efficient the matchmaking will be.
132. App & WebApp / Exhibitors, Program & Speakers
Exhibitors
All exhibitors (companies) are included in this list,
both on mobile phones and on the web application.
You can access another exhibitor's or your own
page, its description and location on the map.
Program
All sessions are located in the "Program" section.
You have the possibility to bookmark the sessions
that interest you to create your personalized
agenda.
By clicking on a session, visualize who is leading it
and which sponsors are attached to it.
Speakers
Find the list of different speakers at the event, and
get in touch with them!
In addition to the general information available on
their file, you will also find the list of the sessions
they run.
142. App & WebApp / My Visit
Find your meetings, the people you met on
the event and your personalized schedule.
You can export your meetings and your
personalized agenda directly to your calendar by
clicking on this icon.
My Schedule My Meetings My Contacts My Wishlist
172. App & WebApp / Send a meeting request
Select a slot 1 2 3 4
1
By clicking on a participant, you can
view the appointment slots at which
they are available. Select the slot that
suits you.
2 Select a place
The list of appointment spaces
appears. Select the one you are
interested in.
3 Send a message
It is very important to send a
personalized message to the
participant you wish to contact so that
the meeting can take place.
4 Manage your meetings
In "My Visit", you can view your
appointments, cancel them and manage
your availability. Be careful! A meeting
slot is blocked when a request is made
or received, even if it is not yet
validated.2. App & WebApp / Video meetings and calls
Video Meetings
1 2 3
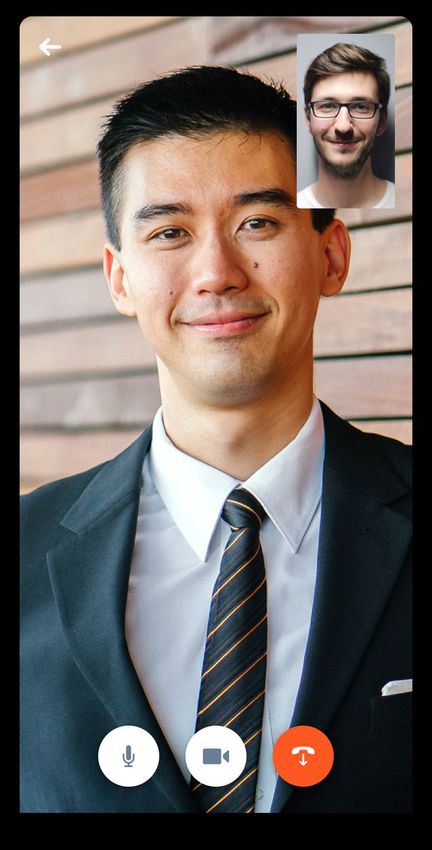
1 You can set up a virtual meeting with someone.
When your meeting request is confirmed, the
2 button “Meeting call” will appear 1 hour before
your meeting on your profile (only if the meeting is
confirmed).
Your meeting will also appear in your “My Event”
3 list, which is your own schedule for the event.
Video calls
From within a private chat discussion, you can
directly call someone with the camera button.
You have the possibility to share your screen.To access your exhibitor area, click on
your name at the top right-hand corner,
then on “Exhibitor Center”.
STEP 3
–
EXHIBITOR
CENTER
203. Exhibitor Center / Navigation
This is the menu bar that appears on the left-hand side of your screen. It will be
useful for you to navigate between the different sections of the Exhibitor Center…
Home is the first page that you will see
when accessing the Exhibitor Center.
A red pin indicates that you have a
pending notification, so take a look and
see what's going on!
213. Exhibitor Center / Company Information
To be contacted by as many qualified participants as possible, Attendee Preview
you must fill in all the information in your exhibitor form:
✔ Logo
✔ Social Networks ✔ Address
✔ Name
✔ Website ✔ Products
✔ Description
You can also add files to your company page.
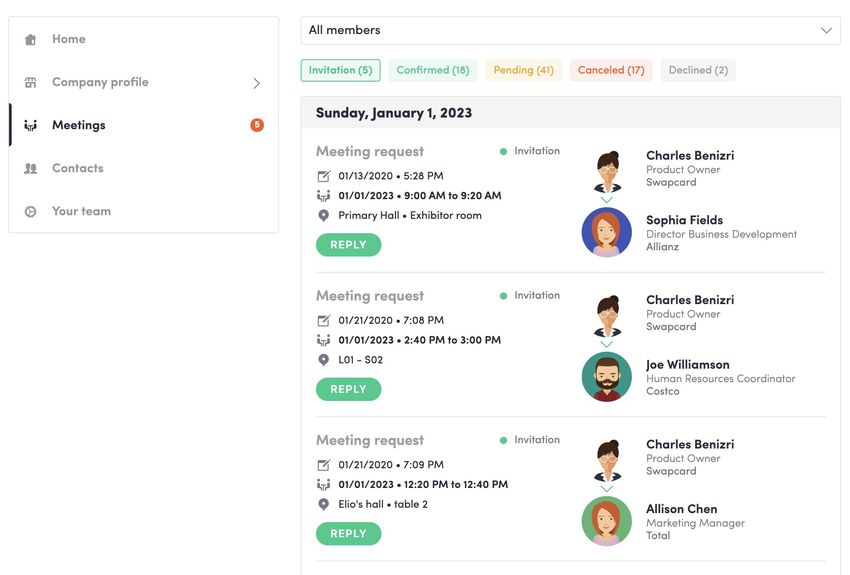
X ✓ 223. Exhibitor Center / Manage your meetings In this section you can: • Display your team’s meetings • Filter meetings by status: Pending, Validated, Declined, Cancelled • Assign a meeting to a member of your team: click “Answer” on the meeting request, and choose the person to assign • Accept or decline meeting requests • Export the full list of your team’s meetings 23
3. Exhibitor Center / Shared contacts & export
                                                                                                 By going to the "Shared Contacts" tab,
                                                                                                 you can view and export all the contacts
                                                                                                 collected by you and your team before,
                                                                                                 during, and after the event.
                                                                                                 Only the contacts of your collaborators
                                                                                                 who have enabled the contact sharing
                                                                                                 option will be displayed, in addition to
                                                                                                 yours.
                                                                                                 Check that all your collaborators have
                                                                                                 activated it.

                                                                                                              Let’s talk GDPR…
                                                                                                  All users of the platform have agreed to share
                                                                                                  their data with the event organizer. When you
                                                                                                  scan a badge or connect with a user, they agree
                                                                                                  to share information with you. You therefore
                                                                                                  retrieve this information in compliance with the
From your App or WebApp, you can also export your contacts (and only yours) as an excel file by    GDPR regulations.
going to your contacts and clicking on "export".
                                                                                                                                                     24
3. Exhibitor Center / Your team
#EvolveVirtual20
To manage the members attached to your exhibiting
entity, go to "Your team".
You can then view all your collaborators, delete or add
them and manage the visibility of their profile.
253. Exhibitor Center / Products
Add your products and
services to your exhibitor page
with a good quality picture and
all the information a buyer
could need.
26STEP 4
-
BEST PRACTICES
274. Retroplanning
Before the event During the event After the event
1. Edit your profile and your company 1. Scan badges and business cards of 1. Ensure a follow-up with your new
profile the relevant connections contacts
2. Connect with qualified attendees 2. Note & tag your new contacts 2. Export your contact list
3. Send your first few meeting requests 3. Chat with them in the app 3. Qualify your leads for better ROI
4. Answer your first few meeting
requests
28Make the most of your event with your event app!
You can also read


