INTRODUCTION TO MYSQL AND PHPMYADMIN
←
→
Page content transcription
If your browser does not render page correctly, please read the page content below
G563 Quantitative Paleontology
Department of Geological Sciences | P. David Polly
Introduction to MySQL and phpMyAdmin
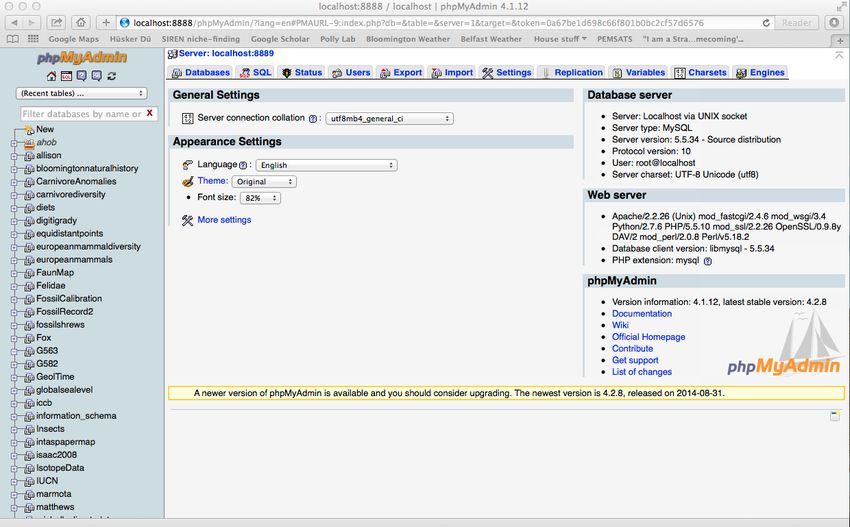
PhpMyAdmin Interface
phpMyAdmin is a web-based interface to a MySQL server. The interface is written in the PHP
language, which is frequently used for web-based interactive programs. phpMyAdmin translates
what you enter into the web browser, sends queries to the MySQL database, and translates the
returned information back to web format. As we will see, there are other ways to access the MySQL
database, including directly from Mathematica.
To access phpMyAdmin and your database:
1. Start your servers. This can be done from the MAMP/WAMP application that you installed.
On some systems there may also be an application icon that can be used.
2. Open the start or home page with the same application. You can also find this page simply
by opening a web browser and entering the address “http://localhost:8888/”
3. Start phpMyAdmin from the Tools menu on the localhost web page.
1
Import Data
Create Database: You can create new databases and import tables using phpMyAdmin. Create a
database by clicking on the “New” link at the top of the left panel, or navigate to the Databases tab.
Enter a name for your new database (e.g., “G563”) and select a “collation”, which is the encoding
format used to store text characters. The collation can be important for storing characters like
vowels with umlauts or accents. When in doubt, chose “utf8_unicode_ci”, which will handle most
characters from European alphabets.

Create or Import Table: You can create tables that you fill with new data, or you can import
existing tables of data. Here is one way to import existing data from a file:

   1.      Clean the data, including the column labels, and save in CSV format (comma-delimited
           text file). Labels should be at the top of each column. Things will go easier if the labels
           are short, have no spaces, and have no unusual characters (e.g., -, =, %, &, Ä, etc.).
           Labels should start with a letter, not a number. You can save CSV from Excel, or you can
           create a CSV file in a text editor or word processor.
   2.      In phpMyAdmin, select the database into which you want to import the table.
   3.      Using the import tab in phpMyAdmin, enter the name of the file using the file dialog
           button.
   4.      Under “format” chose CSV, make sure column separators is set to comma (presuming
           you are importing a comma delimited file.), and make sure to tick the option that reads
           column headers.
   5.      Note the “replace table data with file” option. If you tick this, the data from the
           imported will overwrite all existing data in the MySQL table; if you don’t tick it, the data
           will be added to whatever is in the table already. If you are importing into an empty file,
           this option has no effect.
   6.      Press Go when you are ready.
   7.      Change the name of the table to something useful. First, select it in
           phpM yAdm in, choose the Operations tab, and enter a new nam e under the
           Table Options section at the right.
Debugging Im port problems: Check your data carefully for unannounced errors. Errors
frequently arise because phpMyAdmin has guessed incorrectly the type of data in each column.

   1.      Click on the structure tab to see what “type” has been assigned to your columns.
           Columns with text should be “varchar” (Variable characters), columns with integers
           should be “int”, columns with ordinary decimal numbers should be “decimal” or “float”.
   2.      Check to make sure that your data columns have not been truncated. This can happen if
           the first several rows are different from later rows. For example, if your first rows happen
           to have integer numbers but later rows have decimals, the latter may have been lost.
   3.      If there are problems you can try two things:
           a. Sort your data table in Excel so the largest numbers are first. Drop the old table.
              Import again.
           b. Create the table structure first, then import the data. Drop old table. Select the
              database. Under Operations tab enter a name for the table and number of columns
              in the appropriate fields and click Go. On next page enter the names of the columns,

                                                                                                          2
the data type, and the maximum length of each column. See here for quick guide to
data types: https://my.bluehost.com/cgi/help/2161
Introduction to SQL Queries
A database has tables, columns (also called fields) and rows. Tables and columns have names, rows
have data. The value of a database is that it allows you to find data, group data, link data, and
summarize data. For small data sets summaries may be easier made by hand, but with large data
sets that are constantly changing this is easier done with queries. SQL (Structured Query Language)
is a simple language that is used to query database, and it can be used in mySQL, Oracle, Access,
and many others.
The syntax of SQL queries is designed to be similar to a command in English. Most queries have at
least two parts: a verb clause, where the verb is usually “select”, and a prepositional clause that
tells from which table (or tables) data should be selected. The modifying clause puts conditions on
the selection or the results. Several modifying clauses can be used, or none at all. The query above
would select all columns (or fields) from the table “pbdb” for those rows where the Genus column
contains the word “Hesperocyon” (an extinct dog-like genus).
The Select Clause
An asterisk (*) is used to select all columns in a table. If you only want to see specific columns, list
them by name:
If you just want a list of the taxa in your table, you can use the DISTINCT modifier to return only a list
of the unique items in a field:
You can combine words from different fields using the CONCAT() function, which is useful here for
combining genus and species names:
In cases like this it is helpful to rename the fields, which you can do with the AS clause:
There are other functions that operate on the data you retrieve:
3Max(field_name) returns the maximum value of a field.
Min(field_name) returns minimum value
Count(field_name) returns the number of rows
Avg(field_name) returns the mean
Std(field_name) returns the population standard deviation
Variance(field_name) returns the population variance
The Where Clause
Use the WHERE clause to select parts of data:
You can combine items in the WHERE clause using all the logic statements that you thought would
be useless back when you learned them:
Order By Clause
Want results in alphabetical order? Add an ORDER BY clause.
The Group By Clause and Useful Functions
Here’s where the usefulness of a database really becomes apparent. If you’re clever and your data
are arranged right you can calculate an entire table for a publication with one query:
The previous query groups the data by genus and counts the rows for each genus, which gives you
the sample size for that genus, and renames the count as “N”.
The following query gives you a summary of the stratigraphic ranges of all the genera in your
database, ordered from the first appearance in the fossil record.
The resulting table is very similar to the “ranges” table produced by the PBDB. If you downloaded
the right data in the collection database you can recreate the ranges table exactly using just one
SQL query. (oh, and you can put queries on more than one line if they are getting long).
4See the following page for a complete list of functions:
http://dev.mysql.com/doc/refman/5.5/en/group-by-functions.html
Exporting your results
If you want to save the results you generated in the Query Browser, you can copy and paste them
into Excel, or you can use the File menu to export the results as a comma-delimited file, which you
can then import into Excel (the latter works better for large data sets).
5You can also read