TESLA TABLE GUIDE BY SHORYUKENTOTHECHIN 10 13
←
→
Page content transcription
If your browser does not render page correctly, please read the page content below
Page 1 of 18

       Tesla Table Guide
    By ShoryukenToTheChin

              6

                      7

                       8       9

                      10

1

                                               13

      2   3       4        5       11   12
Page 2 of 18
Key to Table Overhead Image Above – thanks to Community Member CLODA
1. Cannon Targets
2. Left Orbit
3. Spinner
4. Left Ramp
5. Multiball Targets
6. Lab Sink Hole
7. Centre Sink Hole
8. Centre Mini - Orbit
9. Coil Ramp
10. Vertical Up - Kicker
11. Right Ramp
12. Right Orbit
13. Money Targets
In this Guide when I mention a Ramp etc. I will put a number in brackets which will correspond to the Key
above, so that you know where on the Table that particular feature is located.
TABLE SPECIFICS
Introduction
The original Zen Pinball came with a core pack of 4 Tables, one of these was Tesla. This was by far my
favourite Table of the 4 which included V12, Shaman & El Dorado Tables respectively. I loved the whole
Scientist Theme and found the Table very enjoyable. The Table is based around Nikola Tesla who is one of
the household Scientist names, right of the bat the Table delves into doing specific Experiments via the
Mission structure present. This Table is a real light (Pun Intended) in the Zen Pinball library.
Now when Zen Pinball 2 came out, Zen decided to upgrade all the Zen Pinball Tables to the new Platform
(ZP2) this meant new physics along with updated artwork. The Table does play differently on the new
physics engine but it’s still a lot of fun and as challenging as ever. Hopefully this Guide will make it less of
a challenge
Make sure to try out the other classic Tables from Zen Pinball, as well as the Tables from Zen Pinball 2,
Pinball FX2 (Xbox 360) & Marvel Pinball.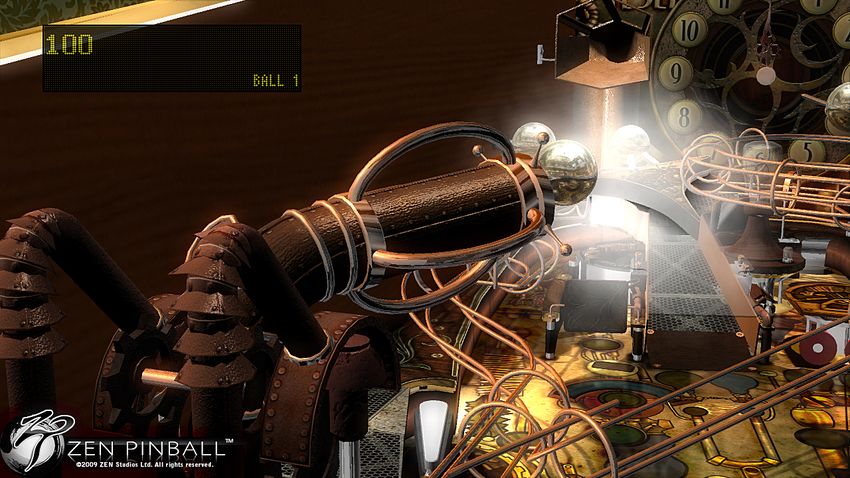
Page 3 of 18

Skill Shot – 50,000 Points + 2x times Multiplier award
A Skill Shot award is attained on this Table by pulling down the Plunger (Analogue Stick on your Controller
controls this) to adjust the right amount of power needed to launch the Ball then releasing, so that the Ball
has just enough momentum to drain into the Middle Skill Shot Sink Hole thus resulting in a Skill Shot award
if successful. You will also be awarded by advancing the Tables Multiplier Level to 2x Multiplier upon
doing a Skill Shot.

                                                                                 Power
                                                                           Bar/Plunger – As
                                                                            you pull back the
                                                                           Plunger (Analogue
                                                                              Stick on your
                                                                           Controller controls
                                                                            this) The Spring
                                                                            will get smaller.

                                                                             Pull it down as
                                                                              shown in the
                                                                                  Image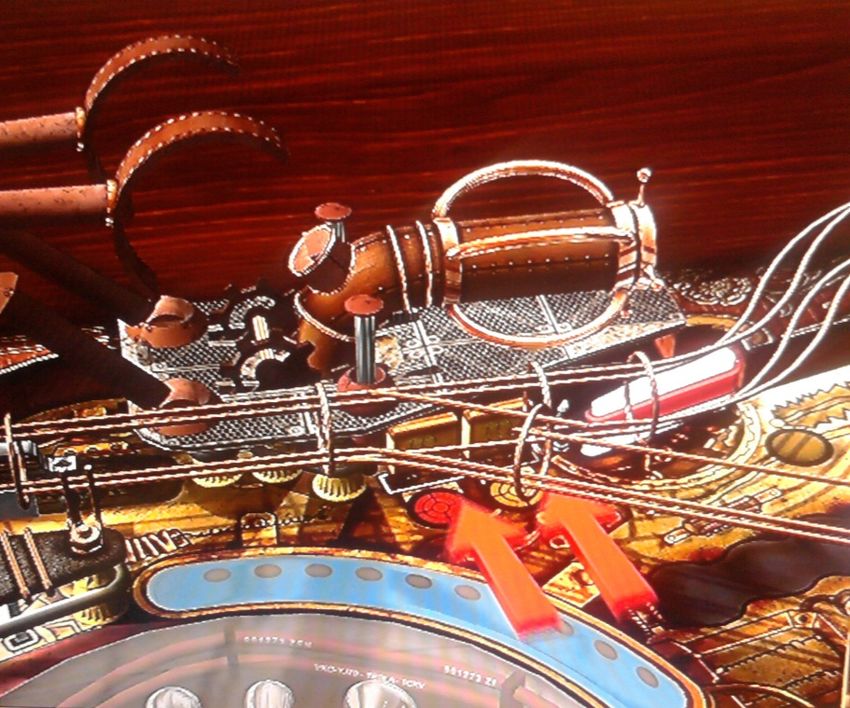
Page 4 of 18

Kick Back, Ball Save & Magna Save
Kickback – This Table only has one Kickback available which is located on the Right Outlane, similar to
how the Paranormal Table only has it on the Left Outlane. Now to activate this Kickback you must light all
4 ‘FUSE’ Letters on the In’s & Outlanes of the Table –

                  ‘F’      ‘U’                                                    ‘S’      ‘E’

                                                                                    Right Kickback
                                                                                 Activated Notification -
                                                                                  Light; upon light all 4
                                                                                     ‘FUSE’ Letters!

                 *Note - This Table doesn’t reset the Kickbacks earned if you lose a Ball*

Ball Save –

This can be activated by hitting the Ball into the Spinner (3) as hard as you can; if the Spinner rotates a
minumum of 25 times you will be awarded with a temporary Ball Save.

      *Note – Ball Save remains active until you lose the Ball or the Ball Save time limit runs out!*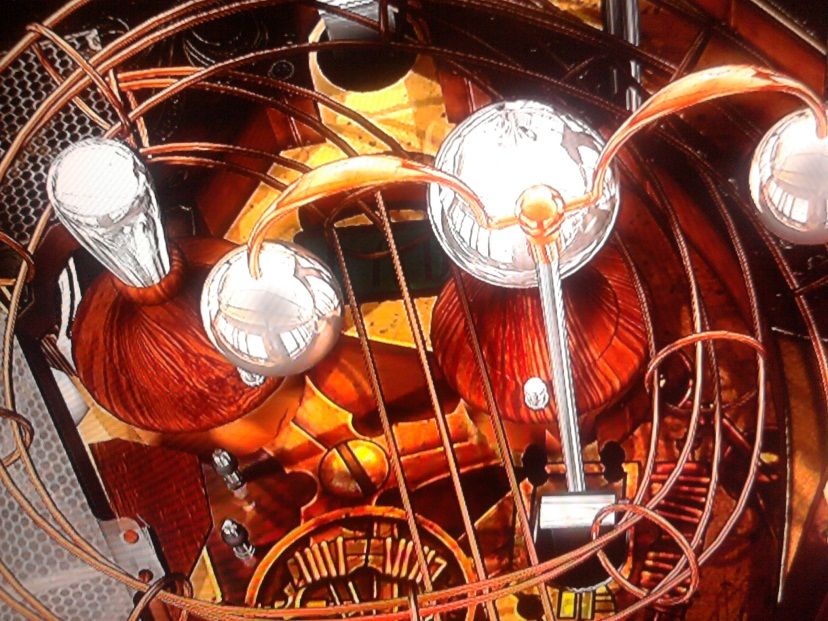
Page 5 of 18
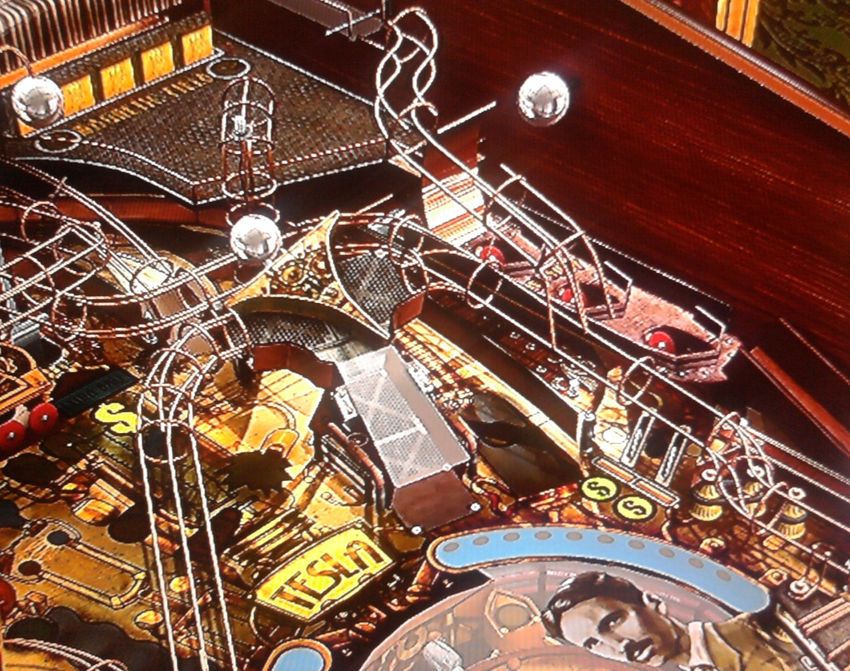
Magna Save –
Hit the Ball up the Coil Ramp (9) a total of 3 times to activate the Magna Save mechanic of this Table –
Magna Save Available
Notification Light - Press
‘Launch’ Button on your
Controller to activate; this will
magnetize the Ball potentially
saving it from an unwanted drain.
After using the Magna Save it
will deactivate, thus you will
need to repeat 3 hits up the Coil
Ramp (9) to reactivate it.
*Note - This Table resets the Magna Save mechanic if you lose a Ball*
Extra Balls
The 2 Ways to achieve an Extra Ball – the Extra Ball is always collected at the Challenge Sink Hole (4);
Extra Ball –
Available
Notification Light
• Method 1: Complete 12 Experiment Missions; look later in the Guide at the section titled
‘Experiment Main Missions’ for information on how to complete the Experiments for this Extra
Ball.
• Method 2: Max out the Multipliers (10x times Multiplier); look later in the Guide at the section
titled ‘Raising the Multipliers’ for information on how to Max out the Multipliers for this Extra
Ball.
*Note - This Table reset the Extra Ball light if you lose a Ball*
Page 6 of 18

Raising the Multipliers
Advancing the Multiplier on this Table is achieved by hitting the Bumpers (located just behind the Multiball
Targets (5)) a certain amount of times – you need to get a score of over 100,000 Points in one Bumper
Combo for the Multiplier Level to advance. You can get to the Bumpers by hitting the Ball through the
Centre Mini – Orbit (8) –

                                             Bumpers

Once you have hit the Bumpers enough times you will advance the Multiplier by 2x times.

Repeat the above until you Max out the Multiplier (10x times) to light Extra Ball at the Centre Sink Hole
(7).

                       *Note – The Multiplier Level resets upon losing your Ball.*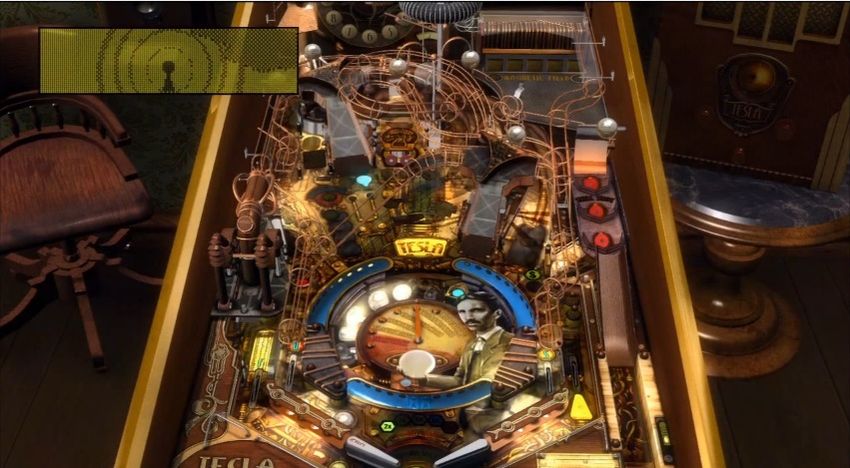
Page 7 of 18

Cannon Shot
To produce a Cannon Shot you must first load the Cannon; this is done by hitting the 2 Cannon Targets (1)
and then to finally load the Cannon, hit the Ball through the opening created by knocking down the 2
Cannon Targets (1) –

                                                                                       Cannon Targets
                                                                                            (1)

Once you have done that the Cannon will then fire an aimed shot -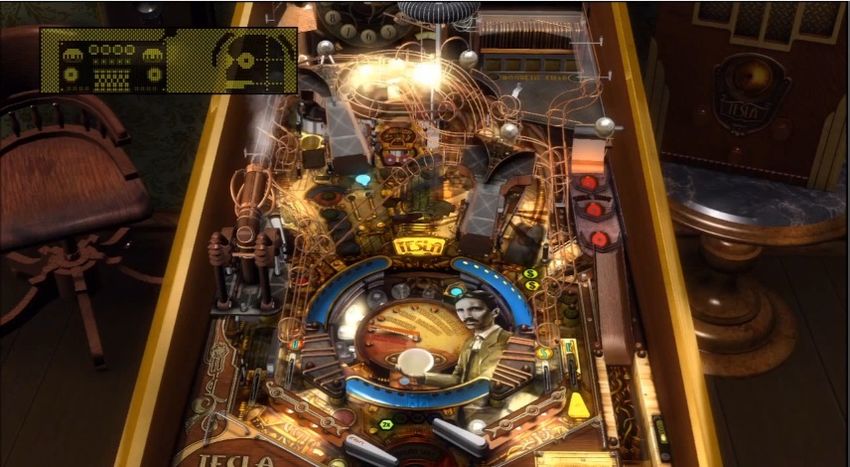
Page 8 of 18

Funding Hurry Up Mode
To start this Hurry Up Mode you must first hit the 2 Money Targets (13) located just below the Right Orbit
(12). After you have done that you will have access to a Sink Hole just inside where the 2 Money Targets
(13) were; this is quite a tough shot so be careful.

                                                                                   Funding Sink
                              Centre Sink                                             Hole
                               Hole (7)
                                                            Money Targets
                                                                (13)

Hit the Ball into that and the Funding Hurry Up Mode will begin; the objective here is to hit the Centre Sink
Hole (7) which will have a flashing ‘$’ below it before the countdown timer (starts at 1 Million Points &
goes down about 10,000 Points a Second) reaches 0, once you hit that you will be taken to the Launch Lane
were you must now produce a Skill Shot and upon doing so you will gain whatever amount was displayed
on the Dot – Matrix.

If you fail to produce a Skill Shot depending on the Countdown (enough Points left) you might be able to hit
the Centre Sink Hole (7) again to go back to the Launch Lane to try again. Once you do a Skill Shot the
Hurry Up Mode will be completed, you will need to redo the above if you wish to restart this Mode.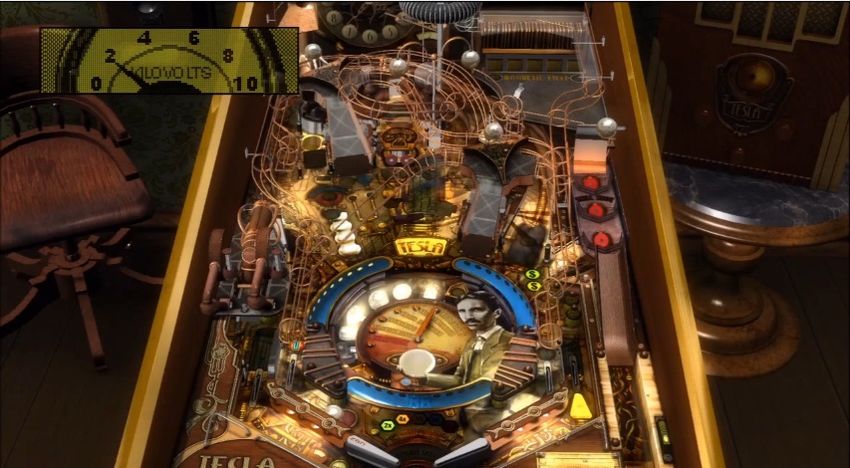
Page 9 of 18

Multiball Modes
There are 2 Multiball Modes on this Table –

Secret Lab Multiball *3 Balls* –
To start this Multiball Mode you lock 3 Balls into the Lab Sink Hole (6) but as you can see it is blocked by
the 2 Multiball Targets (5); to get to the Lab Sink Hole (6) you must find a way to drop the 2 Multiball
Targets (5). This is done by hitting the Centre Sink Hole (7) about 2 times, upon hitting it a 2nd time the 2
Multiball Targets (5) will activate. Hit those and after you have hit both the way up the Lab Sink Hole (6)
will be opened, now hit the Ball into that to lock it. After you have locked the Ball the 2 Multiball Targets
(5) will re-erect therefore you will need to hit them again to allow you to lock another Ball into the Lab Sink
Hole (6), after locking the 2nd Ball just repeat the above to lock the 3rd Ball thus resulting in the Secret Lab
Multiball starting.

You can collect Jackpots *Note – Raise the Jackpot award by hitting the Ball into the Vertical Up –
Kicker (10)* by hitting the Ramps –

   •   Left Ramp (4)
   •   Coil Ramp (9)
   •   Right Ramp (11)

After you have hit all the above Ramps – the Super Jackpot award will be available via the Lab Sink Hole
(6), hit a Ball into it to collect the Super Jackpot and you then will have to repeat the above Jackpot
Ramps etc. to try to collect another Super Jackpot award.

The Multiball will continue as long as you have a minimum of 2 Balls in play, you will have to repeat the
above process again if you wish to re-enter this Multiball Mode again.
Page 10 of 18

Steam Frenzy Multiball *2 Balls*–
To start this Multiball Mode you must hit the 2 Ramps – Left Ramp (4) & Right Ramp (11) in a sequence;
you will notice that when you hit one of them a little Steam is released and if you hit the same Ramp again
Steam is released on both sides of the Ramp –

                                           Steam - on both sides
                                         meaning Ramp has been hit
                                          twice in quick secession.

Basically you need to have the Rights given off Steam on both sides at the same time for the Steam Frenzy
to begin.

I tend to do a combo of – Left Ramp (4), Left Ramp (4), Right Ramp (11) then finally Right Ramp (11) this
usually works nicely since I’ve practiced this combo so you may need to as well. Once you have released
Steam from both sides of the 2 Ramps at the same time the Frenzy will begin.

About everything will be flashing on the Table; you collect various awards by hitting Ramps etc. but if you
want to collect a Big Score (Points) then hit the Centre Sink Hole (7) a few times until the Lab Sink Hole (6)
is accessible, hit that to collect the Big Score (Points). Repeat this process over and over again until you lose
1 of your Balls.

The Multiball will continue as long as you have a minimum of 2 Balls in play, you will have to repeat the
above process again if you wish to re-enter this Multiball Mode again.
Page 11 of 18
Experiments Main Missions
To start the Experiments Main Missions you must first get the Ball into the Magnetic Mini – Playfield; this
is done by hitting the Ball into the Vertical Up – Kicker (10)
*Big Tip – Do a hard Right Orbit (12) shot and hold up the Top Left Flipper (Left Trigger on your
Controller), the Ball should roll of it and fly into the Vertical Up – Kicker (10).*
Magnetic Bursts Left (start with
10) – Hitting the Trigger Buttons
(Left Trigger causes the Ball to be
pulled to the Left and Right Trigger
to the Right) on you Controller will
cause Magnetic Bursts which will
pull the Ball towards one of the 5
Targets.
5 Magnetic Targets – Hit all 5, then press/pull the Left Trigger to
pull the Ball up to the Left to start the Experiment selected
Or…
Press/pull the Right Trigger to pull the Ball up to the Right to change
the Experiment available, but you will then need to repeat the above
to get back into the Magnetic Mini – Playfield etc. to start that
Experiment
Upon the Ball rolling to the Left the Experiment selected will begin, you can see which Experiment is
selected by looking at the Middle of the Playfield –
I will now detail how to complete each of the 5 Experiment Main Missions successfully -Page 12 of 18
Induction Experiment *Timed - 40 Seconds; but resets after every 2KV*
Spinner (4) – Hit the Ball
Voltage Metre Dial – into this continuously.
Increase to 10KV.
This Mission required you to continually hit the Spinner (3) to raise the Voltage to 10KV. After every 2KV
the timer of the Mission will reset, and if you fail to raise a further 2K you will reset to the previous 2KV for
example if you are on 4KV but fail to rise to 6KV you will reset to 2KV. The Mission fails if you don’t
manage to up the Voltage from 2KV before the timer ends; if you get up to 10KV you will complete the
Mission and receive Completion Bonus Points.Page 13 of 18 Transmission Experiment *Timed - 1 Minute* You just hit the 2 Ramps – • Left Ramp (4) • Right Ramp (11) After you done that you must hit the Coil Ramp (9). *Note - Make sure you don't hit the Ramps a 2nd time or it resets them.* You will then complete the Mission and be awarded Completion Bonus Points.
Page 14 of 18

Chain Reaction Experiment *Non – Timed*

                                                                    Floating Ball – Hit it to free
                                                                     the Ball, repeat a further 2
                                                                                times.

Once this Mission begins a Ball will float out from the Right of the Tables Playfield to the Left. You will
then need to hit that Ball with the Ball you have been using. You will then have 2 Balls on the Playfield;
another Ball will begin to float out which you need to hit to free it. Try to safely catch the 2 Balls then hit
the Ball which is floating, upon doing that you will have 3 Balls. Repeat this again for the 4th floating Ball.
You will now have a 4 Ball Multiball, the objective now is to have all of the Balls magnetized in the Middle
of the Tables Playfield (Under the ‘TESLA’ Light) –

                                                   4 Balls Magnetized –
                                                      under ‘TESLA’

Upon doing the above you will then complete the Mission and be awarded Completion Bonus Points.
Page 15 of 18 Lightning Experiment *Timed - 1 Minute; timer freezes after Coil Ramp (9) shot and resumes 10 Seconds later* To complete this Mission you need to hit the Coil Ramp (9) 3 times; what makes this hard is that you have just 10 Seconds between each shot. In other words, they need to be done consecutively. *Note – The Ball will always be returned just above the Top Left Flipper, so time your shots.* Upon doing the above you will then complete the Mission and be awarded Completion Bonus Points. *Tip - You should note that you get bonus Points if you hit the Coil Ramp (9) more than 3 times. After the 3rd time, you will hear an electric current sound (Mission complete) and the Ramp will be still flashing for about 10-15 Seconds. I can't remember how many points you get, but it's a decent bonus from what I can remember.*
Page 16 of 18

Telautomation Experiment *Timed - 1 Minute*

The system has shorted and you need to reset the circuits by hitting the 2 Ramps – Left Ramp (4) & Right
Ramp (11) and get the Ball into each Path – Left & Right (4 in all) -

   •               Ball will divert to the Right Path.

   •               Ball will divert to the Left Path.

The Ramp switches are on the fritz though, so you need to time your shots. Upon doing the above you will
then complete the Mission and be awarded Completion Bonus Points.
Page 17 of 18

                               WIZARD MODE (Final Mission)
First you must complete 5 Experiment Main Missions to be allowed access to this Tables Wizard
Mode/Frenzy known as Teleforce –

To start the Wizard Mode hit the Ball into the Lab Sink Hole (6) –

                                    Teleforce *Timed – 1 Minute*

                                                                          Magnetic Ball Circle – This Ball
                                                                          in the Middle works as Magnet.

                                                                          Be Careful! The strength will be
                                                                           increasing after every successful
                                                                          shot round the Orbits – Left Orbit
                                                                                (2) & Right Orbit (11).

All you need to do is continuously hit the lit Orbits – Left Orbit (2) & Right Orbit (11). Upon hitting the
Orbits enough times the Wizard Mode will be completed & you will be awarded with Completion Bonus
Points.

After completion, the progress of the Table will be reset thus Table Reset!
Page 18 of 18 Special Thanks to all the Zen Studios Forum Community! Members such as Cloda, shogun00, skippycue & YouTube Member - StOrMtRoOpErMx19 I couldn’t have completed the Guide without your help either directly or indirectly - you are all awesome!!! In closing I hope you enjoyed this Table, I certainly have and I hope by using this Guide it increases that Fun factor for you and everyone else who plays with you etc. Check out the other Tables available, they are all available to download on the Xbox Live Marketplace in Add-Ons section or download it straight from the PFX2 Platform itself. Zen Pinball 2 on PlayStation Network, Zen Pinball on the Apple AppStore, Zen Pinball 3D on Nintendo 3DS and Zen Pinball THD on Android Marketplace. Thanks for viewing my Guide, “HIGH VOLTAGE!!!” Yours ShoryukenToTheChin
You can also read