IRON MAN TABLE GUIDE BY SHORYUKENTOTHECHIN - PAGE 1 OF 29
←
→
Page content transcription
If your browser does not render page correctly, please read the page content below

Page 1 of 29

         Iron Man Table Guide
        By ShoryukenToTheChin

                      5

                4
           3              6

    2

1

                      7
                              8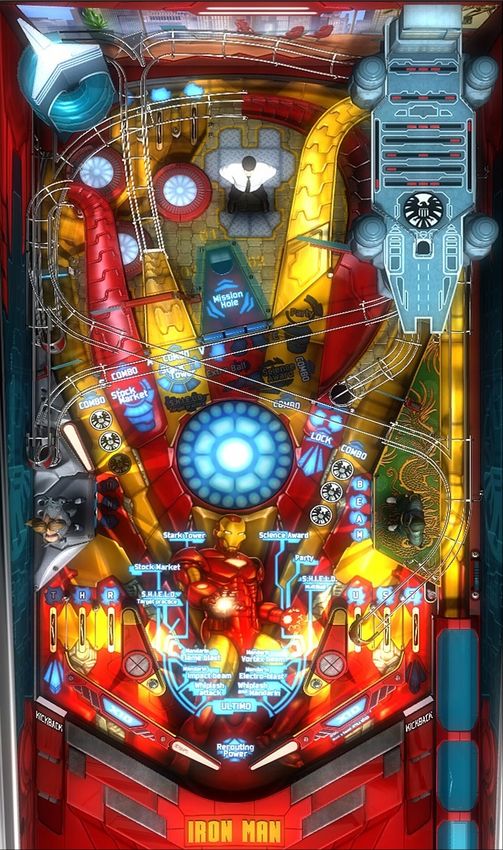
Page 2 of 29

Key to Table Overhead Image – Thanks to Cloda on the Zen Studios Forums for the Image

   1.   Left Orbit
   2.   Stock Market Ramp
   3.   Stark Tower Ramp
   4.   Iron Man Mission Sink Hole
   5.   Party Ramp
   6.   Science Award Mini-Orbit
   7.   Shield Multiball Lock Sink Hole
   8.   Right Orbit

In this guide when I mention a Ramp etc. I will put a number in brackets which will correspond to the above
Key, so that you know where on the table that particular feature is located.

                                          TABLE SPECIFICS

INTRODUCTION
This Table in my opinion is very hard, because Kickbacks disable when you drain a Ball, Ball Save is very
risky to manually activate. This is the hardest table of the 4 core Marvel Pinball Tables (Spiderman, Iron
Man, Wolverine and Blade) in my opinion. Funny enough from the Core Marvel Tables this was the first
Table I was hooked on and beat.

 Notice: This Guide is based off of the Zen Pinball 2 (PS3/Vita) version of the Table on default controls.
 Some of the controls will be different on the other versions (Pinball FX 2, Marvel Pinball, and Marvel
                 Pinball 3D, etc...), but everything else in the Guide remains the same.
Page 3 of 29

Skill Shot -
A Skill Shot award is attained on this Table by making the Ball drop into the lit Multiplier Rollover; when
you are at the Launch Lane simply press the Left Flipper Button on your Controller and the Table will then
zoom into the Rollovers to show which one is lit.

Skill Shot/Multiplier Rollovers –

                 Left Skill Shot                 Middle Skill Shot                 Right Skill Shot
                   Rollover                         Rollover                          Rollover

I will now detail how to get the Ball to roll into the lit Rollover (next Page);
Page 4 of 29

•   Right Skill Shot Rollover –

                                   Power Gauge – As you pull back
                                    the Plunger (Analogue Stick on
                                   your Controller controls this) The
                                      Power Gauge will increase.

                                     Pull it down as shown in the
                                   Image and it should roll into the
                                      Right Skill Shot Rollover.

•   Middle Skill Shot Rollover –

                                      Power Gauge – As you pull back
                                       the Plunger (Analogue Stick on
                                      your Controller controls this) The
                                         Power Gauge will increase.

                                      Pull it down a bit more from how
                                        you had the Right Skill Shot
                                      Rollover Plunger setup. As shown
                                       in the Image and it should roll
                                          into the Middle Skill Shot
                                                   Rollover.

•   Left Skill Shot Rollover –

                                      Power Gauge – As you pull back
                                       the Plunger (Analogue Stick on
                                      your Controller controls this) The
                                         Power Gauge will increase.

                                      Pull it down a bit more from how
                                        you had the Middle Skill Shot
                                      Rollover Plunger setup. As shown
                                        in the Image and it should roll
                                      into the Left Skill Shot Rollover.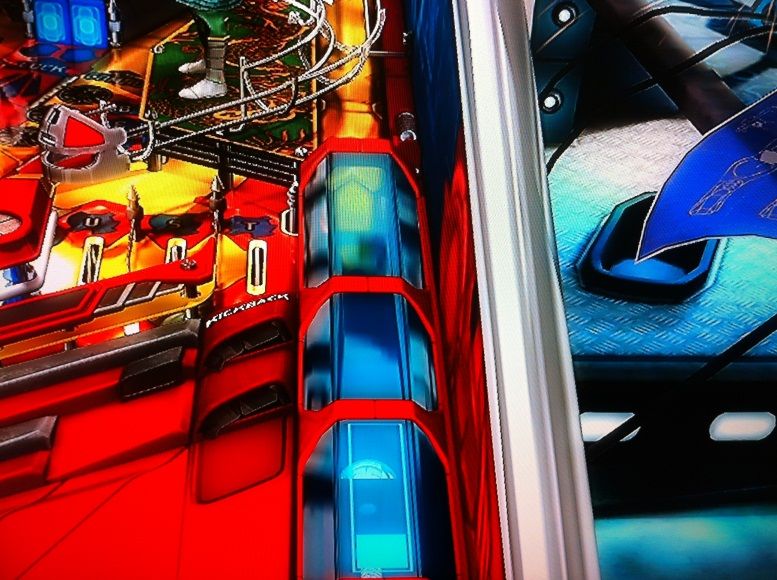
Page 5 of 29

Kick Back & Ball Save
Kickbacks - Kickbacks are activated by lighting up the letters on the Inlanes and Outlanes; it will spell
‘THRUST’ once you light them all up, the Left Kickback will activated, repeat for Right Kickback.

             ‘T’       ‘H’       ‘R’                                    ‘U’      ‘S’      ‘T’

           Left Kickback                                                          Right Kickback
              Activated                                                              Activated
          Notification Light                                                     Notification Light

                     *Note - This Table resets the Kickbacks earned if you lose a Ball*

Ball Save – This is activated by hitting the 4 ‘SAVE’ Targets which are located at the entrances of these
Ramps etc. –

   •   ‘S’ - Located to the left of the entrance of the Stock Market Ramp (2)
   •   ‘A’ - located to the right of the entrance of the Stock Market Ramp (2) & left of the Stark Tower
       Ramp (3)
   •   ‘V’ - located to the right of the entrance of the Stark Tower Ramp (2) & left of Iron Man Mission
       Sink Hole (4)
   •   ‘E’ - located to the right of the entrance of the Iron Man Mission Sink Hole (4) & left of the Party
       Ramp (5)

                                 ‘S’         ‘A’            ‘V’          ‘E’

  *Note – Ball Save remains active until you lose the Ball or the Ball Save time limit (10 Seconds) runs
                                                  out!*
Page 6 of 29

Extra Balls
The Only Way to achieve an Extra Ball –

   •   Method 1: Max Multipliers; (explained just below this paragraph) once you reach 10x Multiplier,
       you then collect the Extra Ball by hitting the Science Award Mini-Orbit (6) - very awkward to get
       this in my opinion.

Raising the Multiplier
You can raise the Multiplier Level on this Table by making the Ball roll down all of the 3 Multiplier
Rollovers which are located behind the Stock Market Ramp (2) & Stark Tower Ramp (3) –

                                                   3 Multiplier
                                                    Rollovers

Every time the Ball passes through an un-lit Rollover that Rollover Light will then light up; you can then
switch between which Rollover is lit by pressing the Flipper Buttons on your Controller, so that the Ball will
always be rolling down an un-lit Rollover. Repeat this until all 3 Rollovers are lit, the Multiplier Level will
then advance to 2x times Multiplier.

Repeat the above to further advance the Multiplier, eventually lighting up Extra Ball at the Science Award
Mini – Orbit (6).

                          *Note – Multiplier Level resets upon draining the Ball.*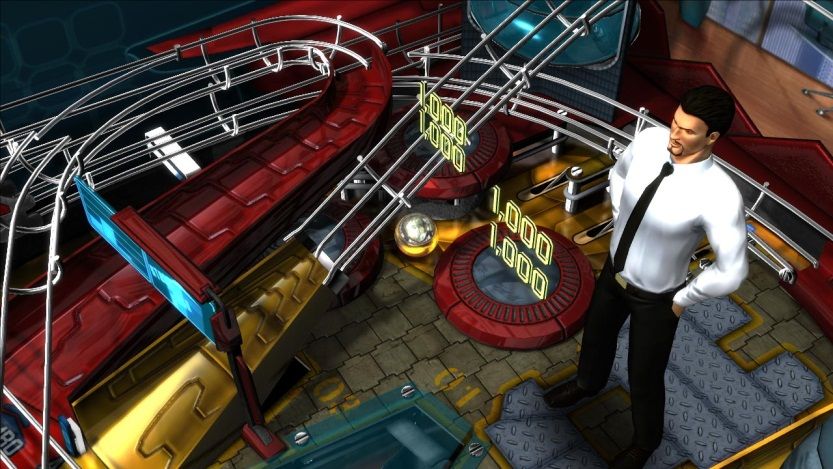
Page 7 of 29

Uni Beam Targets
The Targets are located –

                                                        ‘B’
                                         ‘U’

                                                        ‘E’

                                         ‘N’
                                                        ‘A’
                                          ‘I’

                                                       ‘M’

The ‘UNI BEAM’ Targets are located right next to Whiplash (‘UNI’) and Mandarin (‘BEAM’). The ‘UNI
BEAM’ Targets help increase your End of Ball Bonus. On certain Modes; it can increase the score values
and Jackpots.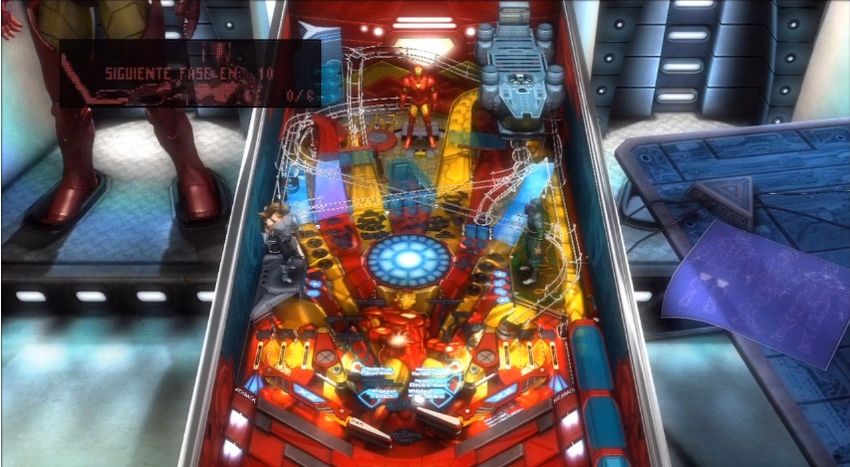
Page 8 of 29

            ULTIMO – How to activate this Wizard Mode
There are 2 sets of Missions/Objectives (12 in total = 6 each for Tony Stark & Iron Man).

Tony Starks Missions require you to do various tasks such as hit a specific Ramp multiple times whereas
Iron Man Missions require you to beat an Enemy such as Whiplash.

Below are the Missions/Objectives for each –

Tony Sark

   •   Stock Market
   •   Stark Tower
   •   Science Award
   •   Party
   •   Shield Target Practice
   •   Shield Multiball

Iron Man

   •   Mandarin Flame Blast
   •   Mandarin Impact Beam
   •   Whiplash Attack
   •   Mandarin Vortex Beam
   •   Mandarin Electro Blast
   •   Whiplash & Mandarin

I will now detail how to complete each of the above on the next few Pages;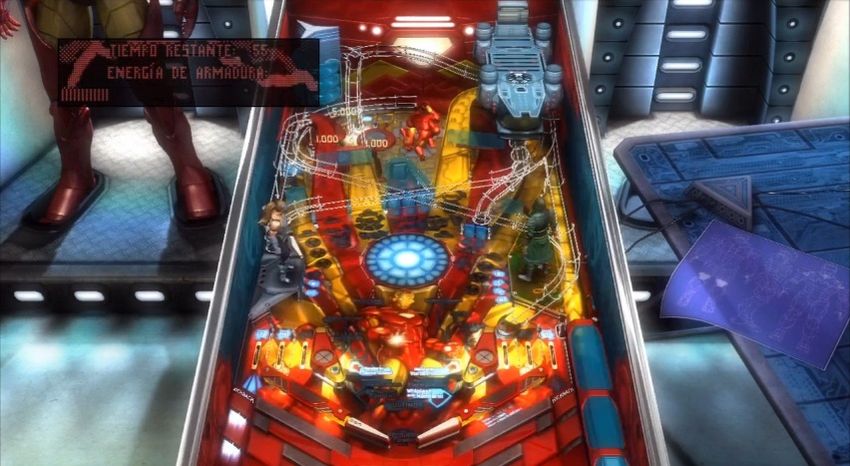
Page 9 of 29

                                    Tony Stark Missions

Stock Market

                                                         Stock Market
                                                        Notification Light

To light up the ‘Stock Market Notification Light’ you must do the following; hit the Stock Market Ramp (2)
about 8 times, the last hit up the Ramp will light the ‘Stock Market Light’ up.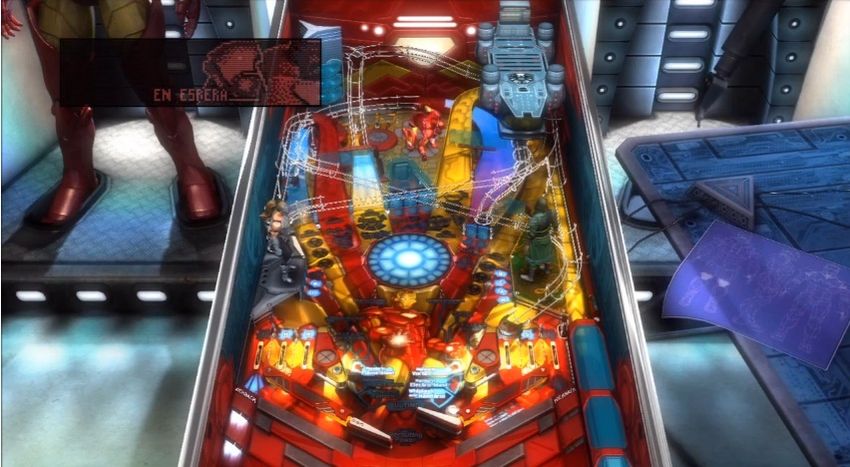
Page 10 of 29

Stark Tower

To light up the ‘Stark Tower Notification Light’ you must do the following; hit the Stock Tower Ramp (3)
about 8 times, the last hit up the Ramp will light the ‘Stark Tower Light’ up.

Science Award

                                                             Stark Tower
                                                           Notification Light

To light up the ‘Science Award Notification Light’ you must do the following; hit the Science Award Mini-
Orbit (6) about 8 times. To hit this Mini – Orbit; I recommend hitting the Stark Tower Ramp (3) since the
Ball always returns just above the Top Left Flippers and it's easier to time the shot instead of going round
the Right Orbit (8).

*Tip – every time you hit the Science Award Mini-Orbit (6) you will notice the Ball will always exit from
the entrance of the Left Orbit (1), if hit with enough power that is. Therefore this would enable you to
send the Ball round Science Award Mini-Orbit (6) again, but remember that timing is critical here.*

The last hit up the Ramp will light the ‘Science Award Light’ up.
Page 11 of 29 Party To light up the ‘Party Notification Light’ you must do the following; hit the Party Ramp (5) about 8 times, the last hit up the Ramp will light the ‘Party Light’ up.
Page 12 of 29

 Shield Target Practice

                                                             Shield Target Practice
                                                               Notification Light

 To light up the ‘Shield Target Practice Notification Light’ you must do the following; first you need to hit
 the Left Orbit (1) & Right Orbit (8) 6 times each, you will notice each time you go round an Orbit a Shield
 Notification Light will enable at the Orbits entrance –

   Left Orbit (1); Shield                                                               Right Orbit (8); Shield
   Practice Notification                                                              Practice Notification Lights
   Lights (3 Lights), they                                                             (3 Lights), they represent
  represent the amount of                                                               the amount of times you
times you have gone round                                                             have gone round that Orbit.
         that Orbit.
                                                                                         1 Light = 2 successful
  1 Light = 2 successful                                                                      Orbit shots.
       Orbit shots.
                                                                                      The first Orbit shot will just
 The first Orbit shot will                                                             make the light flash (spot
 just make the light flash                                                             it), while the second shot
(spot it), while the second
                                                                                             will collect it.
    shot will collect it.
Page 13 of 29
Upon doing the above; you will be granted entry into the Target Practice Mini-Playfield via a shot up the
Stark Tower Ramp (3). The Mini – Playfield can be seen below -
Targets (Red Blocks); all of
which need to be hit to
complete this Playfield.
Cannons; fires the Balls at the targets
(Left Flipper Button Controls the Left
Cannon, Right for the Right Cannon).
You need to hit the Targets (shown in the above Image) using the Cannons within the time limit; the Left
Flipper Button controls the Left Cannon & the Right Flipper Button controls the Right Cannon.
*Note – you don’t need to complete this to have the ‘Shield Target Practice Notification Light’ to light
up.*Page 14 of 29
Shield Multiball *3 Balls*
Shield Multiball
Notification Light
To light up the ‘Shield Multiball Notification Light’ you must do the following; lock 3 Balls into the Shield
Multiball Lock Sink Hole (7) – this is down by
1. Hit the Ball towards the Shield Multiball Lock Sink Hole (7) as you need to knock down the 2 Drop
Down Targets which are blocking access to the Sink Hole.
*Danger! – Be Careful in hitting these Targets etc. since the Ball will rebound violently off them
afterwards!*
2. Once they are both down, hit the Ball into the Sink Hole to lock the Ball.
Do the above a further 2 times to lock the remaining 2 Balls required to start the Multiball Mode.
*Note – Once the Multiball begins the ‘Shield Multiball Notification Light’ will light up.*
Now once the Multiball begins –Every Ramp/Orbit will be lit except for the Science Award Mini – Orbit
(6). Hitting each Ramp/Orbit will give you a Jackpot award; after hitting all 6 ramps/orbits (6 jackpot
awards), 1 of the Ramps/Orbits will be flashing. Hitting that Ramp/Orbit & you will score the Super Jackpot
award.
Hitting the ‘UNI BEAM’ Targets (shown in the section earlier in the Guide titled ‘Uni Beam Targets’) will
advance the Jackpot values a little.Page 15 of 29
Iron Man Missions
To start the Iron Man Missions you must hit the Ball into the Iron Man Mission Sink Hole (4), but first you
will need to knock down all of the Drop Down Targets (3 in total) –
Iron Man Sink Hole (4) –
Drop Down Targets
After you have knocked all 3 down you can now hit the Ball into the Iron Man Mission Sink Hole (4). You
will then activate 1 of the 6 Missions; below I will explain how to complete each of them –Page 16 of 29
Mandarin Flame Blast
Mandarin Flame Blast
Notification Light
To defeat the Mandarin Flame Blast you will need to hit the 3 Drop Down Targets in front of the Iron Man
Mission Sink Hole (4) within the given time –
Iron Man Sink Hole (4) –
Drop Down Targets
You are given about 20 Seconds to knock down 1 Target, it then resets allowing you to hit the other 2
Targets. Once those have been knocked down hit the Iron Man Mission Sink Hole (4). Your Ball will then
be locked in the Cannons which have appearing above the Slingshots –
Cannons – Left Flipper Button
controls the Left Cannon, whereas the
Right Flipper Button controls the
Right.Page 17 of 29 You will also notice that the Ramps & Orbits will have Sink Holes appear at their entrances. 1 of which will be lit and it’s your job to hit the Ball into it using the Cannons; Left Flipper Button controls the Left Cannon, whereas the Right Flipper Button controls the Right. You get 100,000 Points each time you hit the lit Sink Hole. Repeat this process a further 4 times to complete the Mission, * Tip - remember if you miss the lit Sink Hole just hit the lit Sink Hole with the Flippers.* After completion you will be awarded some Completion Bonus Points and the ‘Mandarin Flame Blast Notification Light’ will be lit up.
Page 18 of 29

Mandarin Impact Beam

                                                        Mandarin Impact Beam
                                                          Notification Light

All 6 Ramps & Orbits will be flashing;

you will need to hit all of them within the 90 Second time frame, after which you will then need to hit the
Ball into the Iron Man Mission Sink Hole (4) and once you do that the Mission is completed.

After completion you will be awarded some Completion Bonus Points and the ‘Mandarin Impact Beam
Notification Light’ will be lit up.
Page 19 of 29
Whiplash Attack
Whiplash Attack
Notification Light
3 Ramps & Orbits will be flashing for 10 Seconds and then will alternate every 10 Seconds;
All you need to do to complete this Mission is hit 6 of those Flashing Ramps/Orbits, *Note – There is no
time limit to this Mission, only by draining the Ball does this Mission fail.*
After completion you will be awarded some Completion Bonus Points and the ‘Whiplash Attack
Notification Light’ will be lit up.Page 20 of 29
Mandarin Vortex Beam
Mandarin Vortex Beam
Notification Light
This Mission will start by giving you a 4 Ball Multiball –
You are then required to hit all 6 Ramps/Orbits while maintaining a minimum of 2 Balls in play otherwise
the Mission will fail.
*Big Tip – The Science Award Mini – Orbit (6) is the hardest thing you need to hit so there is an easy
way to hit that right at the beginning of the Mission. Since Ball Save is enabled for the beginning of the
Mission, just let all the Balls drain when the Multiball starts. They will then re - launch around the Right
Orbit (8) and go right by the Top Right Flipper - shoot the Science Award Mini – Orbit (6) immediately
when the ball comes round the Orbit, then continue with the Multiball in hitting the other 5
Ramps/Orbits.*
I would suggest just concentrating on keeping the Balls alive just by doing this you should hit some
Ramps/Orbits, if/when you go down to 2 Balls in play - you then have to time & aim your shots.Page 21 of 29 Once you have hit all the Ramps/Orbits needed you will then have to lock a minimum of 2 Balls into the Iron Man Mission Sink Hole (4), note that if you have 3 Balls at this stage you should drain one of them as its easier with just 2 Balls – Be very careful when you get to this stage of the Mission because a Vortex appears in the middle of the Tables Playfield every now and again. If any of the Balls touch it they become very hard to judge their rebounds etc. and will have a greater chance of draining. Your best bet is to try and hold each of the 2 Balls on the Left & Right Flippers, then aim and shoot for the Iron Man Mission Sink Hole (4). Once you lock all of the Balls the Mission is completed. After completion you will be awarded some Completion Bonus Points and the ‘Mandarin Vortex Beam Notification Light’ will be lit up.
Page 22 of 29

Mandarin Electro Blast

                                                              Mandarin Electro Blast
                                                               Notification Light

*Tip – This Mission is a good way to increase the Level of the Multiplier End of Ball Bonus since you will
need to hit the Bumpers etc. within the Mission and the Orbits are locked so the Ball doesn’t travel all the
        way round but stops at the Bumpers (this is where the Multiplier Rollovers are located).*

Once this Mission starts 3 Ramps/Orbits will be lit – Left Orbit (1), Stark Tower Ramp (3) & Science Award
Mini – Orbit (6)
Page 23 of 29
Once you hit all 3, you will then have 60 Seconds to raise your Energy Level which is achieved by hitting
the Orbits and/or Bumpers.
Bumpers
The Bumpers are located behind the Stock Market Ramp (2) & Stark Tower Ramp (3). Hit the Ball round
the Left Orbit (1) or Right Orbit (8) to access the Bumpers. Once enough Energy is regained the Mission is
completed.
After completion you will be awarded some Completion Bonus Points and the ‘Mandarin Electro Blast
Notification Light’ will be lit up.Page 24 of 29
Whiplash & Mandarin
Whiplash & Mandarin
Notification Light
Upon starting this Mission you will need to hit the Left Orbit (1), Science Award Mini-Orbit (6) & Right
Orbit (8).
This will then activate the Cannons (they will erect above the Slingshots). Sink Holes will then open up at
the entrances of some of the Ramps, hit either of them to load the Cannons.Page 25 of 29
Sink Holes – Hit to load the
Cannon.
After you hit 1 of the Sink Holes the game will then take you to which the game will then take you to the
Cannon viewpoint, which will be aimed at Whiplash. You will then be required to hit a Target on Whiplash
which can be placed on the Head, Torso or Feet (Completion of the Mission requires you to hit all 3
Targets). An example of this can be seen in the Image below (Torso Target) –
The Cannon will be moving in an Up/Down sequence, which you will need to try and launch the Ball from
the Cannon at the right time (remember there is no time limit, so take your time) to hit the lit Target.
Launching the Ball is done by pressing any of the Flipper Buttons. If you manage to hit the Target you will
then need to repeat the above process of loading the Cannon again to try and hit the next Target, failure to
hit the Target will require you to load the Cannon again to try again also.
Once you have hit all 3 Targets (Head, Torso & Feet) the Mission is completed, and you will gain some
Completion Bonus Points as well as light up the ‘Whiplash & Mandarin Notification Light.’Page 26 of 29
ULTIMO *WIZARD MODE (FINAL MISSION)*
This Wizard Mode is called Ultimo it can only be accessed once all of the 12 Missions (6 Tony Stark
Missions & 6 Iron Man Missions) have been completed –
Tony Stark Missions – total
of 6 Notification Lights must
be lit solid.
Iron Man Missions – total of
6 Notification Lights must be
lit solid.
To start the Ultimo Wizard Mode you must hit the Ball into the Iron Man Mission Sink Hole (4), but first
you will need to knock down all of the Drop Down Targets (3 in total) –
Iron Man Sink Hole (4) –
Drop Down Targets
After you have knocked all 3 down you can now hit the Ball into the Iron Man Mission Sink Hole (4).
Continue to the next Page for information on how to beat the Wizard Mode -Page 27 of 29
ULTIMO
Ultimo will then rise from the Middle of the Table, trust me this is just Epic! When this happens you’ll feel
the fear of this creature.
Now you will then be given a 4 Ball Multiball –
You will then need to hit the lit Ramps/Orbits to light the Ball on Fire, once done you can attack Ultimo
otherwise a normal Ball will just bounce off him and possibly result in Ball drains.Page 28 of 29
Flame Ball
You must then hit Ultimo with the inflamed Ball, but this must be done quickly as the Ball only stays on
Fire for 10 Seconds
*BIG TIP – you can hit Ultimo with the Flaming Ball more than once before it goes out.*
You will need to hit him 10 times using a Flame Ball to defeat him.
*Note - Be Careful!!! as he has a lot of tricks up his sleeve like causing the Ball to bounce around like
nuts so it drains, Catching the Ball and throwing it down the middle.*
***Very Important*** If you fail this Wizard Mode at any point by either draining all your Balls or being
reduced to just 1 Ball, the whole Table resets and you must redo all the Tony Stark & Iron Man Missions all
over again to re – attempt this Wizard Mode.Page 29 of 29 Special Thanks to all the Zen Studios Forum Community! Members such as Cloda, shogun00 & YouTube Member - StOrMtRoOpErMx19 I couldn’t have completed the Guide without your help either directly or indirectly - you are all awesome!!! In closing I hope you enjoyed this Table, I certainly have and I hope by using this Guide it increases that Fun factor for you and everyone else who plays with you etc. Check out the other Tables available, they are all available to download on the Xbox Live Marketplace in Add-Ons section or download it straight from the PFX2 Platform itself. Zen Pinball 2 on PlayStation Network, Zen Pinball on the Apple AppStore, Zen Pinball 3D on Nintendo 3DS and Zen Pinball THD on Android Marketplace. Thanks for viewing my Guide, Mortals “Now go save the World, IRON AVENGER!” Yours ShoryukenToTheChin
You can also read