Saddle Buddy - Dero Bike Racks
←
→
Page content transcription
If your browser does not render page correctly, please read the page content below
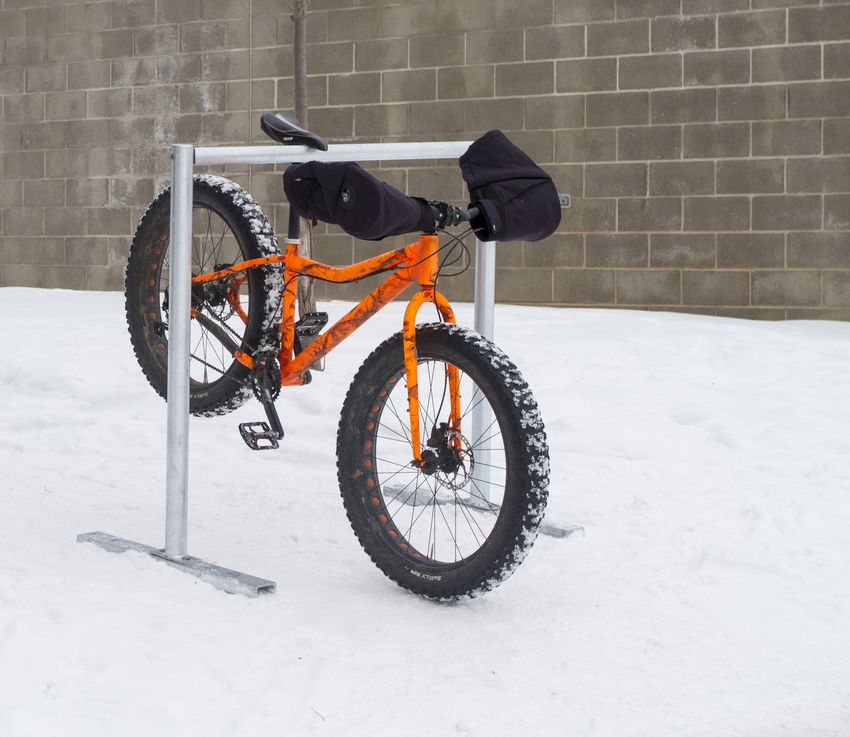
Saddle Buddy™
Designed for trailheads, bike parks and picnic areas, the Saddle
Buddy™ offers a resting place for cyclists’ noble steeds.    The
convenient bar allows cyclists to keep their bikes upright while
taking a break or gearing up for the ride ahead. This is not
designed to be a lockable bike rack, but rather a convenience for
riders who won’t be leaving their bikes unattended.

©2021
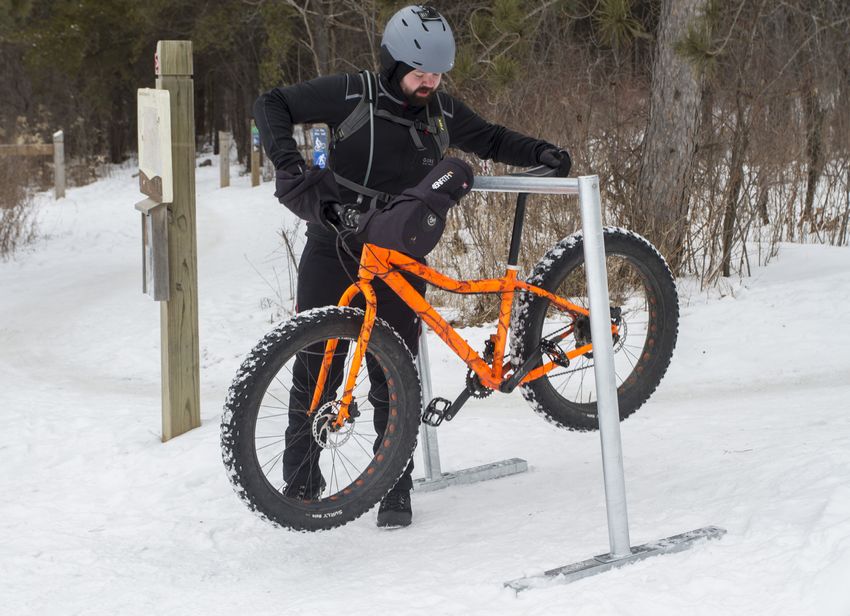
Saddle Buddy™

             MOUNT OPTIONS           FINISH OPTIONS

   Surface       In-Ground   Rail       Galvanized

                             ©2021
Saddle Buddy™                                                   Submittal Sheet

                    MATERIALS   Horizontal Assembly: 1.5” Sch. 40 Pipe
                                Vertical Assembly: 2” Sch. 40 Pipe

50.5”
                    FINISHES    Galvanized only
                                An after fabrication hot dipped galvanized finish is our
                                standard option.

                    MOUNT       Surface
                    OPTIONS     Foot Mount has two 2.5” x 6” x .25” feet with two anchors
                                per foot. Specify foot mount for this option.

                                In-Ground
                                In-ground mount is embedded into concrete base. Specify
                                in-ground mount for this option
           45”

                       ©2021
Saddle Buddy™                            Setbacks

                                    WA
   LL                                  LL
WA
                              36"

          72"

                36"     72"

                      ©2021
Saddle Buddy™                                                                 Assembly

    TOOLS NEEDED
    Hex Key

1

                                Align the horizontal cross bar and vertical
                                members so the bolt holes line up.

2
                                Ensure the countersunk side of the vertical members is facing
                                out and insert the countersunk hex bolts through the vertical
                                member, threading into the brass colored, threaded riv-nut fixed
                                into the horizontal cross bar.

3

                                Tighten the countersunk bolts with the appropriate hex key until
                                there the countersunk head seats in the countersunk hole on
                                the vertical member, and so there is no play between the bolted
                                components.

                              ©2021
Saddle Buddy™ Installation Surface Mount
TOOLS NEEDED RECOMMENDED BASE MATERIAL
Tape Measure Solid concrete is the best base material for installation. To ensure the proper anchors
Hammer are shipped with your rack, ask your Dero representative which anchor is appropriate
Electric Hammer Drill for your application. Be sure nothing is underneath the base material that could be
3/8” x 6” Masonry Drill Bit damaged by drilling.
Hex Key
1 2
Ø 3/8”
3”
Place the rack in the desired location. Use a marker or pencil to Drill 3/8” diameter holes 3” deep into surface. Make sure the
outline the holes of the flange onto the base material. holes are at least 3” away from any cracks in the base material.
9/16”
3 4
Place rack (and washers to level rack if necessary) over holes. Thread nuts onto anchors, leaving approximately 1/4” of the
anchor protruding, and tap into surface. Tighten nuts down to
secure rack.
©2021Saddle Buddy™ Installation In-Ground Mount : New Concrete
TOOLS NEEDED
Level Trowel
Cement mixing tub Corrosion-Resistant Sleeve (min. 3” diameter)
Shovel Materials to build brace (see “Install Tip” at bottom of page)
1 2
Sleeves Poured concrete
(4-7” deep)
Final grade level
Sand pour bed
Place corrosion resistant sleeve (min. 3” inside diameter) in sand Pour concrete and allow to cure.
pour bed in exact location where rack will be installed. Make
sure top of sleeve is at same level as desired finished concrete
surface. Fill sleeve with sand to keep it in place and prevent it
from filling with concrete.
3 TIP
After appropriate cure time, dig out sand from sleeves and insert An easy way to brace the rack while the grout sets is to bolt two
rack, making sure it is level and at the appropriate height. Pour in 1x4” boards together at one end and clamp them onto the legs
Super Por-Rok or epoxy grout and allow to set. of the rack like a clothes pin.
©2021Saddle Buddy™ Installation In-Ground Mount : Existing Concrete
TOOLS NEEDED
Level Trowel
Cement mixing tub Hole coring machine with 4” bit
Shovel Materials to build brace (see “Install Tip” at bottom of page)
Access to water hose
1 2
Ø 3” min.
10” min.
Core holes no less than 3” diameter (4” recommended) and no Fill holes with Super Por-Rok or epoxy grout.
less than 10” deep into sidewalk.
3 TIP
Place rack into holes, making sure the rack is level until the grout An easy way to brace the rack while the grout sets is to bolt two
has set. 33”-36” of the rack should remain above the surface. 1x4” boards together at one end and clamp them onto the legs
of the rack like a clothes pin.
©2021Saddle Buddy™ Installation Rail Mount
Place 3/8” carriage bolts through Saddle Buddy™ flange
and rail as illustrated below. Apply washers and nuts from
underside of rail. Use a 9/16” socket to tighten nuts.
©2021You can also read