BAE HAWK
OPERATIONAL MANUAL
←
→
Page content transcription
If your browser does not render page correctly, please read the page content below
BAE HAWK OPERATIONAL MANUAL
Please read before operating this system!
                  e would like thank you for purchasing our new product –Bae Hawk
                  designed for the hobby enthusiast. Base on its full - scale counterpart,

    W             this Great British Jet can finish loops, inverted flight and rolls and
                  other aerobatics easily. It is also made as a highly maneuverable
                  model for the intermediate to expert pilot. With the Bae Hawk model
                  which includes EDF set*, speed controller, electric servos, retractable
                  landing gear with front steering and full scale functional lighting
                  system. You will have joyful time in model flying.

     Remarks:* We have several different metal EDF sets for your selection.

                  1) Cyclone power 64mm metal EDF is a higher grade EDF set which
                    is an aluminum alloy material EDF more powerful output, efficient
                    and durability.

                  2) Please be noticed that all servo have been pre-set the center point
                   before out of factory. It maybe appeared some difference due to
                   difference brand mark radio control. Kindly make sure to do the
                   adjustment (special to pre-set the travel throw of gear servo up
                   to 110-115 %. ) with your own radio equipment before installation
                   this jet model.

                  4) From main wing edge to center around 72mm±2mm is the CG
                   point.

                  5) Please make sure to use a little piece of attached magic sticker for
                   your LiPo battery for fixing on the battery bay before on flight.

   Specifications:
           Wing Span : 750mm
              Length:     860mm

        Flying weight: 1.1kg
                 Servo: 9g×7pcs
        Power system: Brushless electrical metal ducted fan(3900kv/4300kv)
                Thrust: Up to 1.2kg
             Function: 1) Retractable landing gear
                          2)Lighting system
                  ESC:    50A or above

                 Radio: 5CH or above
               Battery: Li-po 14.8V/4S-2200mAH or above

                                         -2-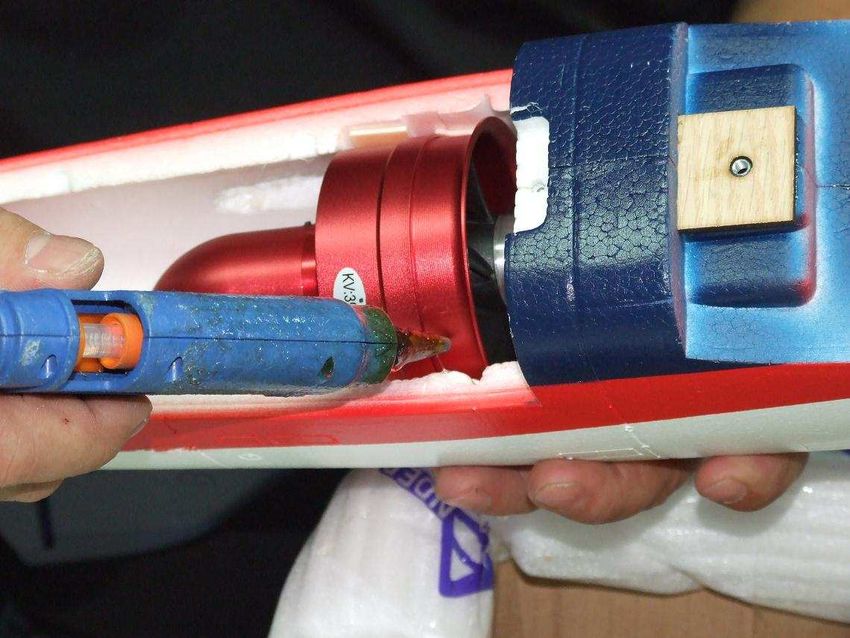
Main Accessories

            Main Fuselage                        Main Wing Set                      Horizontal Stabilizer

           Vertical Stabilizer                Both Side Intake Set                    EDF Cover Set

             Rocker Tube                          Canopy Set                Horizontal Stabilizer Mechanical Set

         Lighting System Set            Full Set Retractable Landing Gear

Remarks: 1) Operational Manual (included)
         2) 5 Min. epoxy set (included)
         3) Y Cord X 3 pcs (included except ARF version)
         4) Push rods for Elevator, Rudder, Aileron, and Retract Gear & Steering (included)
         5) One plastic bag included Screws, Control Horns, Linkage Stoppers & ply wood of Battery compartment
             And Receiver compartment
                                                       -3-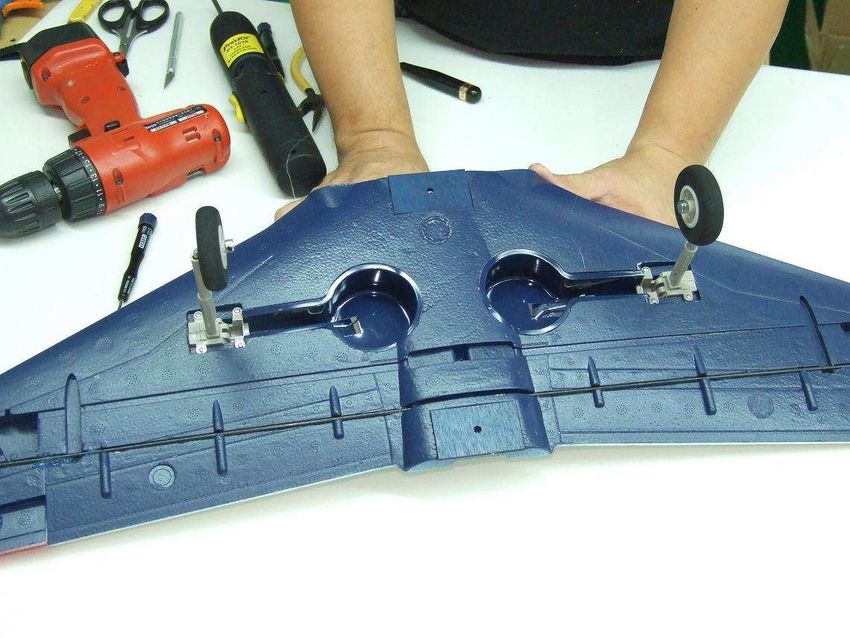
Assembling the aircraft
01
                                1) Nose retract gear has been assembled by
                                  factory.

02
                                1) Using epoxy to glue up the nose gear ply
                                wood on the related compartment and install
                                both of retract gear & steering servos on the
                                specific position then link up the push rob as
                                shown.

03
                                1) Using some double clear tape to fix the
                                nose gear plastic cover on the lower main
                                fuselage.

                          -4-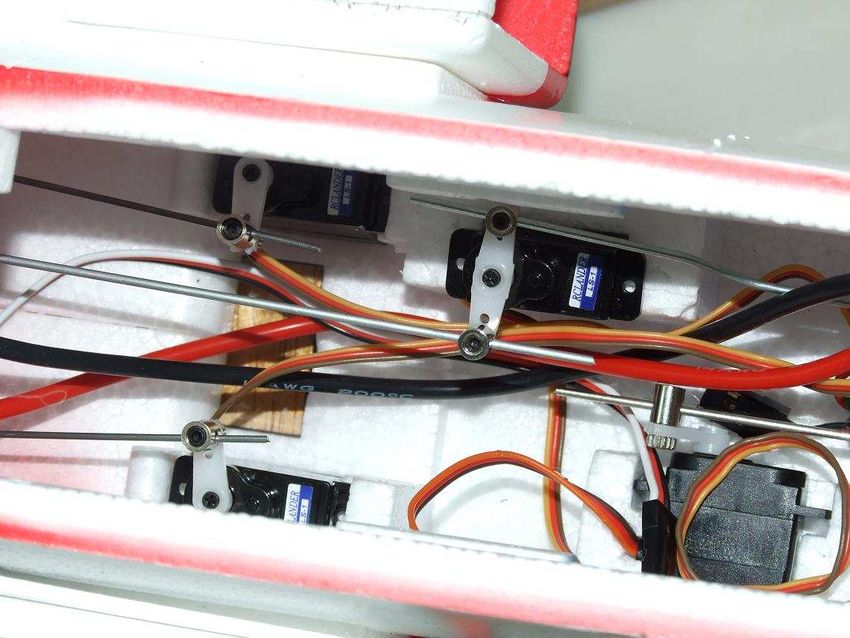
04
           1) Find out the horizontal stabilizer set and
              mechanical set.

           2) Using some epoxy to glue up both side
           horizontal stabilizer on the mechanical set
           first

05
           1) Install both side horizontal stabilizer
             on the main fuselage and using the
             provided screws to lock up the
             stopper as shown

06
           1) Install the vertical stabilizer.

     -5-
07
           1) Using some epoxy to glue on the
           vertical stabilizer on the main fuselage.

08
           1) Install the main retracts landing gear
           on the main wing.

09
           1) Using the attached screws to tight up the
              main retract landing gear on the gear
              bay square hard wood.
           2) Using some double tape to fix the plastic
              wheel cover set on the main wing.
           3) Link up the push rob with the retract gear
              servo (remind to adjust the TX gear
              travel throw up to 110-115%)

     -6-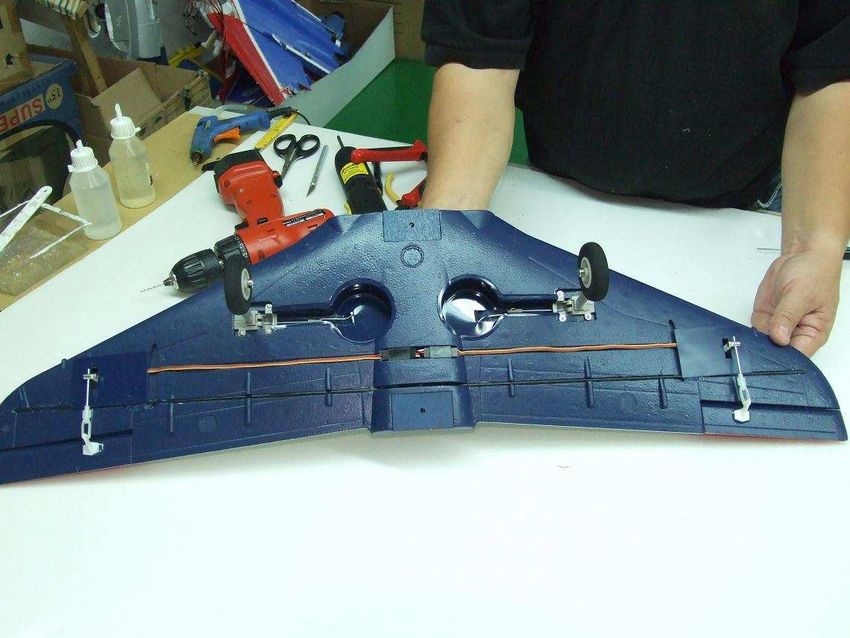
10
           1)Install the aileron servos.

11
           1) Using a Y cord to link up both servos cord
           as shown.

12
           1) Install both side of intake set

     -7-
13
           1) Using epoxy to glue up both side intakes
           set on the main fuselage.

14
           1) Install the Cyclone Power 64mm metal
             EDF set with ESC.

15
           1)Using the attached two pieces strong
           double foam tape (pls cut out from two to
           four pieces) to put on the EDF set bay first.

     -8-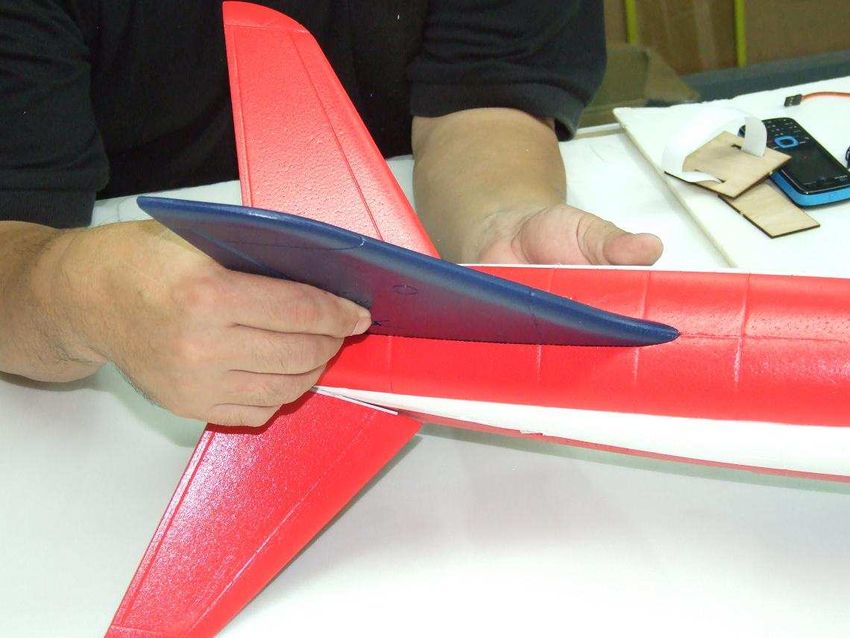
16
1) Take some force to install the EDF set on
the bay as shown then use some hot melt
glue on the gap in order to strengthen the
tighten of the EDF on the bay of main
fuselage.
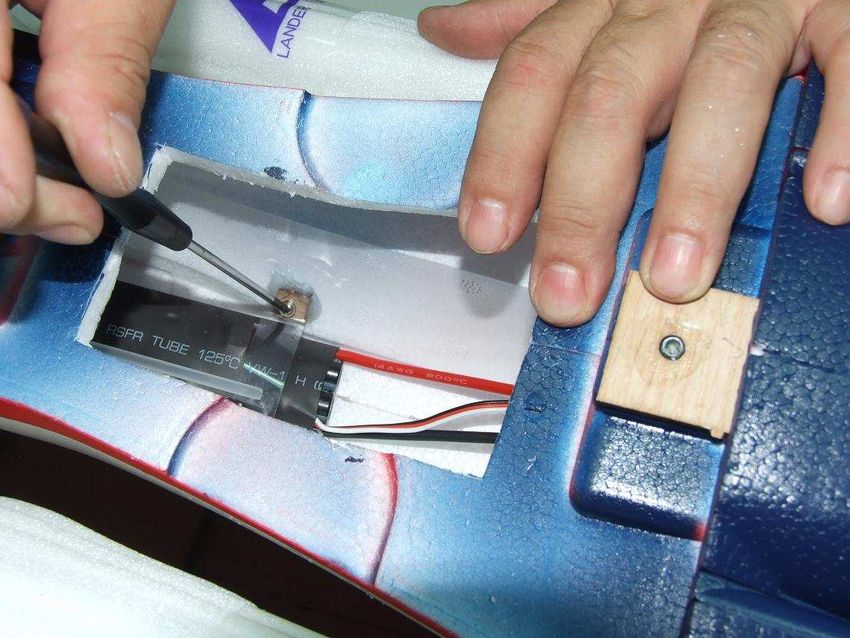
17
1) Using the attached clear pvc sheet and
two screws to tight up the ESC on the bay
of the main fuselage as shown.
18
1) Install those push robs of elevator and
rudder.
-9-
19
1) Two 1.2mm wire push robs are the
elevator then 1.4mm wire push rob is for
rudder and link up the related control horn
as shown.
20
1) Connect both 1.2mm push robs with two
elevator servos (remind to take one
reverse operation direction servo for
elevator)
2) Connect the 1.4mm push rob with the
steering servo as shown.
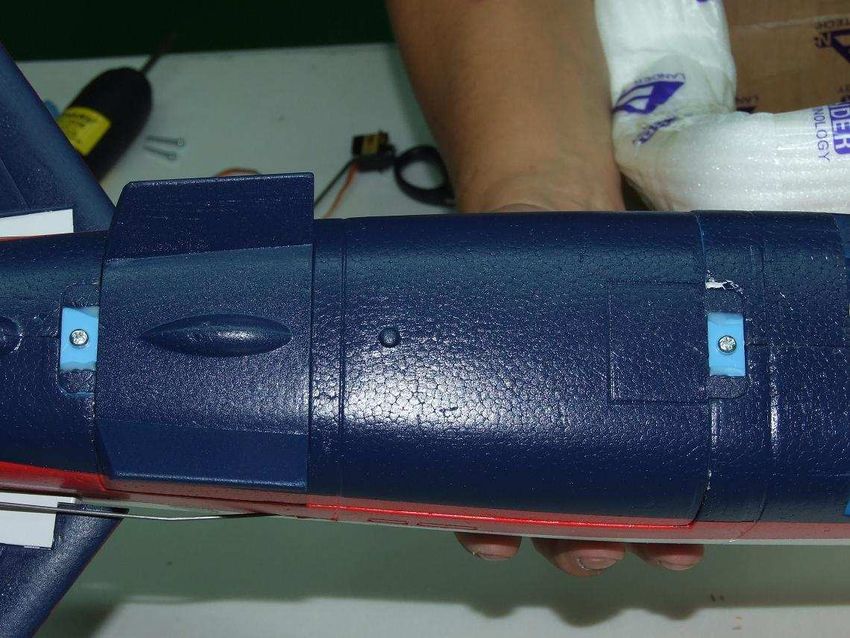
21
1) Install the EDF cover set.
- 10 -22
1) Using the attached two 3X 18mm screw to
lock up the EDF set cover on the main
fuselage.
23
1) Install the battery & Receiver
compartment ply wood.
24
1) Double check the nose gear, steering and
elevator push rob with the related servos
are doing well before glue up the ply wood
as shown.
- 11 -25
1) Install the main canopy set.
26
1) The canopy set is used push in method
to install into main fuselage and pushes
down the front canopy with a click sound
once lock up.
2) Hand holds the front canopy and pull up
to open it for changing the battery or
doing any maintenance issue..
27
1) Using the provided two 4mm screws with
washers to install the main wing on the
main fuselage. Then the assembling is
done.
- 12 -- 13 -
Flight attention
Do not fly at any place where another same-frequency model is being operated.
                 Taking off:
                      Always take off toward the wind.

                      When launch Bae Hawk by hands, maximize the power (include the micro-adjuster) and run several
                      meters, then throw the Bae Hawk horizontally. When launch Bae Hawk on the ground, maximize the
                      power and let Bae Hawk accelerate in direction of the wind and         keep it running straightly, after it run
                      more than 60 feet, then pull the elevator joy stick, and it will take off.
                      Flight:
                      To keep Bae Hawk flying only need 50% of the maximum power, it is a good idea to fly with power for
                      a while and glide for a while. In this way you can prolong the maximum flight time and familiarize
                      yourself with landing approaches.
                      Landing:
                      Before landing, switch off the power, fly along with the wind, and when Bae Hawk flies near to the
                      ground, then pull the elevator joystick and Bae Hawk will landing gently. With more practice, then you
                      could control the model easily.

    Phenomenon                                        Problem                                               How to solve
 Motor does not run           ★    Battery is not fully charged.                              ★    Charge the battery.
                              ★    The battery in the transmitter is not at full power.       ★    Install new dry cells.
                              ★    The circuit in Bre Hawk has been damaged due to            ★    Contact the distributor.
                                   crash.
 Can not fly straightly       ★ The rudder is not on the center position.                     ★ Adjust the rudder on the center position.
                                                                                              ★    Adjust    the   micro-adjuster       on   the
                                                                                              transmitter for the rudder on the suit
                                                                                              position.
 Can not climb                ★    The battery is not fully charged.                          ★    Charge the battery.
                              ★    The elevator declines downward.                            ★    Adjust    the   micro-adjuster       on   the
                                                                                                   transmitter.
 Control distance is very     ★    The battery of transmitter is not at full power.           ★    Install new dry cells.
 near                         ★    The antenna of transmitter has not been completely         ★    Completely pull out the antenna of
                                   pulled out                                                      transmitter.

                                                                    - 14 -
You can also read