Kick-start Manual Document for: Letterbox Check ver 2.4.x and Android ver 2.3 - 2010-2012 Copyright Redburst Technologies AB
←
→
Page content transcription
If your browser does not render page correctly, please read the page content below
Kick-start Manual Document for:
   Letterbox Check ver 2.4.x
       and Android ver 2.3

     2010-2012 Copyright© Redburst Technologies AB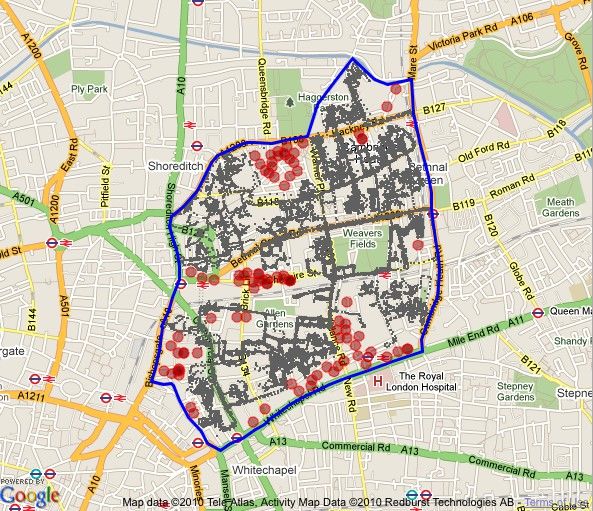
Contents
1. Login
2. Add User
3. Create District
4. Create Project
5. Follow-up the Project
6. Generate Report
7. Start working!
1. Login
1. Type the address: http://letterboxcheck.com in your web browser and go to the login section.

2. Enter the PIN-code and press Enter.

3. Enter the password and user name and press Login.
2. Add User
If you do not have all needed users already configured here, you can add more users manually into
one of your existing group folders.

1. Click on “User” in the main menu.

2. Select the preferred folder so it becomes marked light green.
Now you can see the “Add user” form at right.

3. Fill out the mandatory (*) fields. The users Last and First name will appear in the users tree after
the user has been registered correctly.

                                          Make sure that you select “Tracker” as user type.

                                          For an user with a Tracker device:
                                          The “Person nr.” field must in this case contain the 15-digit
                                          IMEI number that you will find on the back (behind the
                                          battery) of the tracker.

                                          OR

                                          For an user with a Smartphone (Android or iPhone):
                                          The “Person nr.” field must at least be a 6 digit number
                                          (made up by you) that you also will need to put in the mobile
                                          App settings later on.

4. Click “Save”.
3. Create District
Districts are filed in a three-level tree structure. Level 1 – Symbol: Green ball, Level 2 – Symbol: Blue
cone, Level 3 – Symbol: Red cube. We will now create all the there levels and finally the district map.

1. Click on “District planner” in the main menu.

2. Click on the white “District planner” tree area so nothing is selected.
3. In the “New” form at left, in the “Name” field type in e.g. “City of Westminister”.

4. Click “Create.”

5. Now, select the green ball at right (“City of Westminister”) so it becomes marked light green.

6. In the “New” form at left, in the “Name” field type in e.g. “St Jame's Park”.

7. Click “Create.”

8. Now, select the blue cone at right (“St Jame's Park”) so it becomes marked light green.

9. In the “New” form at left, in the “Name” field type in e.g. “District 1”.

10. Click “Create.”

You should now be able to see a tree at right as the picture illustrates below.

11. Now, select the red cube at left (“District 1”) so it becomes marked light green.

12. Click the “Map” tab at left. At the bottom, type in e.g.”London, st james park” or the proper post
code and click “Search”.

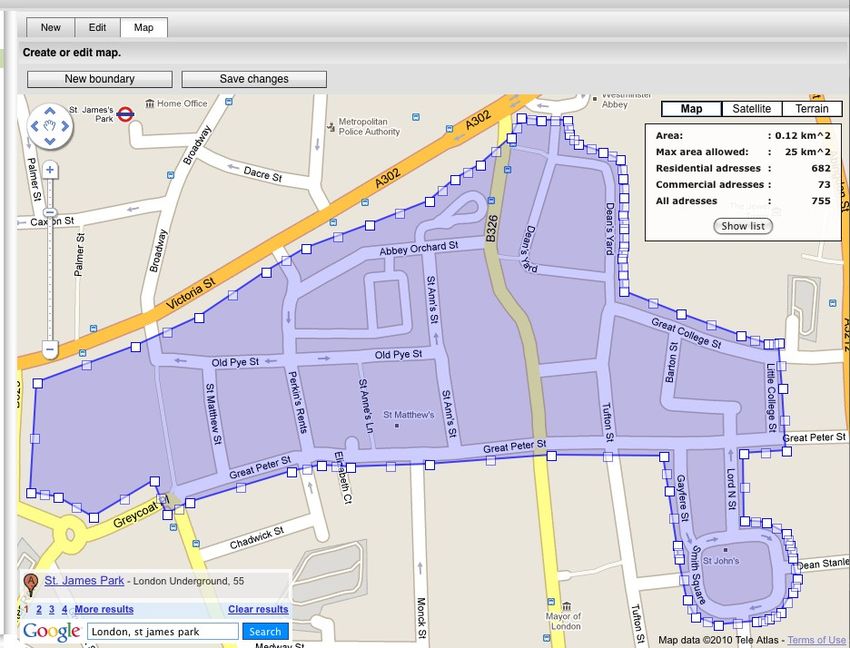
13. Now you can see a map. Zoom in to (with the google tool) the proper area where you prefer to
create the district.

14. Click “New boundary”.

15. Start clicking on the map and create edges that will form your district boundary. Make sure that
you finally close the boundary like a circle is.

16. Click “Save changes”.

The district boundaries
are editable. You should
now be able to see a
map similar to what the
picture at right is
showing.
4. Create Project
1. Click on “Project” in the main menu.

2. Click on the “New Project” tab.

3. Type the name of the Project (the campaign).

4. Click in the text field of “Start date” and select a preferred date in the calendar tool.

5. Click in the text field of “Finish date” and select a preferred date in the calendar tool.

6. Type a client's name and select it in the drop down list. (See “1. Add user” how to add more client
users).

7. Select at least one or more district (Level 3) items in the list at right.

8. Click “Create” in the bottom right corner.
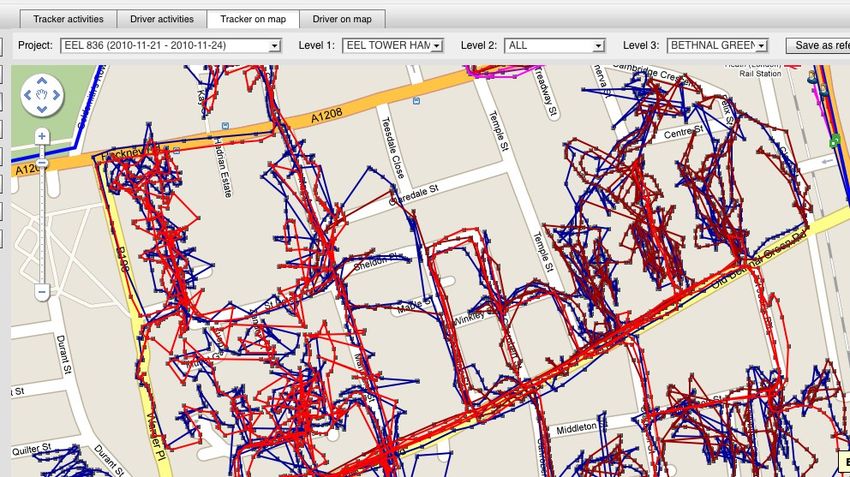
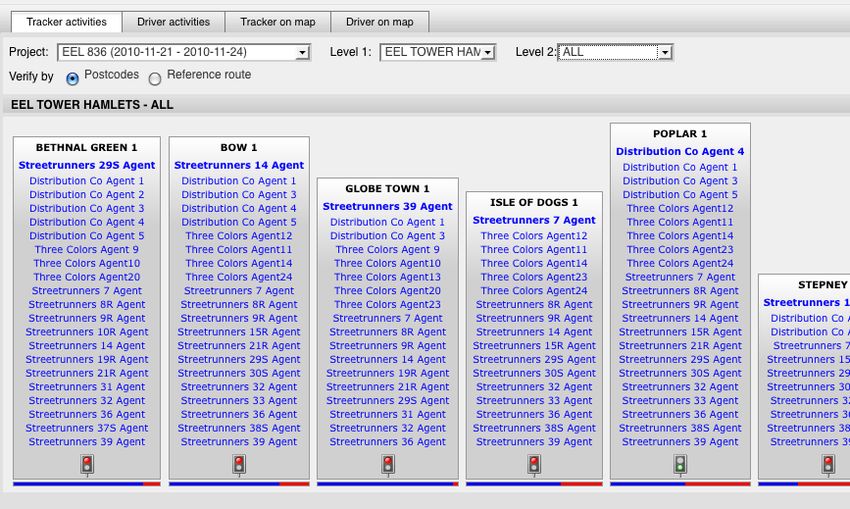
5. Follow-up the Project
1. Click on “Activity” in the main menu.

2. Click the “Tracker Activities” tab.

3. Select: Project, Level 1 and Level 2 to se all the activities of the districts in the selected region.
4. Click the “Tracker on map” tab.

5. Select: Project and Level 1 to see the project activity overview.

6. Select: Project and/or up to Level 3 to view a specific district in detail at street level.

7. Use the zoom tool to justify zoom level and select the map type in upper right corner (Map,
Satellite or Terrain).
6. Generate Report
1. Click on “Report” in the main menu.                  Map of coverage and missed postcodes.

2. Select a project in the drop down list.

3. Select one or more districts in the district tree.

4. Click “Generate”.

For each district you
will be able to see:
Staple diagram showing
completion day by day.

                          Missed properties list.
7. Start working!
Before you can start the work you need to turn on the device, make sure that the battery is fully
charged and that the phone have internet availability.
We will now walk through the download, install and setup procedure of the Application needed.
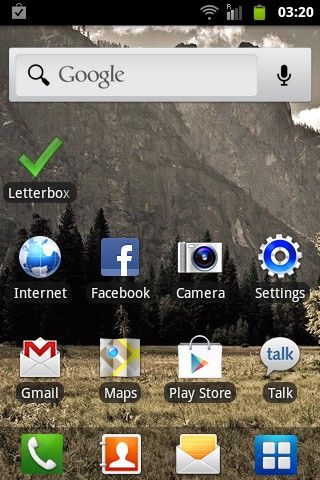
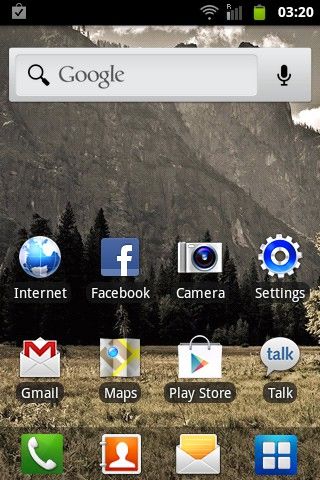
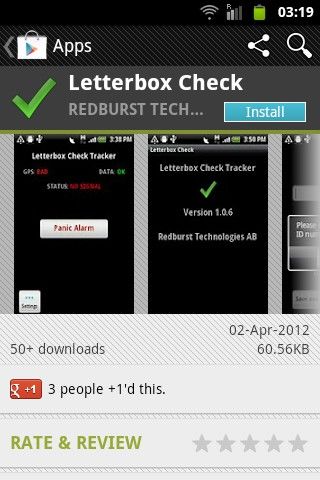
Your phone shall look something Sign-in with a Google account. If When successfully signed-in tap
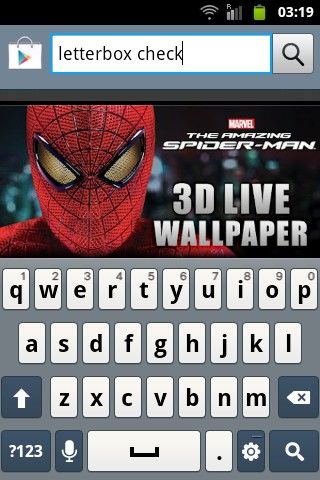
like this. Start the Play Store you don't have any - Register the search icon to start the
one at: www.google.com search.Type “letterbox check” into the Tap the founded App “Letterbox When selected the Letterbox search field and tap the search Check”. Check App then tap “Install”. icon again.
Confirm by taping “Accept &   When download & install is         Find the Letterbox Check App
download”.                    finished then press the home       among your screens and apps.
                              button until you get to the home   Now tap the “Letterbox Check”
                              screen again. Now tap              icon to start it for the first time.
                              Applications menu.
When starting the App for the first Tap “Save and Go Back” to go to You can whenever you want
time you are requested to setup the main screen. during the work tap the “Leterbox
certain parameters. Check” icon for viewing the main
You have now saved the settings screen with indicators.
PIN number shall be equal to the and are ready to go out and
general PIN that you use for the work! If you want to quit the App for
Letterbox Check web login. saving battery after you finished
Just press the home the button to the work, just go to “Settings” and
ID number must be unique on set the App running in the back- tap “Shut Down”.
each device and contain ground. - Lock the screen and
minimum 6 digits. See chapter 2 put your phone in the pocket.
section 3 (how to add a Tracker
User). NOTE: GPS and DATA indicators
must be showing OK for good
Node is the node number that is performance of the solution while
provided by us to you. working.You can also read